Jeep Articles & News
Installing Scout Dana 44’s on a ’78 CJ-7
Luckily, as I was collecting the required parts, I came upon a Scout Dana 44 front axle for $50. To keep the overall costs down, I tried to buy things used off eBay or through “For Sale” postings on Jeep websites (see my references). Now I was in position to swap in front and rear Dana 44 axles.
Dave assured me that he had the know-how and technology to perform the swap and required fabrication. Without his help and expertise, this project would not have been possible. So, Dave, another big “THANKS!”
Step 1. Hardware Collection
- Front and rear Dana 44s. The rear was from a ’72 and the front was a ’77.
- 4.10 gears for both axles. Both sets were purchased used from Jeep sites. These cogs would be perfect for my 33” tires. I thought about going 4.56 for 35” tires, but decided against it.
- Detroit locker for the rear. I stumbled upon this while looking for an open carrier. I had no intentions on putting in a locker due to the cost, but a guy offered a new Detroit for $350, so I could not resist.
- 4″ drop pitman arm purchased from a Jeep BBS.
- Ford F-250 shock mounts. I always wanted to increase my front shock travel and this would be the optimal time to perform this mod.
- Stainless steel brake lines for the front disc brakes.
- 4″ Skyjacker springs all around. These were used springs that were included in the original Scout axle purchase. The springs that I was using were shot and made my Jeep ride really hard and rough.
- DT3000 shocks. I was able to reuse my rear shocks after installing the rear springs. However, new front ones had to be purchased due to the increase in height from the Ford F-250 shock mounts.
- The goal was to reuse the spring perches on the rear axle and the front spring hangers on the frame. This would require careful grinding and cutting. A backup plan was prepared if any of these parts were not usable and new parts were required.
- Supplies: brake cleaner, PB Blaster, Liquid Wrench, spray paint, grease, 90weight oil, rags.
- Tools besides common tools: tall jack stands, welder (key piece of equipment!)
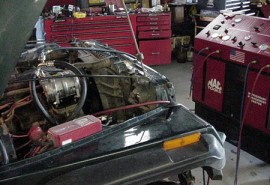
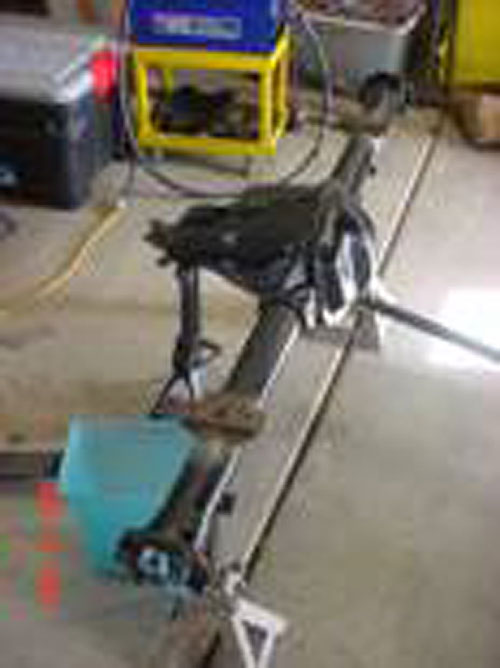
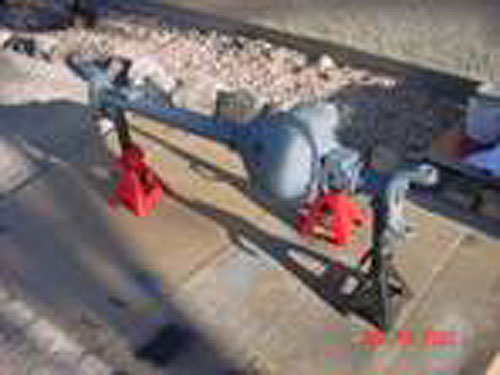
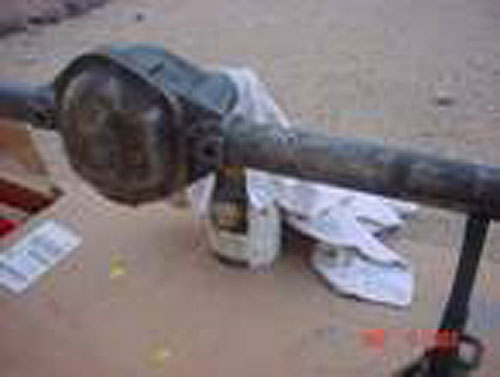
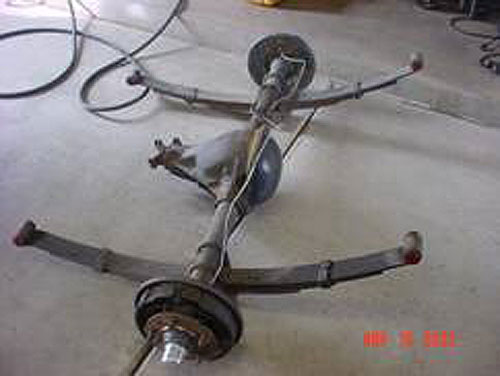
Step 2. Prepping the axles
After collecting both axles, they were degreased and pressured washed. It took two washes to completely remove all the grease and grime. A good grease cutting agent and brushes (a toothbrush for the tight areas) makes this job a lot easier.


After cleaning, I made an appointment with Wayne, the owner of Wayne’s Fabrication Shop (760-256-0057) located in Barstow, California. His mission was simple, set both the front and rear gears, install the Detroit, and rotate the front knuckles to eliminate the Scout’s zero-degree castor. I started to grind the knuckle welds and rotate them myself, but I wanted to save time and effort. Plus even if I turned them myself, they needed to be professionally welded.
I did purchase basic install kits from Quadratec for the gears and now wish I went the extra mile and purchased full install kits with new bearings. Wayne had to use some extra shims and other small parts that the kits did not include.
After the axles were set, I wiped the axles down with acetone. This removed a lot of the hidden grime and made a clean surface for the primer and paint. Both the primer and paint came from the simplest paint applicator, the rattle can. Plan for three cans of primer and paint.
Step 3: Installing the rear
Installing the rear axle is by far the easiest and quickest part of our mission. It took about four hours to completely install the rear axle and conduct a test drive.
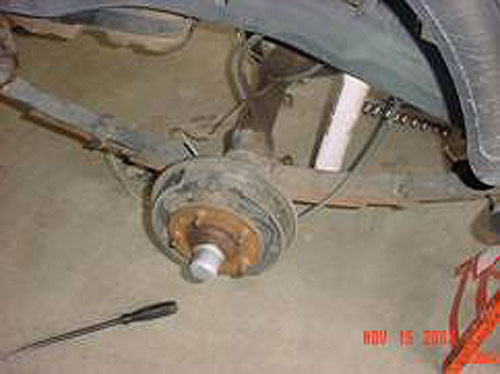
1. The tires come off as well as everything connecting the axle to frame and drivetrain.

2. The driveshaft disconnected. No modifications to the shaft were needed.

3. Disconnecting the brake lines.
4. The AMC-20 removed…for good! An impact wrench helps getting the shackle bolts off as well as some PB Blaster.
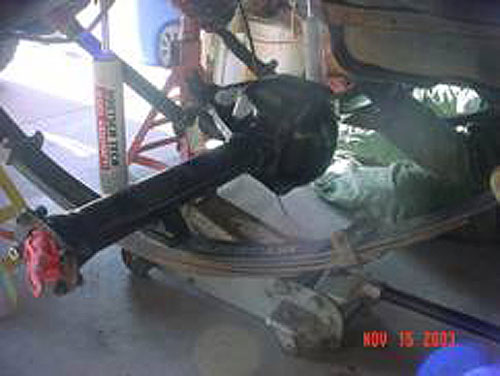
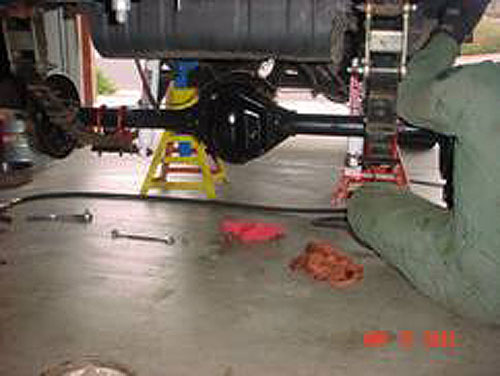
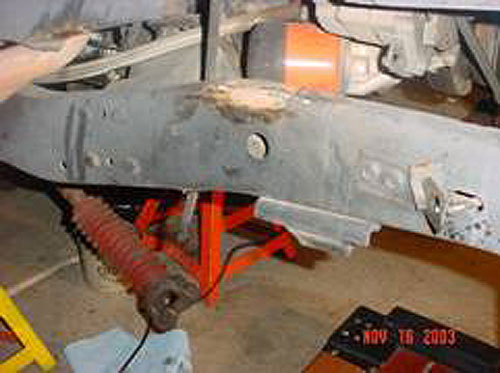
5. Shot of the Jeep without the rear axle. As luck would have it, I was able to reuse the rear DT3000s.
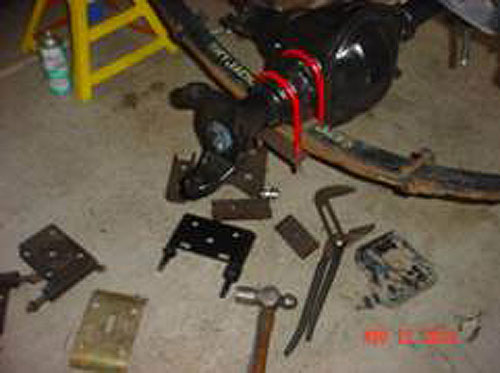
6. Install the springs and slide the Dana 44 under to measure and determine where to place the spring perches.
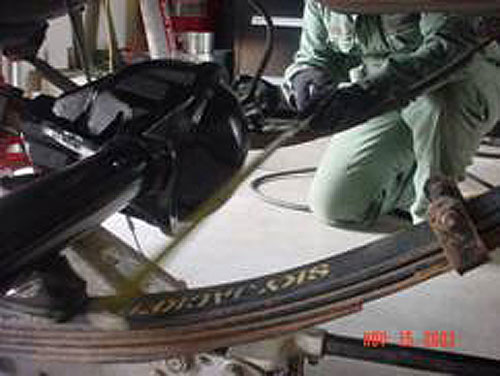
7. A simple tape measure helps ensure the axle is centered and mark the areas where the perches will be welded. Also the pinion angle was determined and noted.
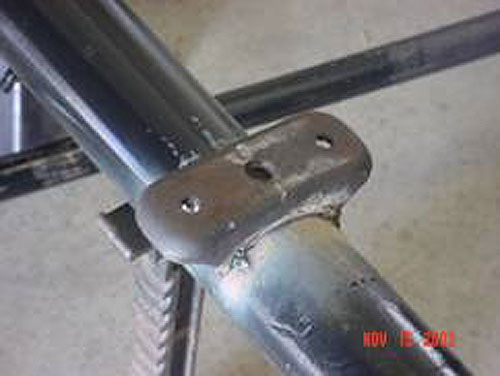
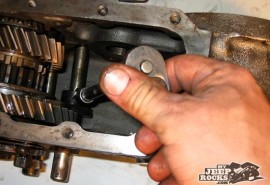
8. Luckily when Dave ground off the original perches, they were usable. Here they are tack welded. After tacking the perches, slide the axle onto the springs to verify your measurements and pinion angle.
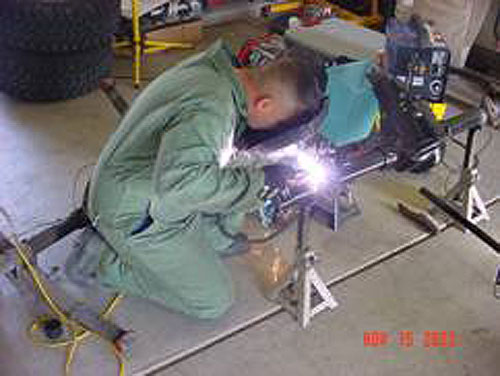
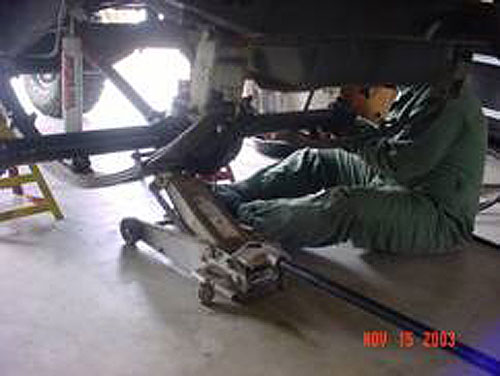
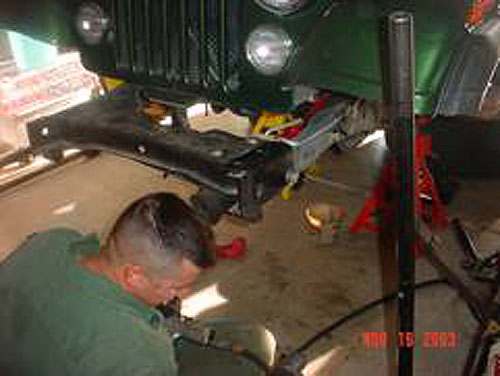
9. Dave doing his magic. Without his expertise, this project would have been impossible. Thanks again Dave!
10. Almost there axle placed on the springs. U-bolts almost ready to be installed to keep it on the springs.
11. Different angle shot.
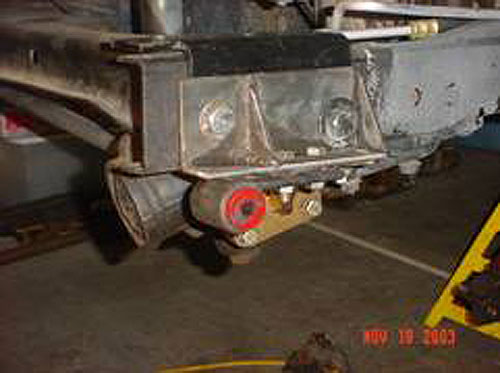
12. Finally the U-bolts get the installation nod.
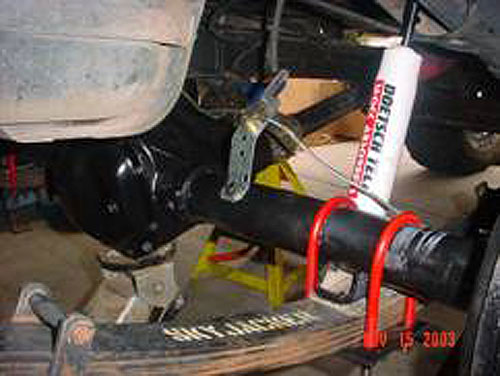
13. Note another Dave trick. He quickly fabbed up an extension for the brake line splitter. I later had to place some silicon on the bolt going into the axle tube. It began to leak gear oil.

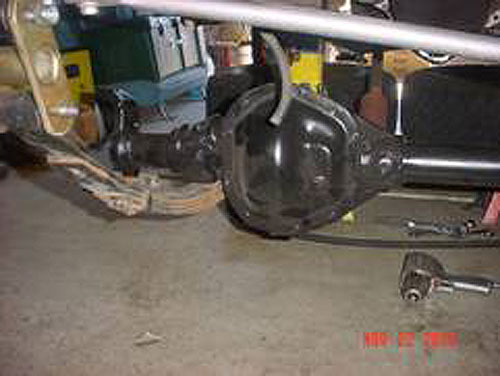
14. Post installation. Looking good.
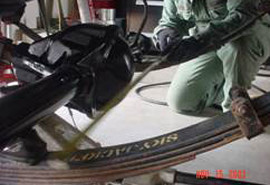
15. A fuzzy picture showing the increase in stance. Roughly, my tires stick out from the from the fender flares. Awesome! Plus the Detroit will add capability on the trail!
Step 4: Installing the front axle.
Installing the front axle took about 20 hours in total spread over a week. There are a lot of reasons why it takes longer, some being that the outboard spring hanger brackets need to be made and spring hangers and shock m.
1. I removed the front bumper and winch and its mounting plate.

2. Taking measurements and determining how to use the Warn winch plate brackets in conjunction with the front outboard spring hanger bracket.
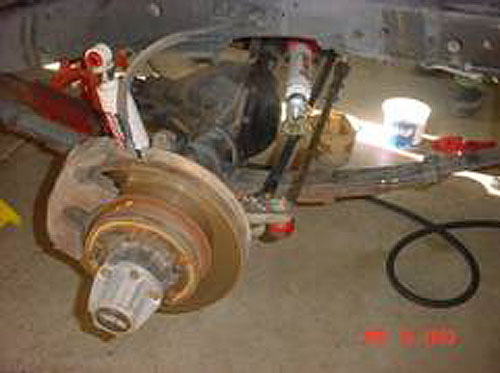
3. To keep costs down, I reused the Dana 30 outers: the caliper brackets, rotors, calipers, and hubs.
4. A small shot of the outboard hanger being placed on the outside of the winch plate brackets.
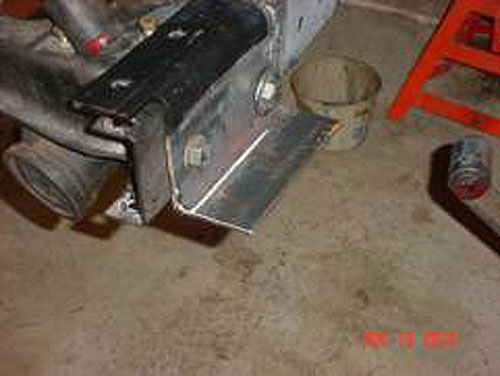
5. A closer shot. The winch plate bracket could not be moved due to the alignment of the vertical bolts that secure the plate to the brackets/frame. The bracket is made from 3” angle iron. Excess areas were cut to size and cut down for gussets.

6. The rear hanger ground off. Easy process, but take your time with a grinder and you’ll be able to reuse them which saves money.
7. A front shot of the outboard bracket without gussets. Notice that there is about a º” spacer between the hanger and the bracket. This provides space for the upper part of the shackle to move. Without it, the top of the shackle will rub on the outboard bracket.

8. Side shot. This is just trial fitting before the gussets are welded in place.
9. Front shock mounts ground off nicely. All that is needed is smoothing out the area on the frame.
10. Two gussets welded in place to add stability to the bracket.
11. The front and rear outboards in place. After all gussets are in place, the outboards can be cleaned and painted.

12. Same as #12 but with the spring in place.

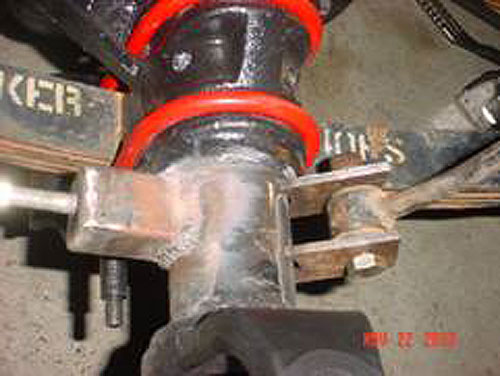
13. A close up of the rear outboard bracket with spring hanger.
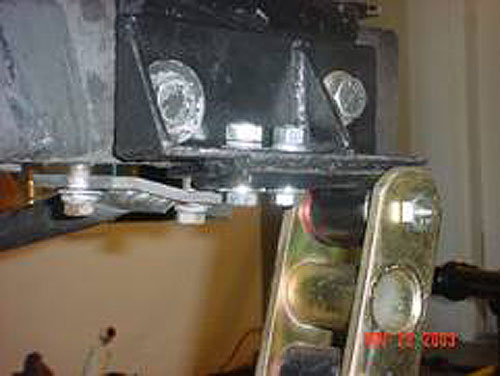
14. Another shot of the front. Again, note the spacing between the spring hanger and outboarded bracket.
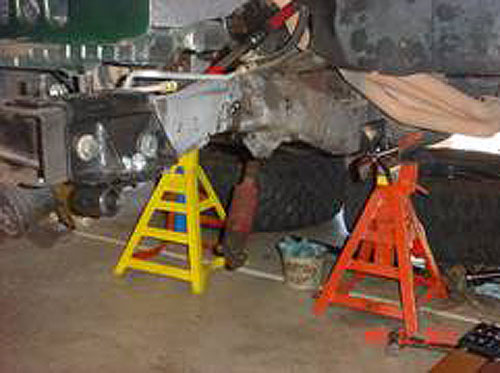
15. Test fitment of the front axle. This verifies that the outboards are even, parallel, and the springs rest evenly on the perches.
16. Had to try various sized u-bolt plates to find the best fit. Luckily, Dave had several types. I believe the ones we used were from a Blazer and prevented the use of the lower shock mount due to clearance of the shock in relation to the axle.

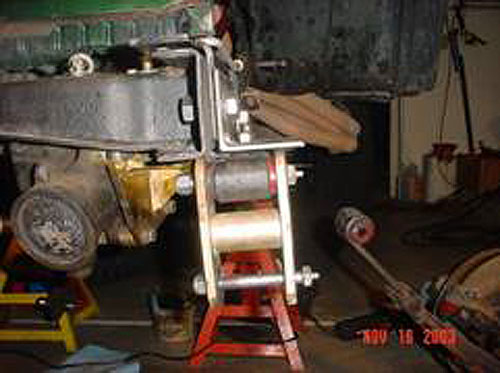
17. To overcome this clearance issue, Dave fabbed a shock mount on the axle using square tubing and a bolt.

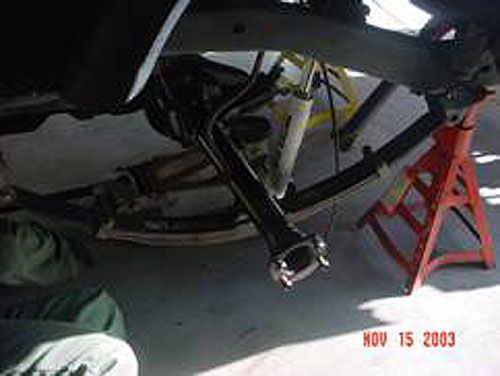
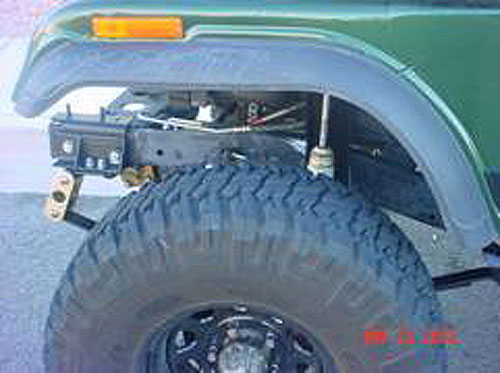
18. Another shot of the shock mount and the fabbed lower swaybar attachment to the axle. I later added a quick release here in the form of a hitch-pin.
19. Another shot of the shock and swaybar mounts.
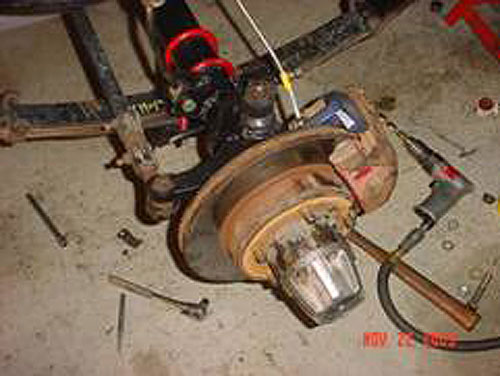
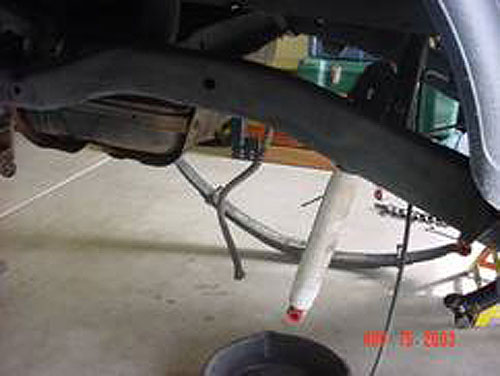
20. A finished side. The brakes were hooked up and bled.
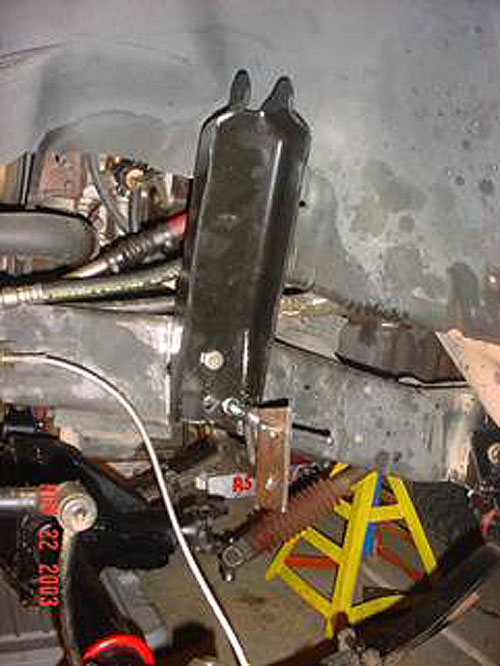
21. Fitment of the F-250 shock mount. Simple alignment with the shock in place allows the use of already drilled holes. Just ensure the backside of the frame is clear of brake lines. I shaved one and luckily it did not bust.

22. A brace was placed on the backside of the frame to prevent the bolts attaching the shock tower from crushing the frame.
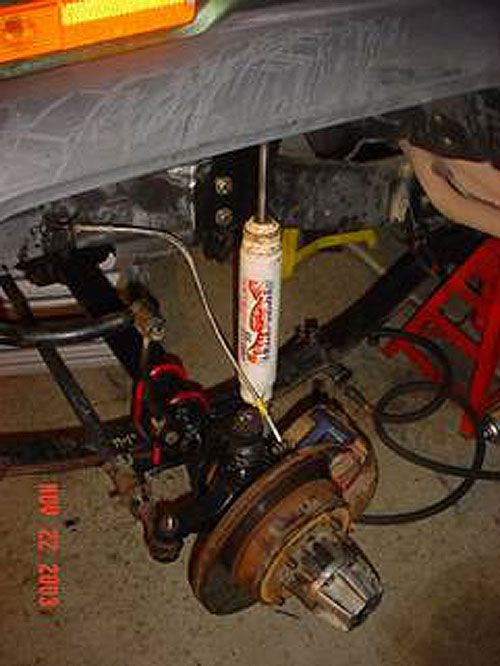
23. Shot with the shock attached.

24. Almost done. Tires going back on.
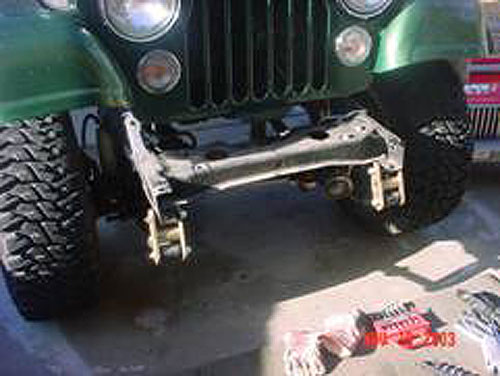
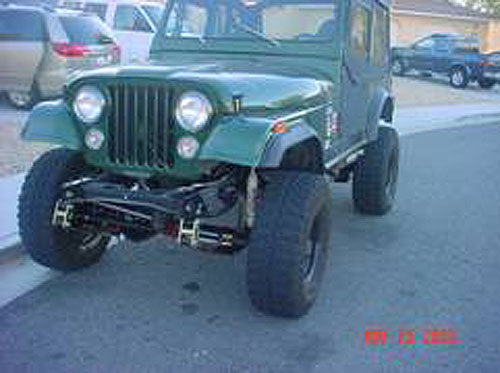
25. Front shot after completion.
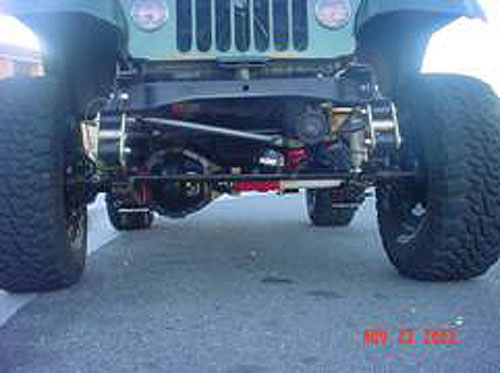
26. Another front shot. Note the dropped pitman. This really kept the steering geometry in line.
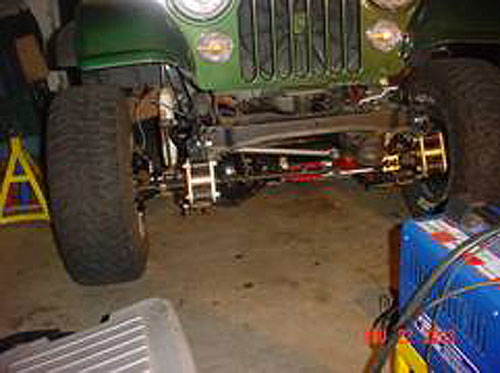
27. Front-side shot showing the increased width of the Scout axles.
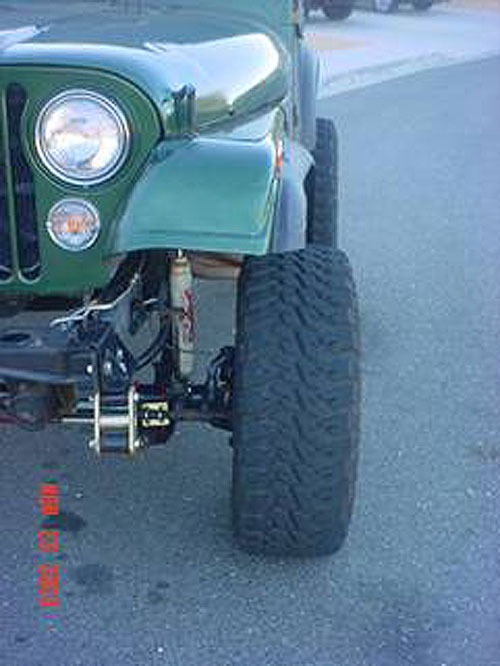
28. Tires outside the flares.
29. Side shot of the front system.
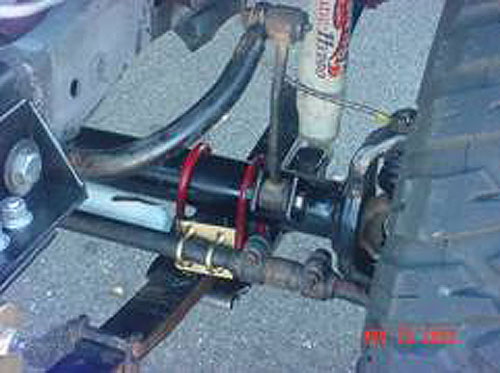
30. Shot of the shock and swaybar.
References
Here are some selected postings and sites that helped in collecting all the information needed to complete this modification. There are many pages of information out there, but these will get you started. Most sites are worth bookmarking for other information. To the contributors of these sites, thanks for posting the information. Project CJ-7, Ralph Hassel. Lots of good information on the Scout and other modifications. Jeep Tech, multiple authors. Another site with a wealth of knowledge. Navigate through the axle area to get the necessary information. Chu’s Axle Swap, Chu. General information. AMC CJ Axle Swaps, Mel. General information. Installing F-250 shock towers on a CJ, Mel. Great writeup with pictures on placing the Ford F-250 shock towers. Swapping Scout D44 Axles and a D300 into a YJ, author unknown. Lots of good info on this swap and other information Mark’s Front Spring Move on his ’81 CJ, Mark Courtenay. Good info on outboarding. Numerous searches in the following site forums: cjoffroad, jeepsunlimited, jeepaholics, and quadratec. These forums will provide the answer for most questions, to include axle swaps. Alot of good information is contained in these sites. I suggest conducting a search before posting a question because the answers are probably contained within another post. Search “axle swap” or “scout axle” in the subject line.
Post Swap Comments
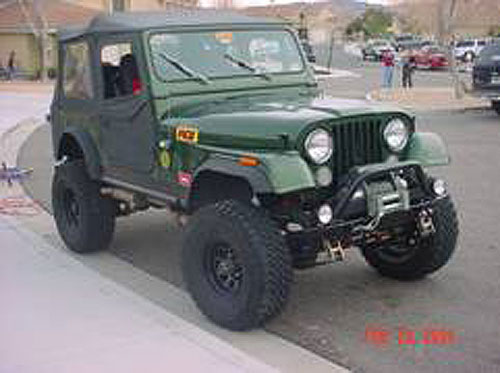
After five months, everything is still solid and no problems. The Jeep has been trail tested and the increased traction from the Detroit is a BIG plus. The Jeep can now negotiate obstacles in 2 High versus 4 Low previously. Several nuts needed to be retightened, so continuously check your nuts and bolts. In closing, the modification and fabrication was well worth the time and money. The Jeep has an increased stance and offroad capability. To put it in perspective, here are some photos before and after the axle swap.
Again, a big thanks to Dave K. for all his efforts, help, and capabilities!

Before

Before
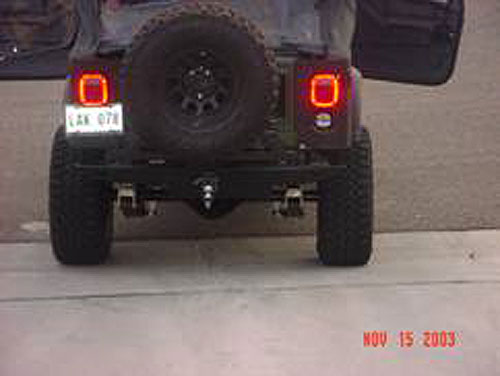
After

After

After