Jeep Articles & News
Rear Main Seal Removal and Installation
Is your Jeep 4.0 rear main seal leaking?
We’ve all experienced the “joys” of owning a Jeep. One of the not-so-pleasant joys comes in the form of little, or large, oil spots on your driveway. The most common cause is the rear main seal. Whether you have an 88 XJ or a 2002 TJ, this problem plagues Jeeps young and old.
Before you write it off as, “It’s a Jeep thing,” you might want think again before your Jeep becomes a burnt “thing” on the side of the road. I personally have had a vehicle catch fire from oil on the exhaust. Just do it!
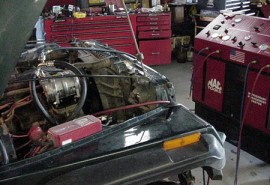
The following is a rather simple procedure that can be done with basic hand tools and a little patience. Over the years several rocks have had their way with the oil pan on our 2002 TJ. We will be replacing that as well, for good measure.
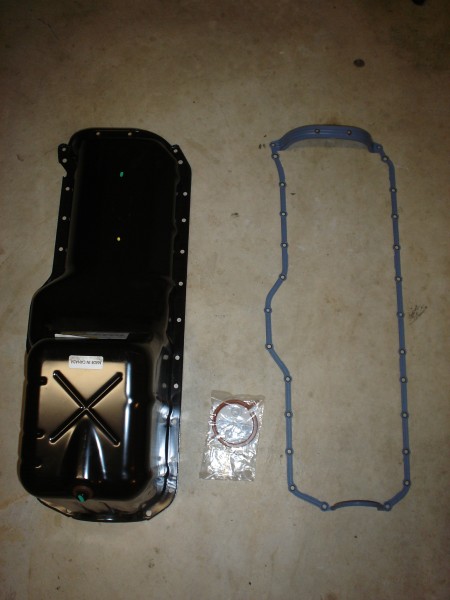
New parts

Smashed Oil Pan – OOPS!
Project Length
Approx. 3 Hours
Required Parts
- Rear main seal: Fel-Pro BS 40612 (buy)
- Oil pan gasket: Fel-Pro OS 34308 R (buy)
Part number is for 1992-1993 4.0’s, but will work on 1987-current 4.0’s. It’s a one-piece design and is well worth the extra money.
Optional Parts
- Replacement oil pan (buy)
Required Tools
- Sockets – 11mm, 12mm, 13mm, 14mm, 15mm 16mm, 13/16 and 3/8″; and 1/2″ drive Ratchets (buy)
- 3/8″ drive torque wrench for low torque settings (buy)
- 1/2″ drive torque wrench for high torque settings (buy)
- Needle nose pliers (buy)
- Small drift punch or screwdriver (buy)
REMOVAL: 1. Drain Oil.
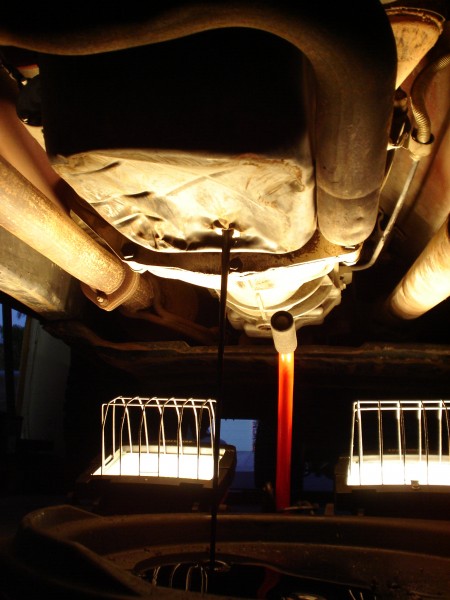
Use a 16mm socket to remove the drain plug and drain the oil. Once the oil has drained completely, replace the plug.
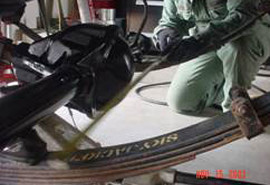
2. Remove the Exhaust
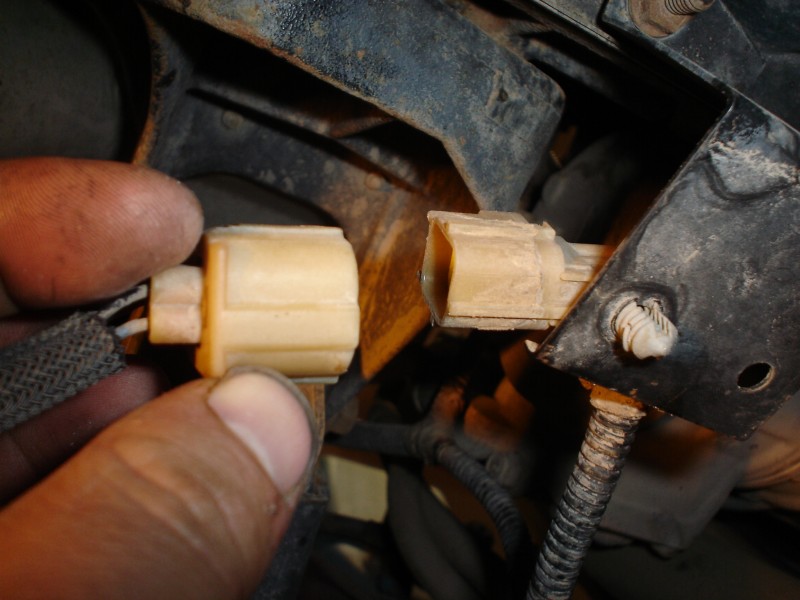
1. Unplug the O2 sensors.
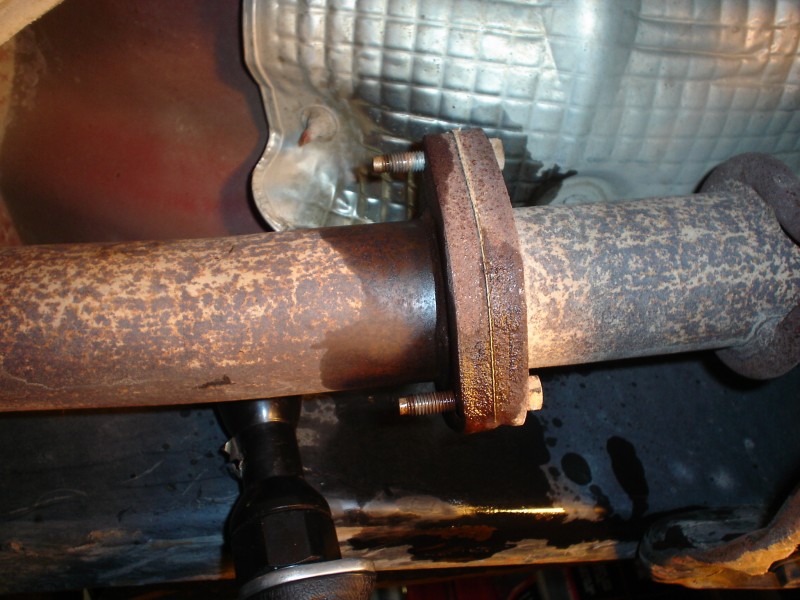
2. With a 13mm socket, remove the nuts at the catalytic converter flange.

3. With a 15mm socket, remove the nuts at the manifold.
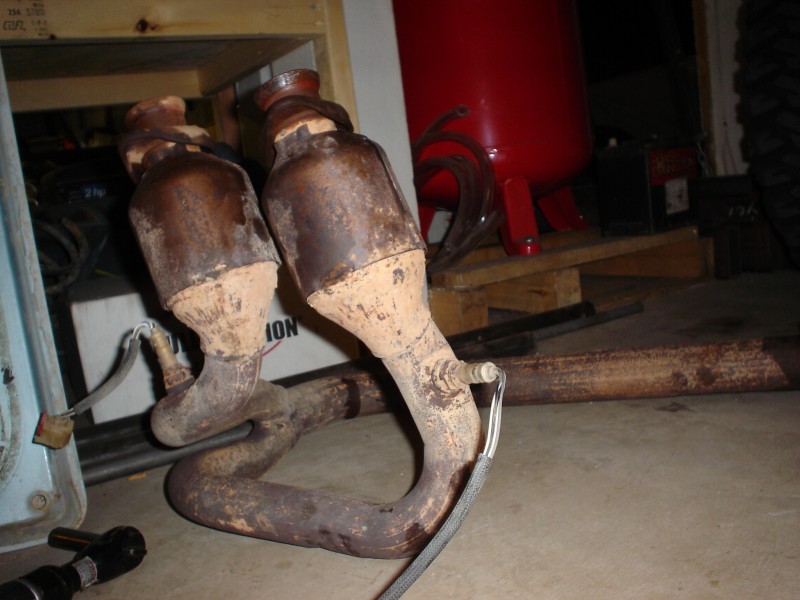
4. DOH! Exhaust fell out. Nope, you meant to do that, remember?
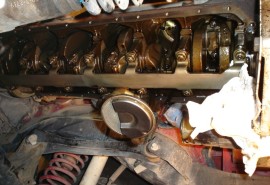
3. Remove Oil Pan
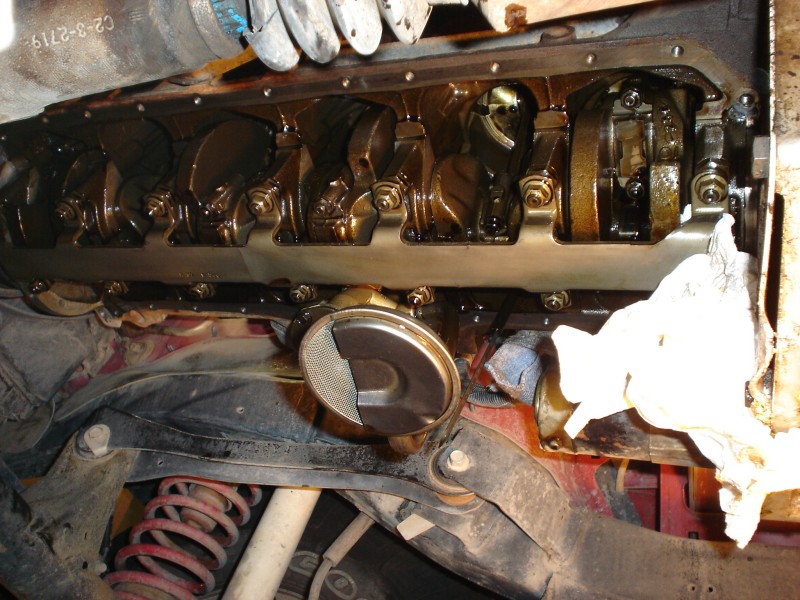
Remove oil pan (11mm, 12mm, 13mm). Keep note of where the different size bolts go. Also keep in mind where the studs go.
4. Remove Main Caps
Remove the main cap girdle using a 14mm socket. Not all years have this item.

Remove the main cap girdle using a 14mm socket. Not all years have this item.
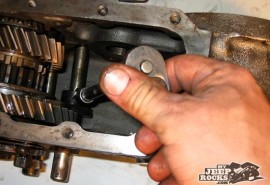
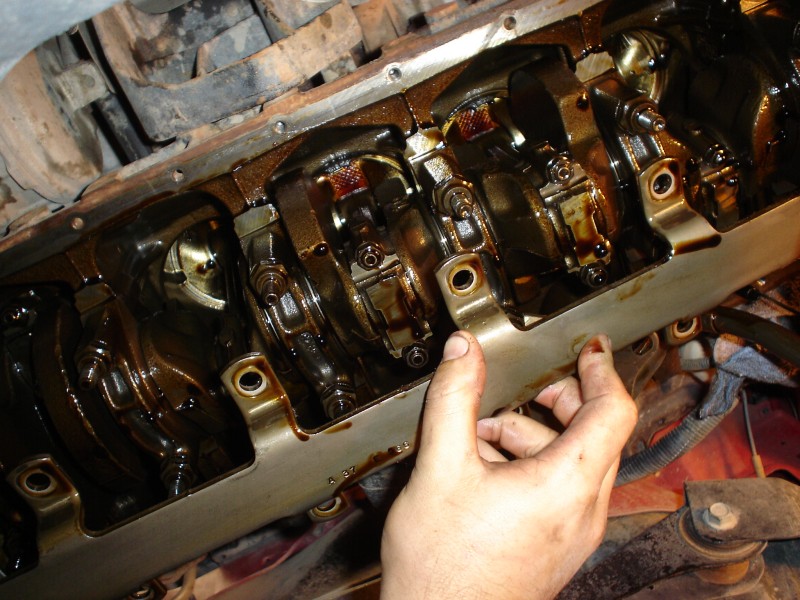
5. Wiggle Main Cap
With the bolts still in the main cap (but not threaded), wiggle the cap back and forth to free it from the block. Be careful not to damage the bearing that is in the cap. It is not unusual for the bearing to come out of the cap. If it does come out, just line the notch in the cap to the tang on the bearing and you’ll be ok, I promise.

Bolts still in…
Wiggle it, just a little bit.
6. Remove Rear Main Seal
Remove rear main seal from cap. Clean main cap.
7. Remove Seal
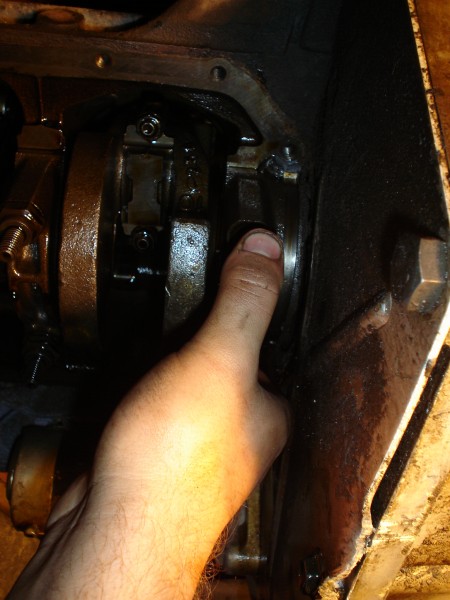
Remove the seal still in the block using a small drift punch or a small screwdriver. A couple taps or hard pressure on the seal should cause it to rotate out. Be careful not to nick the bearing or seal surface. Grab the side now sticking below the block with a pair of pliers and pull it out.
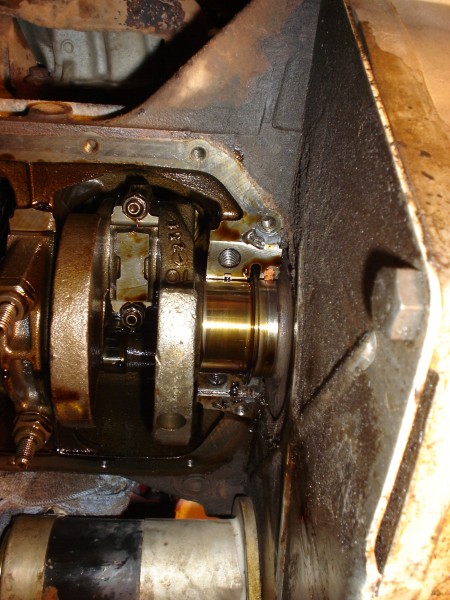
Rear main bearing journal…
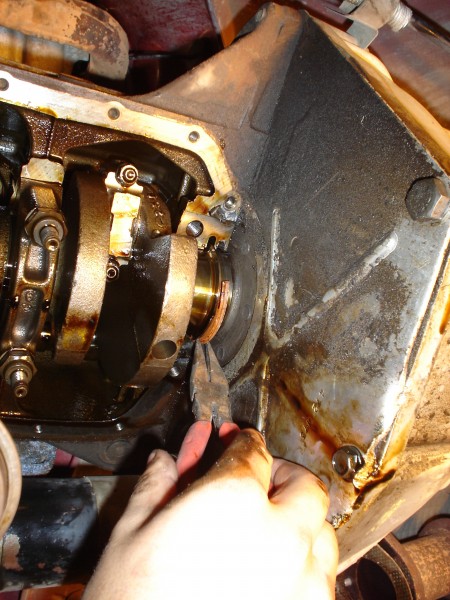
Rear main seal. Tap and yank.
Installation
Installation is the reverse of removal:
1. Replace Seal

Lube and install the new seal into the block. Be sure you have it facing the correct direction as per the mfg. instructions.
Push and rotate the new seal in place.
2. Install into Main Cap
Install the seal into the main cap and lube with engine oil. Make sure the seal is facing the correct direction, as stated above.
3. Add RTV, Install Cap
Place a dab of silicone (RTV) on the corners of the seal, where the two pieces meet, and install the cap. Tap lightly with a rubber hammer to seat the cap. Torque the bolts to 80 ft/lbs.
4. Install Girdle
Install the main cap girdle. Torque nuts to 35 ft/lbs.
5. RTV Corners
Put some silicone (RTV) in the corners on the oil pan, where the cut outs are for the rear cap and front seal.
6. Place Pan Gasket
Put the pan gasket in place and put some silicone in the same spots as above.
7. Install Oil Pan
Install Oil Pan. Tighten pan bolts, DO NOT overtighten (7 ft/lbs).