Jeep Articles & News
Savvy Offroad TJ/LJ Aluminum Gas Tank Skid Install
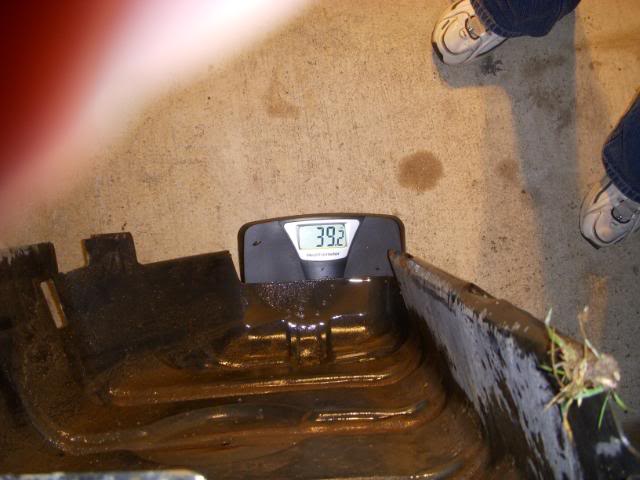
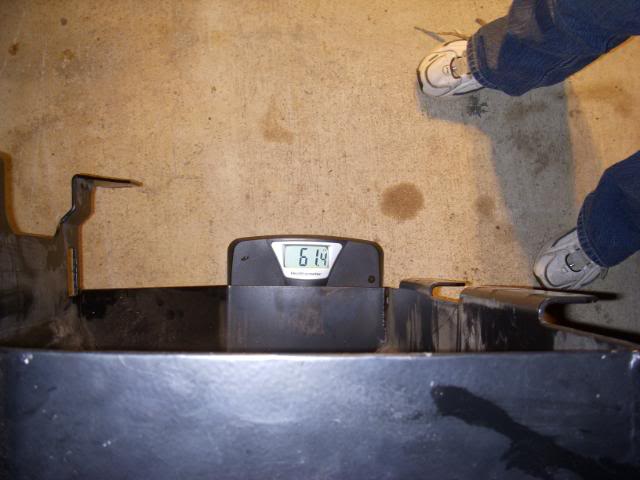
I have been lucky enough to receive a pre-production version of the Savvy Offroad gas tank skid. We’ve been running the stock skid (with some 1/8″ plate welded to the bottom) on our 02 TJ for 6 years and it’s really taken a beating. I’m very weight conscious when it comes to my rigs and this one is no exception. I’ve had a competitors skid in may garage for 6 months and I just couldn’t bring myself to install it, mainly because it weighs 61 pounds!!!
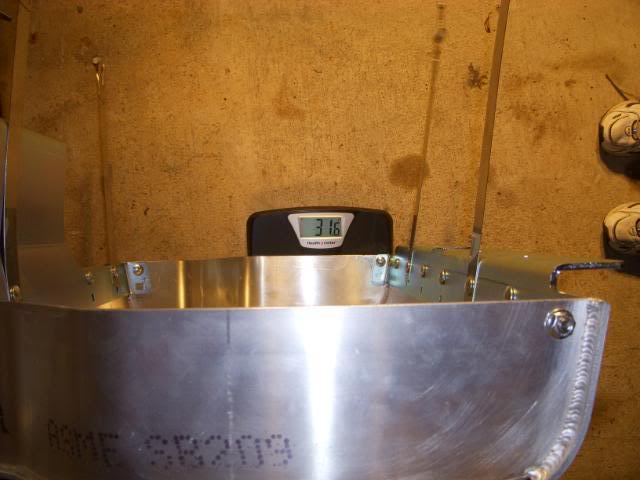
There are several innovations employed in this skid. The biggest and most significant is the use of Aluminum (3/16″ thick 6061-T6, if you must know). This helps the skid weigh in at 31.6 pounds (4 pounds more then a stock skid). Secondly, it’s adjustable to account for a 1 inch body lift. No more spacers just toss the skid on then when you get the BL, move the skid to the “raised position.” The tank straps have also been redesigned allowing the skid to me moved back as much as possible. Of course has a dimple for the fuel pump, just like the stock skid. So far I’m impressed with the amount of thought that has gone into this skid. In a market that’s overly saturated with regurgitated same ole products, this Savvy skid is a breath of fresh air. Here is my write-up and comparisons.
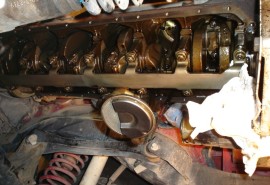
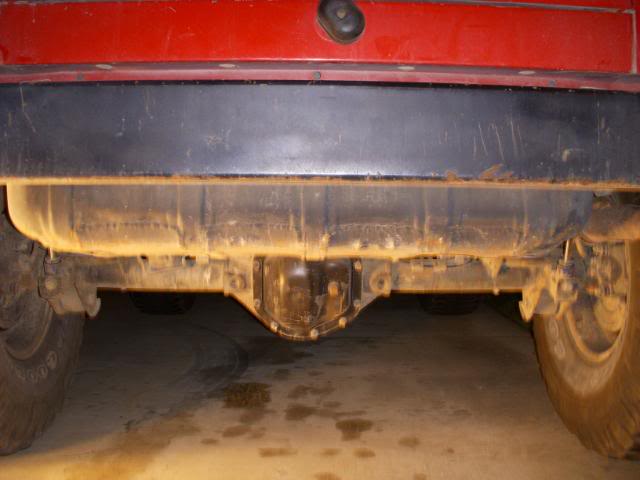
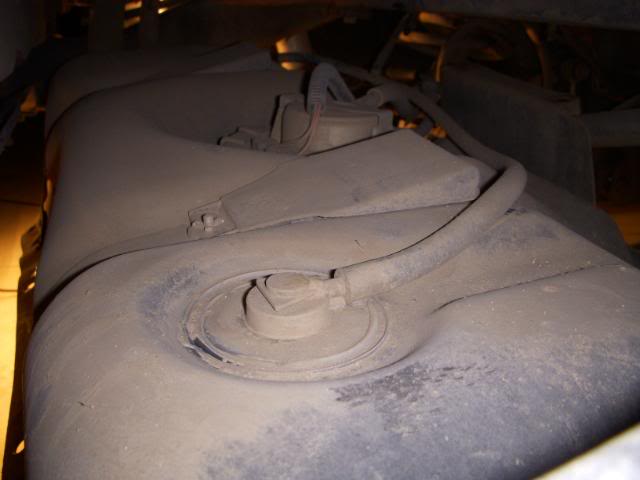
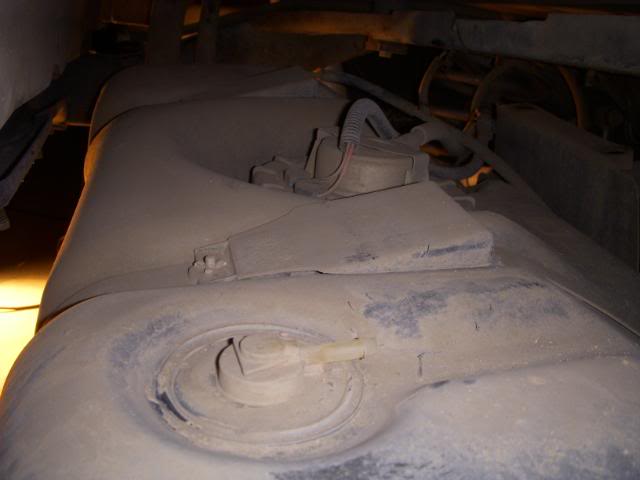
Stock skid:

Savvy Offroad
14381 Franklin Ave.
Tustin, CA 92780
info@savvyoffroad.com
(949)795-0909
Price: $289
Time to install: 2.5 hours
Tools needed:
1/2″ socket
3/16″ allen wrench
13 mm socket
3/8 drive ratchet
3/8 drive 6″+ extension
Phillips Screwdriver
Floor jack
Piece of wood
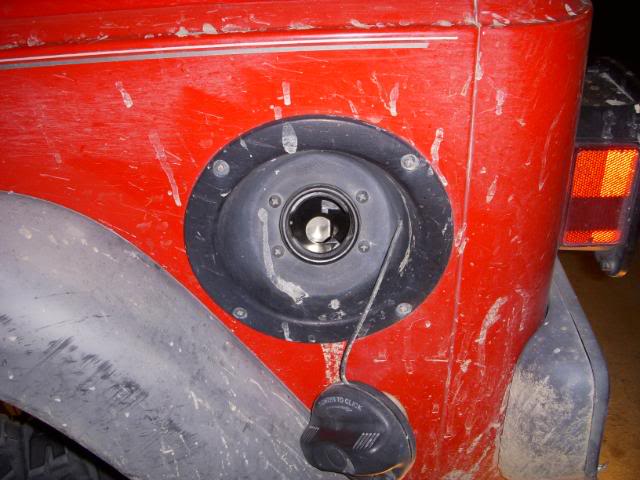
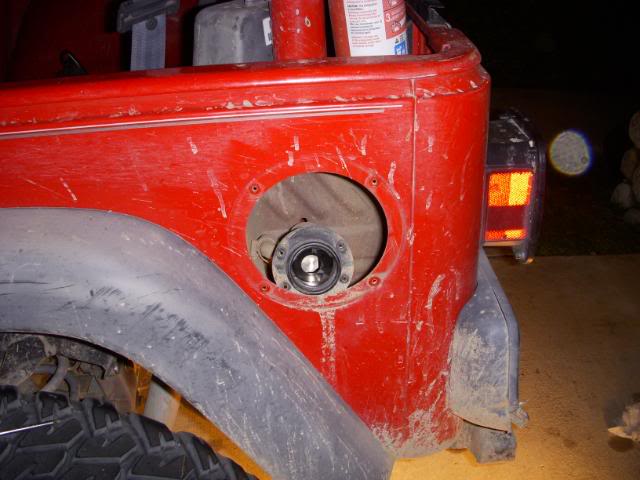
Step 1: Remove the 4 screws holding the filler neck to the plastic bezel. Then remove the 4 screws holding the bezel to the Jeep. Gently remove the gas cap from the bezel and install it on the filler neck to stop junk from getting into the tank. Cut the zip tie holding the diff breather off the fuel filler hose.
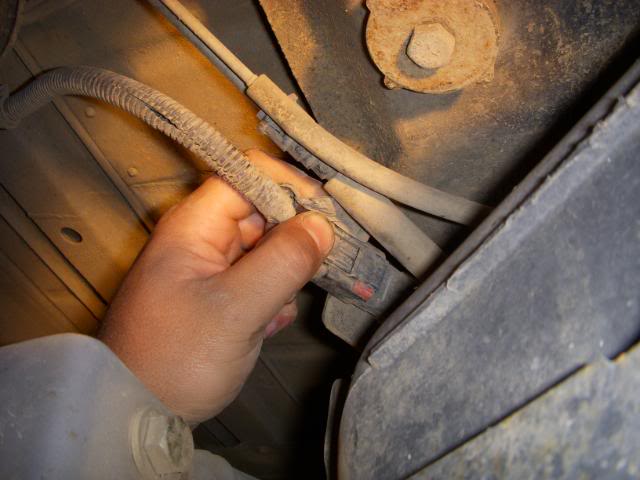
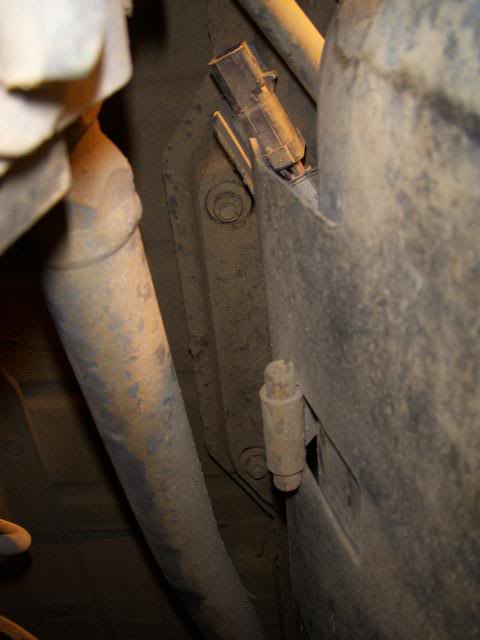
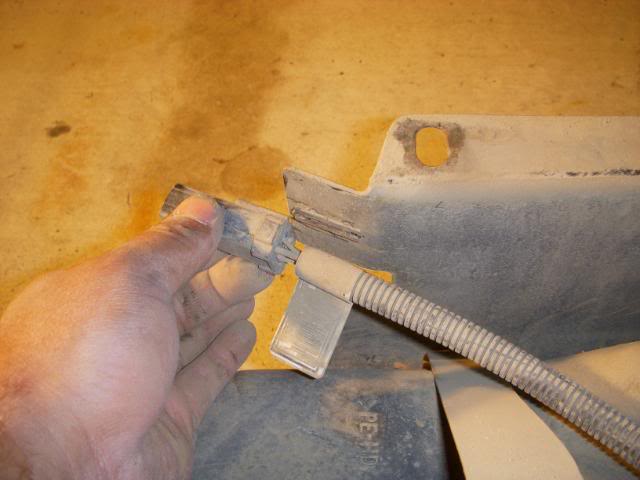
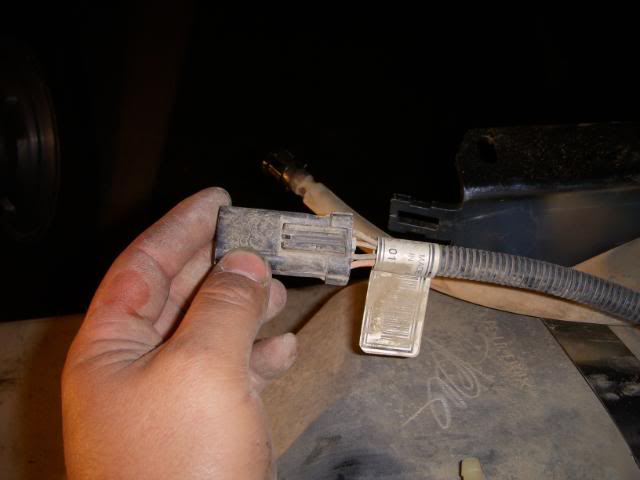
Step 2: Unplug the fuel pump. Pull on the red safety tab, this will only move 1/8″ to 3/16″, then squeeze the connector clip and pull. The plug will probably come loose or break away from the skid, this is unfortunately normal. If the plug doesn’t come apart with a minimal amount of force check to make sure the safety tab is disengaged and try again.
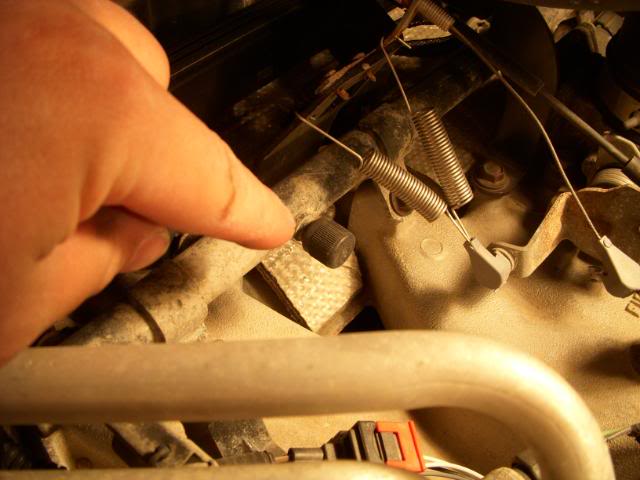
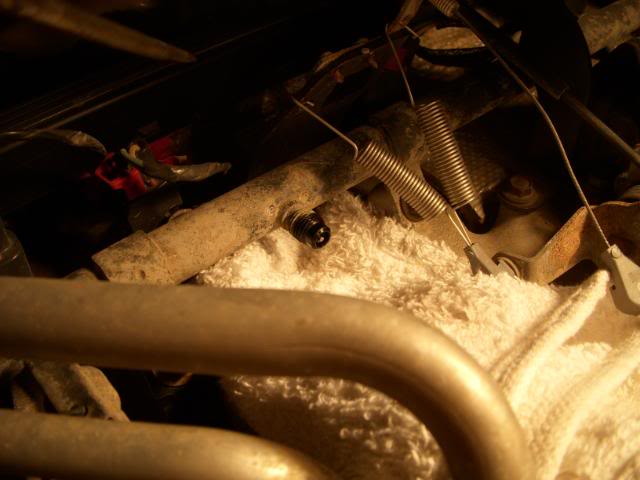
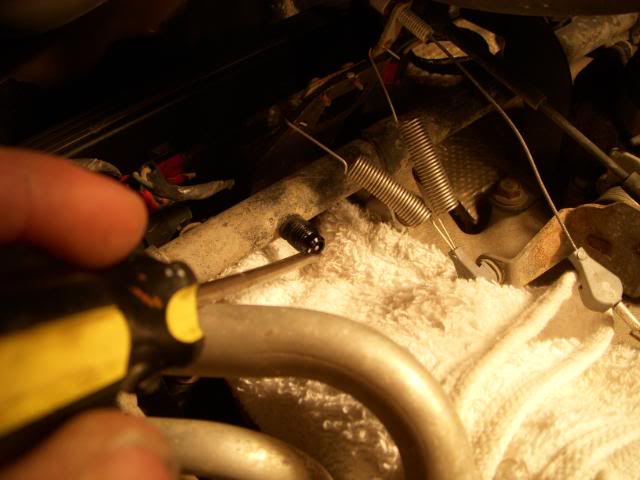
Step 3: Releasing fuel system pressure. Pop the hood and locate the shrader valve on the fuel rail. Remove the black plastic cap. Place a rag under the valve and use a small screw driver to release the pressure. It helps if you hold the rag in a somewhat “L” shape to stop the horizontal spray. When the pressure is released, replace the black cap and close the hood.
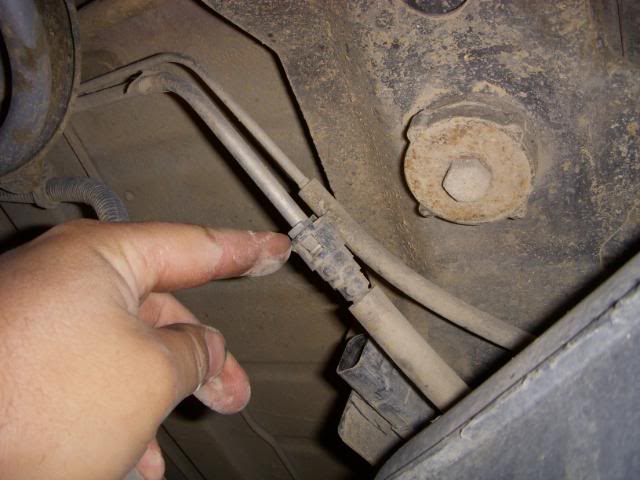
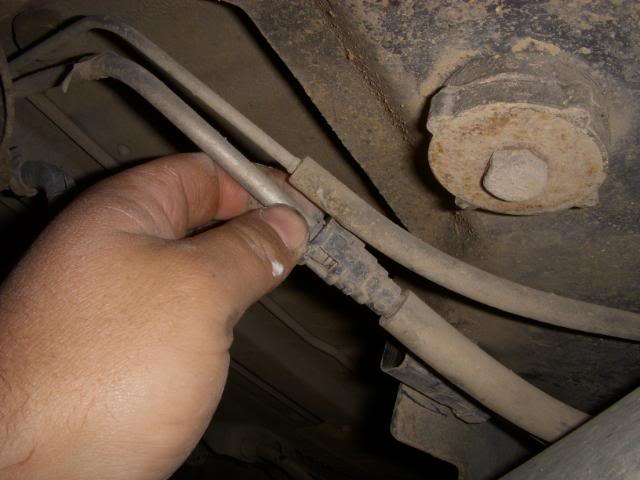
Step 4: Disconnect the Fuel supply line. There are 2 grey tabs 180 degrees from each other, squeeze those. While squeezing, grab the rubber flex line with your other hand, push your hands together them pull on the flex line. It is possible, and highly likely, gas will come out of the line. Don’t have your head directly under the fitting. You don’t want gas in your eye. Have a rag handy to catch the gas.
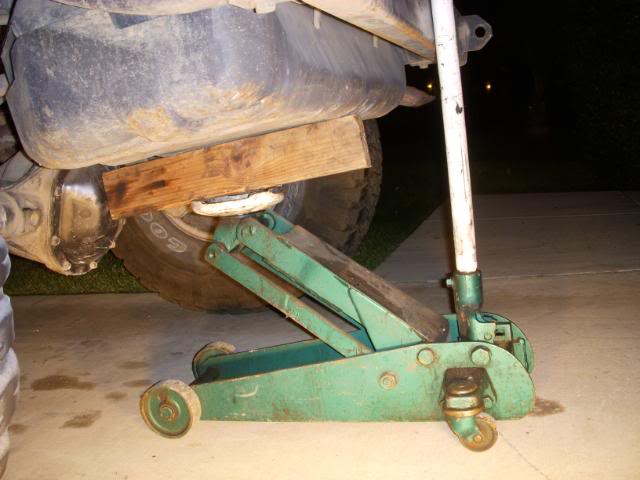
Step 5: prepare for removal. Place your floor jack, with a block of wood, under the tank and jack up till it just starts to pick the back of the Jeep.
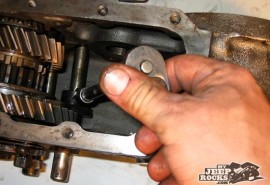
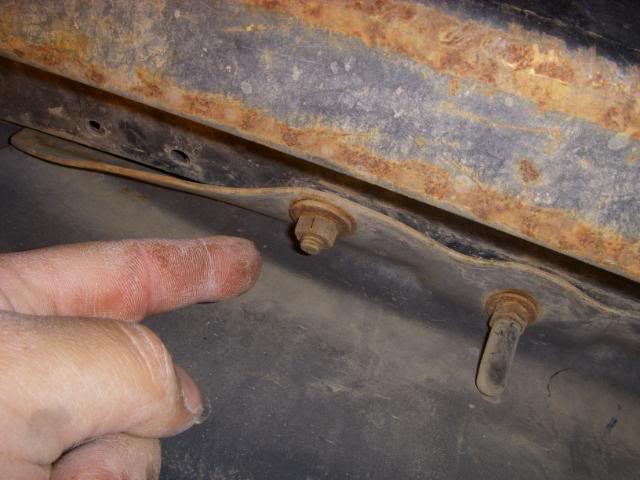
Step 6: Skid and Tank removal. Remove the 13mm nuts along the front and back crossmembers (7 nuts total, 4 back 3 front). Leave the longer “studs” for later.
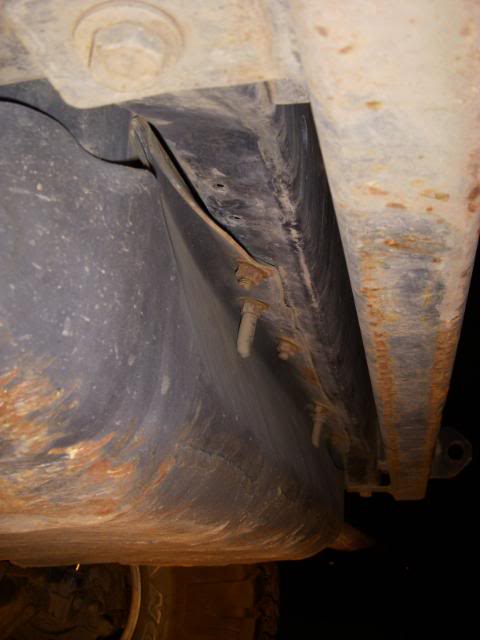
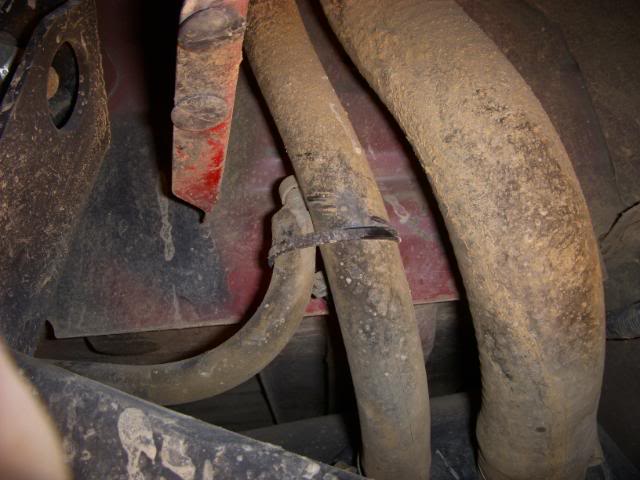
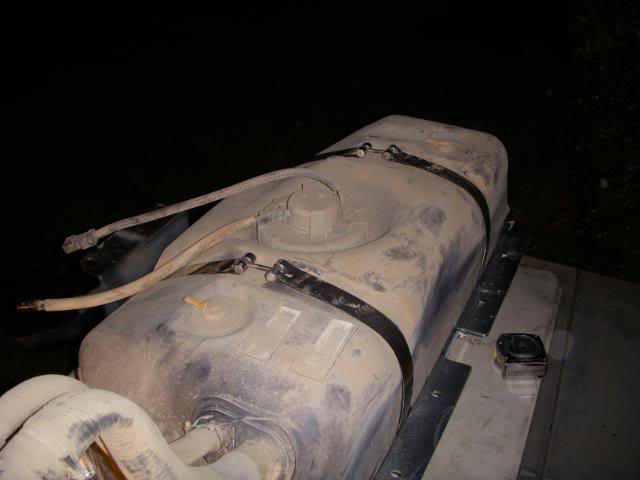
Step 7: Lowering the tank. Start to SLOWLY lower the gas tank. When you get it dropped down a couple inches, stop and remove the check valve hoses. There are 2 hoses on our 02 (97-02 is similar, 03+ is different). After the hoses are disconnected, make sure everything else is unhooked and free of getting hung up. Lower the tank to the ground.

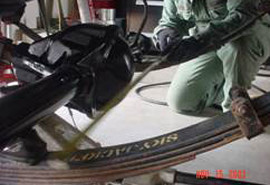
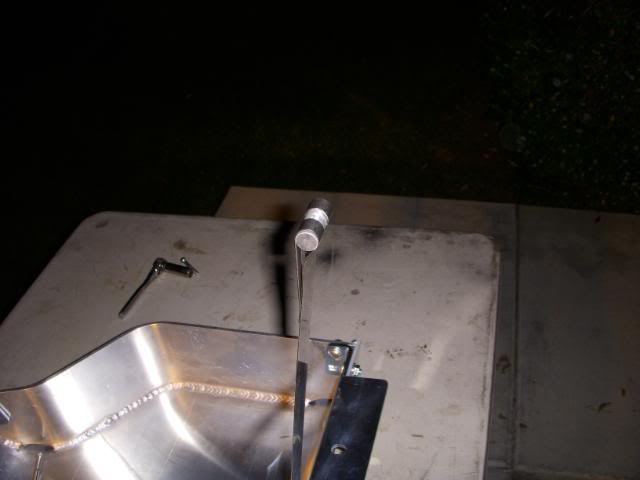
Step 8: On the ground
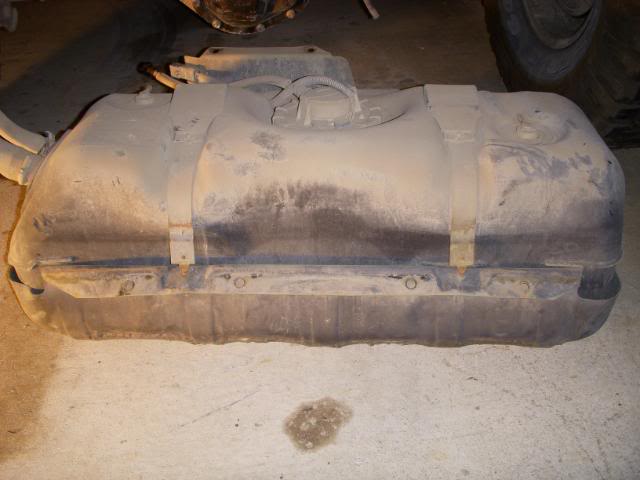
Step 9: Separating the skid and tank. Now remove the rubber thread protectors (if they’re still there) and remove the 13mm nuts.
Step 10: Slide the plug off the plastic clip, if its still attached. Lay the wiring out of the way of the tank straps.
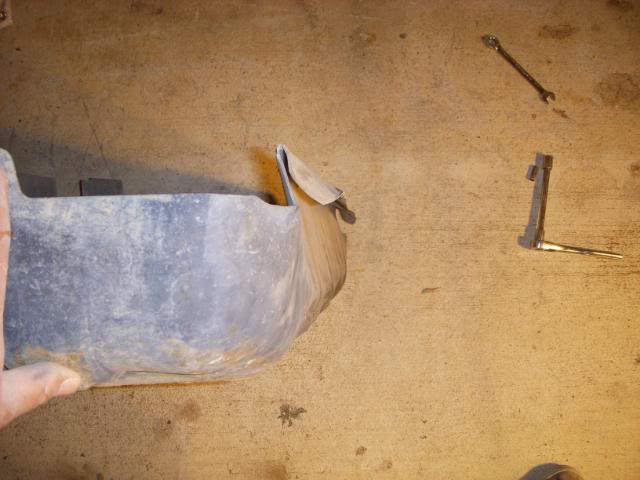
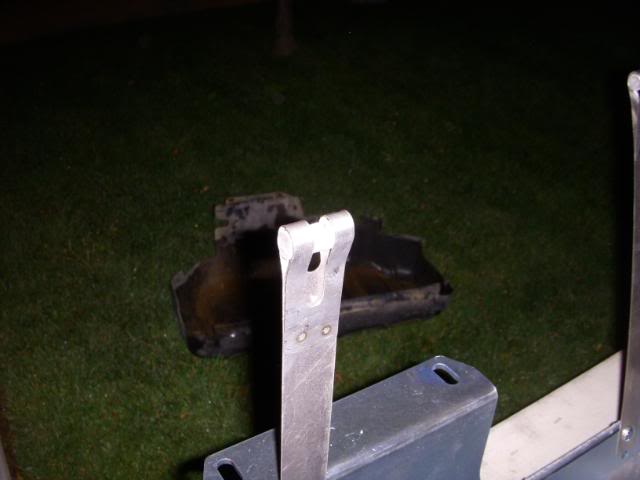
Step 11: Bend the straps forward and out of the way. Lift the tank out of the stock skid and discard the skid and straps.

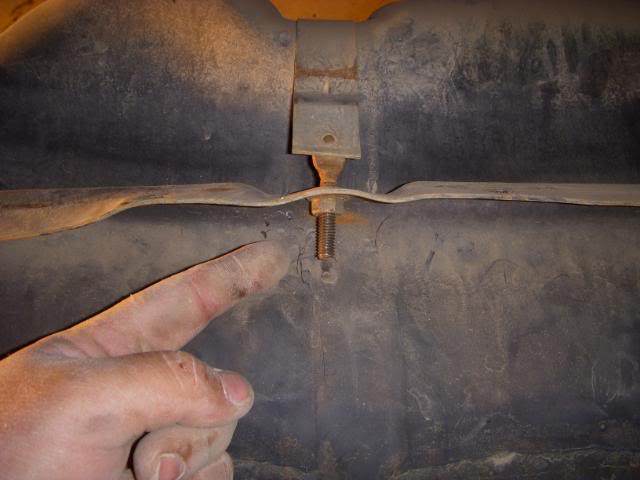
Bent stock skid from 6 years of wheeling:
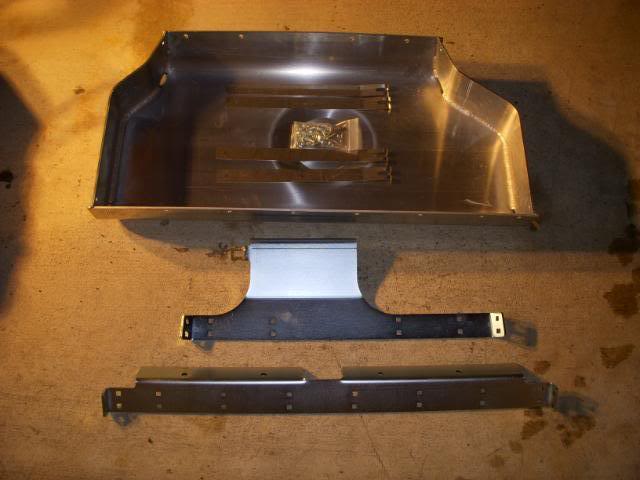
Step 12: Preparing Savvy skid. Lay the skid on the ground or bench and lay out all the hardware to insure everything is present. 16 bolts, 16 nuts, 4 cross pins (2 threaded, 2 non-threaded), 6 allen bolts (only 2 are used, 6 come in the kit), 4 stainless tank straps and 2 steel mounting flanges.
Step 13: Installing mounting flanges and tank straps. Install the flanges in the skid. If you have a body lift use the top row of holes so the flange is flush to the top of the aluminum skid. If no body lift is used, use the bottom row of holes. Install the front and rear row of bolts first (do not tighten yet) making sure the straps are in the correct position (see pic below). Tighten the front and back row of bolts to 20 foot pounds using a ½” socket, keeping the 4 used for the straps loose. When those bolts are tight then tighten the 4 outside bolts.
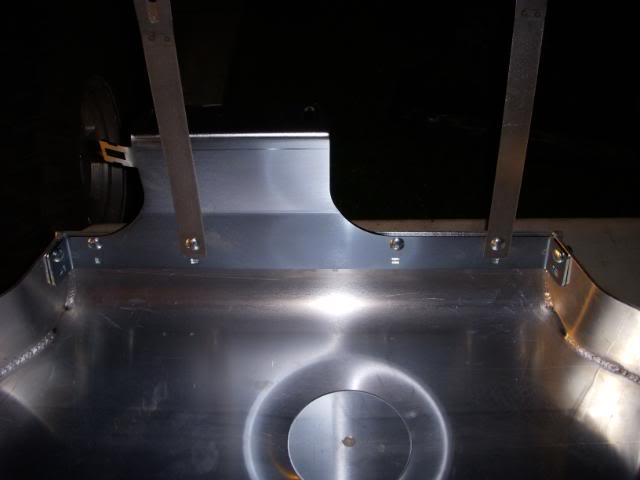
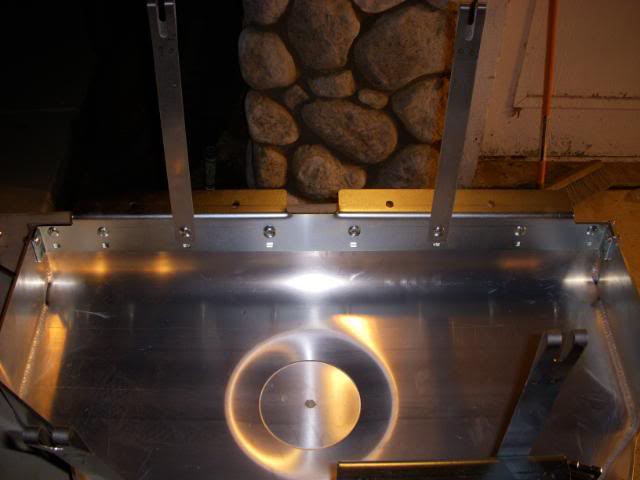
Now install the 4 cross pins. Install the 2 threaded pins in the rear straps and the non-threaded pins in the front straps.
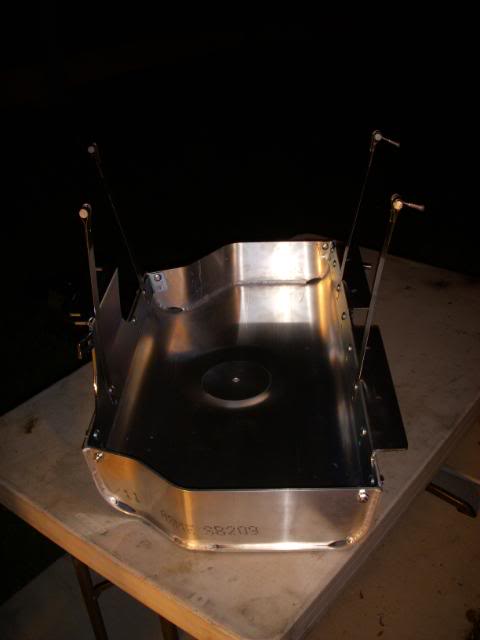
Skid fully assembled, ready for the tank:
Step 14: Installing the tank. Drop the tank directly in the skid. One side at a time probably won’t work.

Fold the tank strap towards each other and tighten the allen bolts with your 3/16 allen wrench.
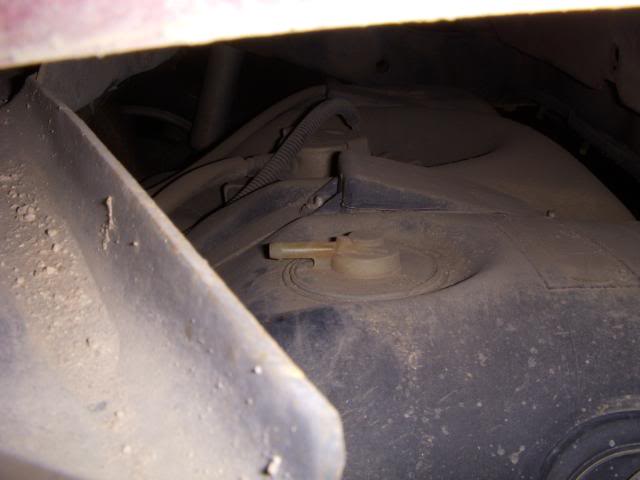
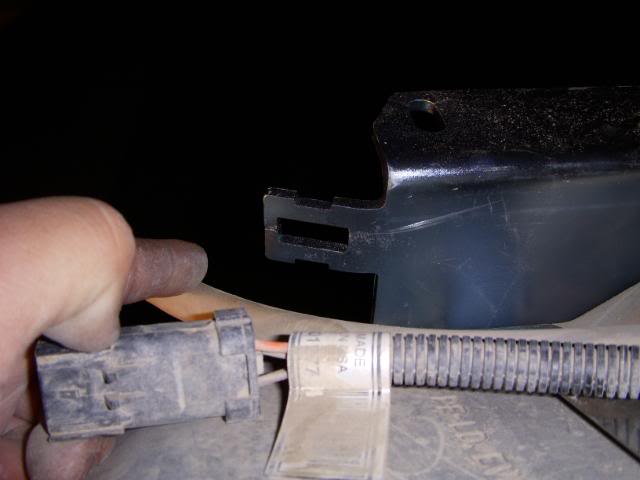
Locate the fuel pump plug and the corresponding tab on the skid
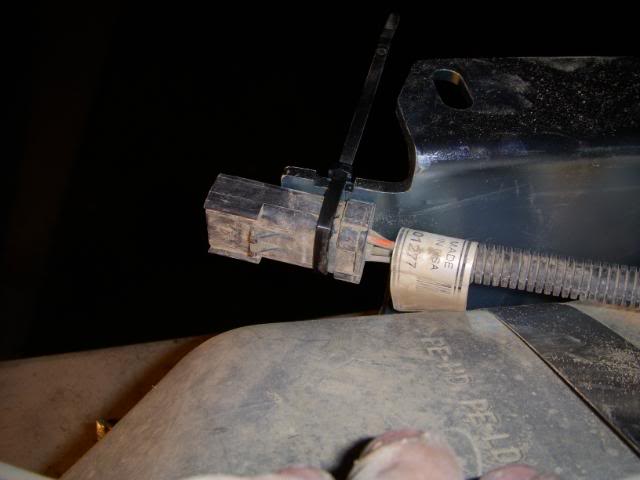
Place the plug into the slot and attach using the supplied zip tie. Leave the zip tie a little loose, you’ll need to move the plug slightly to clip it onto the other end later.
Step 15: Installation. Installing the assembly is the reverse of removal. Place the skid on your floor jack and begin lifting. When you get close enough to attach the EVAP lines, do so. After those are hooked up continue lifting. Make sure you get the filler neck located above the frame. I found it helpful to get the skid in place and start the 4 rearward nuts then rotate the front of the skid up to the front studs. Attach the fuel supply line making sure it is fully clipped and locked in place. Plug in the fuel pump. You may have to pull the zip-tied part a little away from the skid to get the plug to clip in. Once you have the plug in place, tighten the zip tie. Make sure to re-engage the red safety clip.
Once everything is hooked up, hop in the Jeep and turn the key to the “ON” position. This will do 2 things, prime the fuel system and build pressure so you can check for leaks. Once it has been determined there are no leaks, start the Jeep. It may take a little longer then normal to start do to air in the system.
Comparisons:
Stock Skid Weight (w/ 1/8″ welded to the bottom):
Competitors 3/16 steel skid:
Savvy 3/16 aluminum skid:
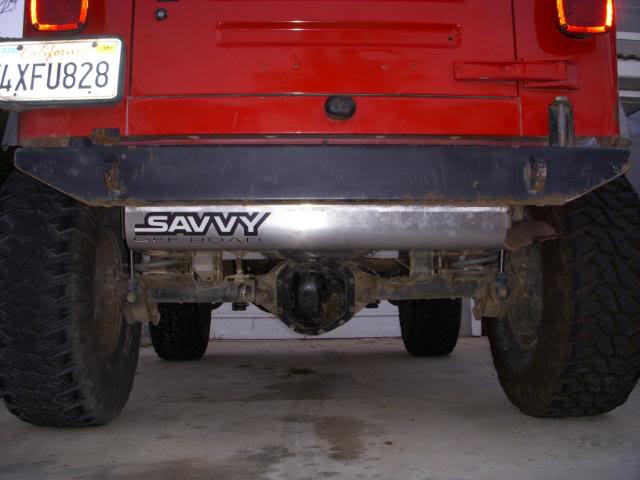
Rear shot, stock:

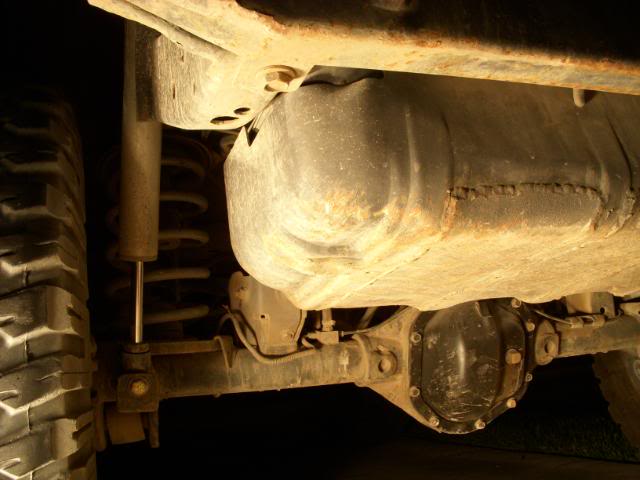
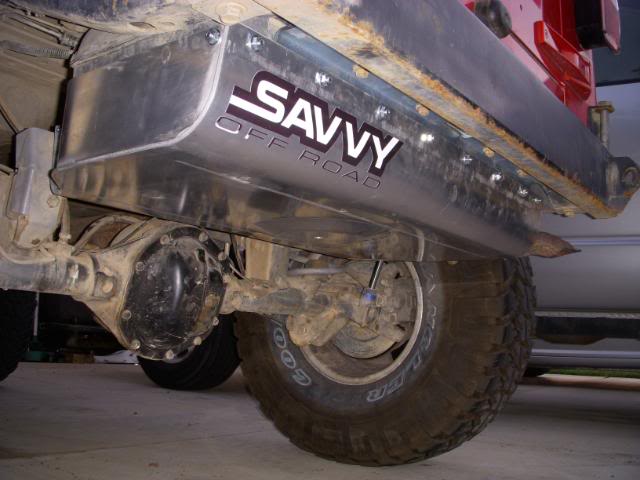
Rear shot, Savvy:
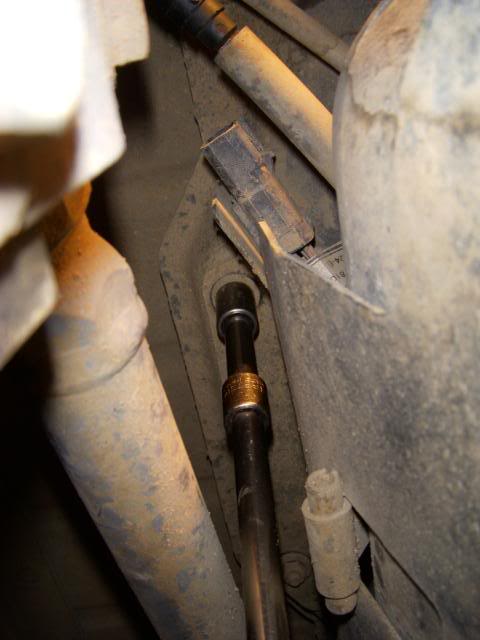
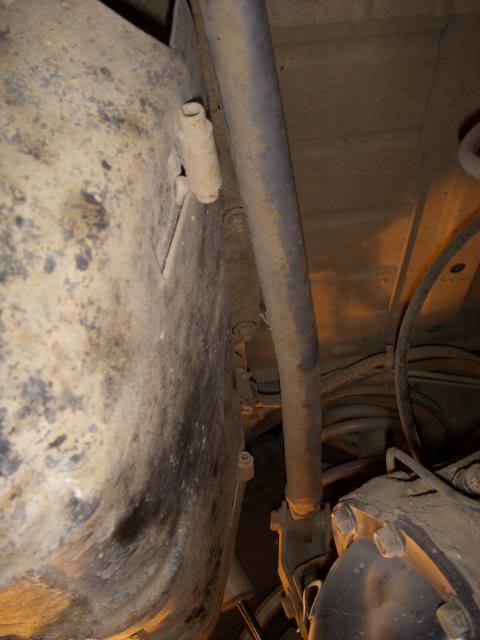
Trackbar clearance, stock:
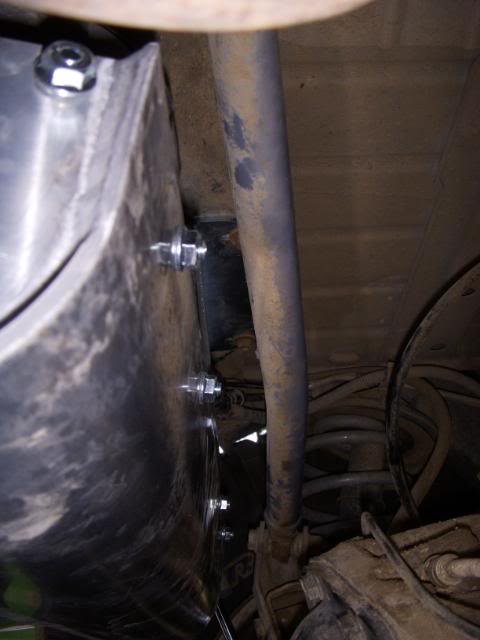
Trackbar clearance, Savvy:
Savvy Offroad Contact Info:
Savvy Offroad
14381 Franklin Ave.
Tustin, CA 92780
info@savvyoffroad.com
(949)795-0909