Originally posted by dirtman13
View Post
Announcement
Collapse
No announcement yet.
Nick's CJ build part 1
Collapse
Forum Thread First Post
Collapse
X
-
I can SOOO duplicate that truck's paint scheme on the CJ...[CENTER][COLOR=#ff0000]Resistance Off Road
[/COLOR]Join the Resistance...
http://www.resistanceoffroad.us[/CENTER]
-
Haha!![COLOR="#FF0000"]R[/COLOR]edneck [COLOR="#FF0000"]D[/COLOR]riveway [COLOR="#FF0000"]F[/COLOR]ab
www.DanielBuck.net - www.DNSFAIL.com - www.FurnitureByBuck.com
Comment
-
Got done with customer calls early today for once in a very long time. Sooo...
Started the body mount fabrication portion of the show. 4x4x3/16" structural tube. The square cut will fit on top of the frame to add 2 inches height and the pucks will add another for a total of 3 inches of lift. If you think 3 inches of body lift sounds like a lot, it's HALF of what I originally estimated we would need. And I wasn't going there. This ain't Michigan...
Start with this
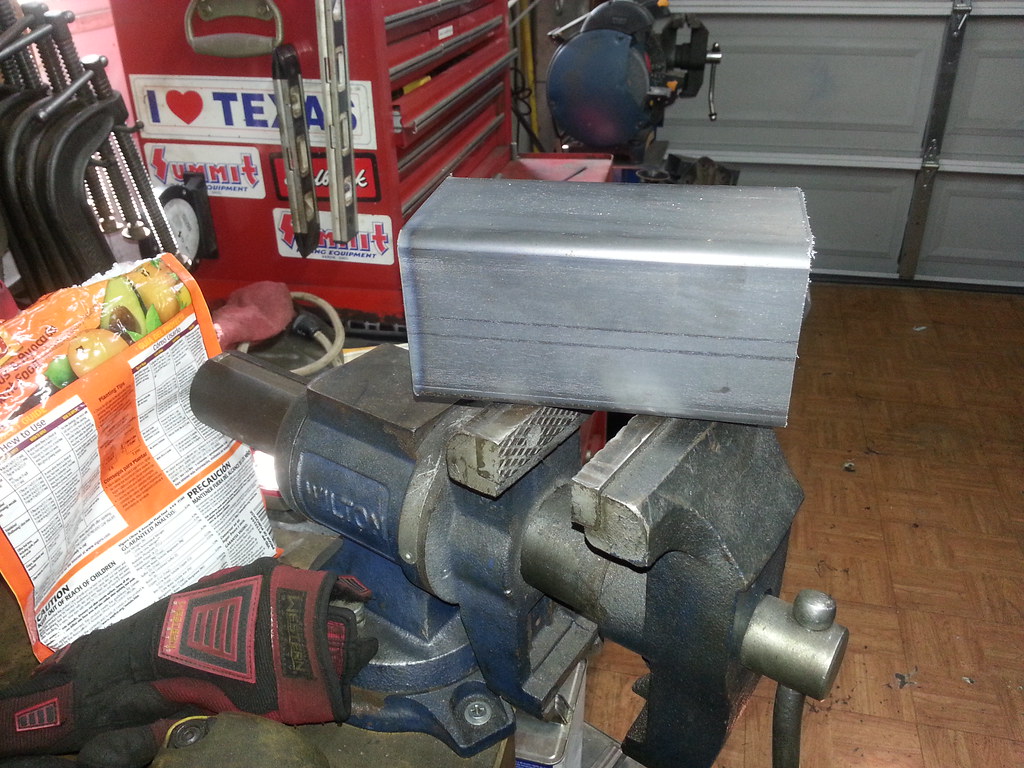
20131008_102308 by MJR RAT, on Flickr
And after some layout and cutting, end up with this

20131008_110516 by MJR RAT, on Flickr
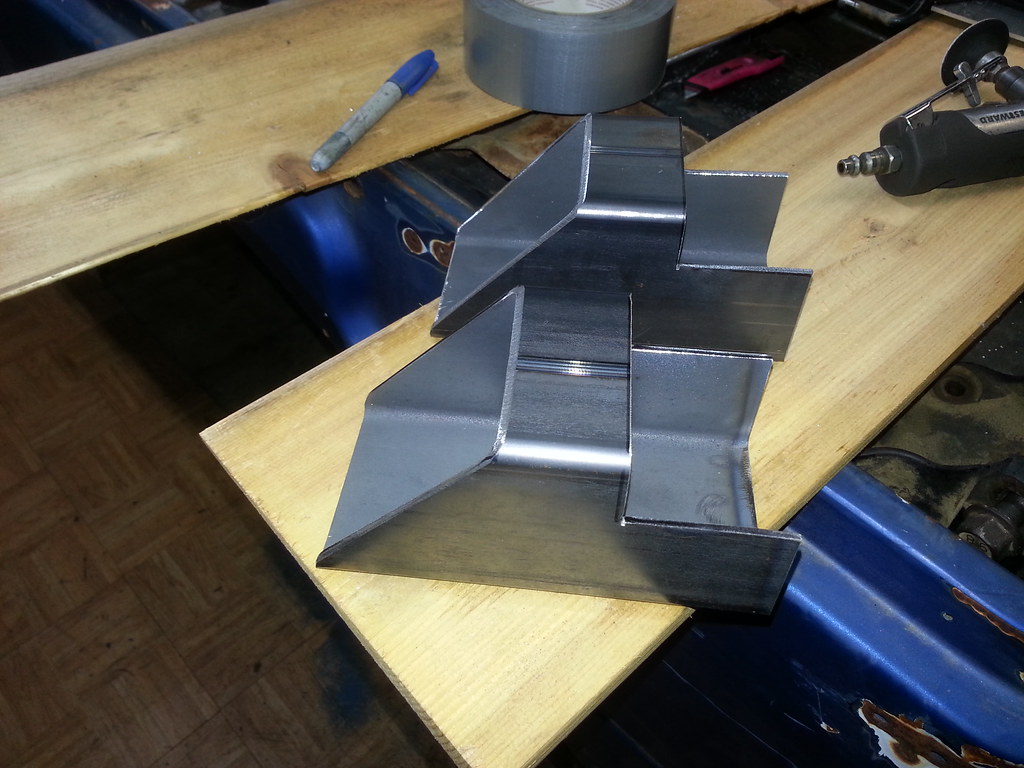
20131008_115352 by MJR RAT, on Flickr
Puck it
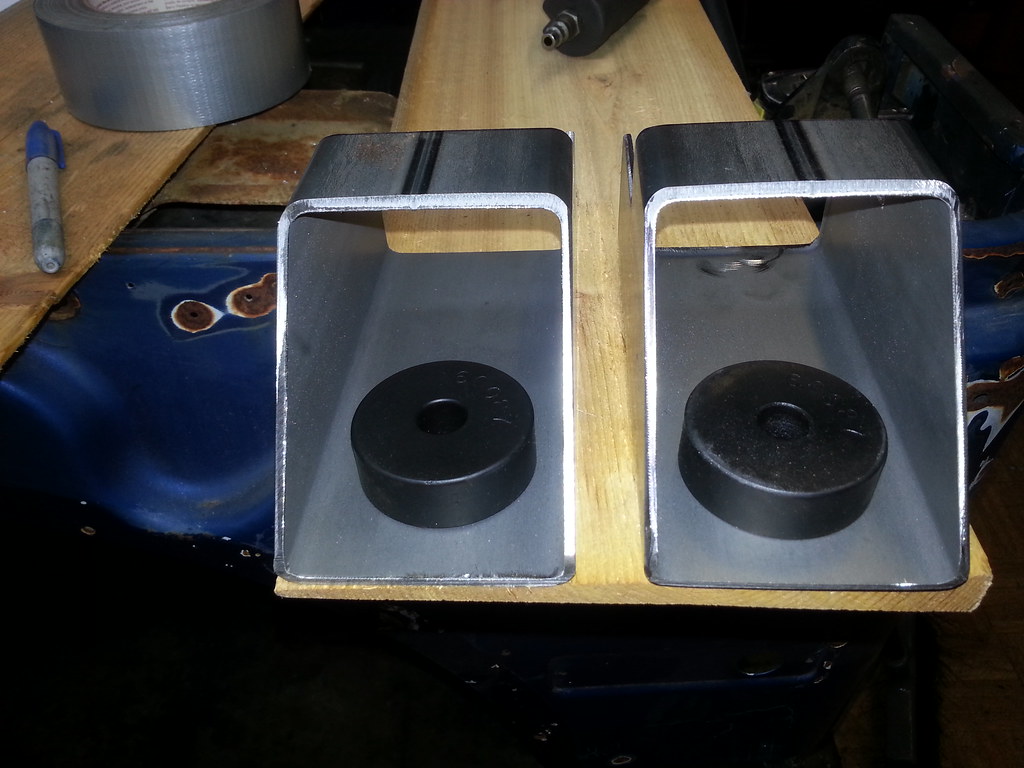
20131008_115452 by MJR RAT, on Flickr
Two more of these to go. These are the central mounts. There are 6 more to make; 2 for the radiator core support, two at the back bumper, and two under the bed along the centerline.
More later...[CENTER][COLOR=#ff0000]Resistance Off Road
[/COLOR]Join the Resistance...
http://www.resistanceoffroad.us[/CENTER]
Comment
-
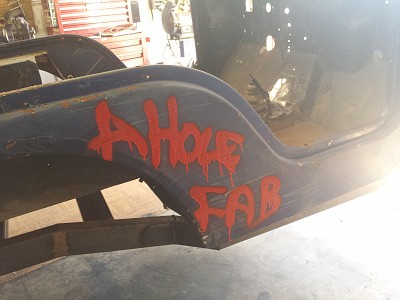
Looks like a Halloween theme to me. Zombie Jeep from Hell...Originally posted by USMC 0369 View Post[COLOR="#800000"]I dunno... sportin a pretty sweet paint job already! [/COLOR]
 [CENTER][COLOR=#ff0000]Resistance Off Road
[/COLOR]Join the Resistance...
http://www.resistanceoffroad.us[/CENTER]
Comment
-
The Saga continues...
Decided on a paint scheme
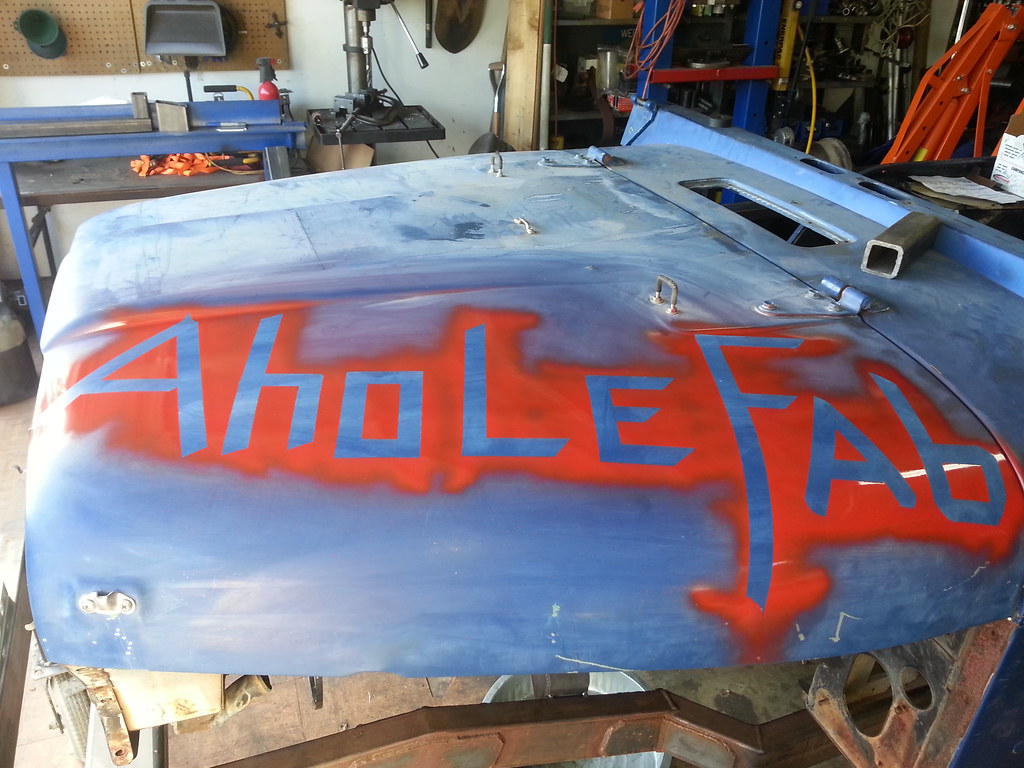
20131013_161802 by MJR RAT, on Flickr
Hood on a fitted. Had to get this done to set the body mount height.
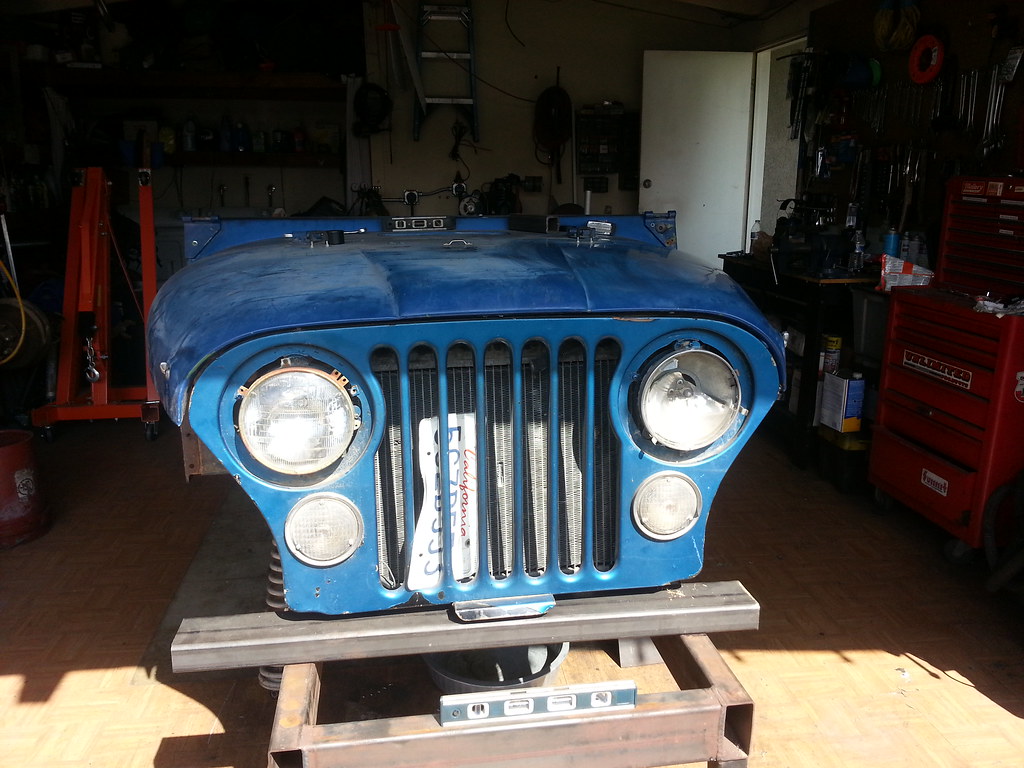
20131013_113545 by MJR RAT, on Flickr
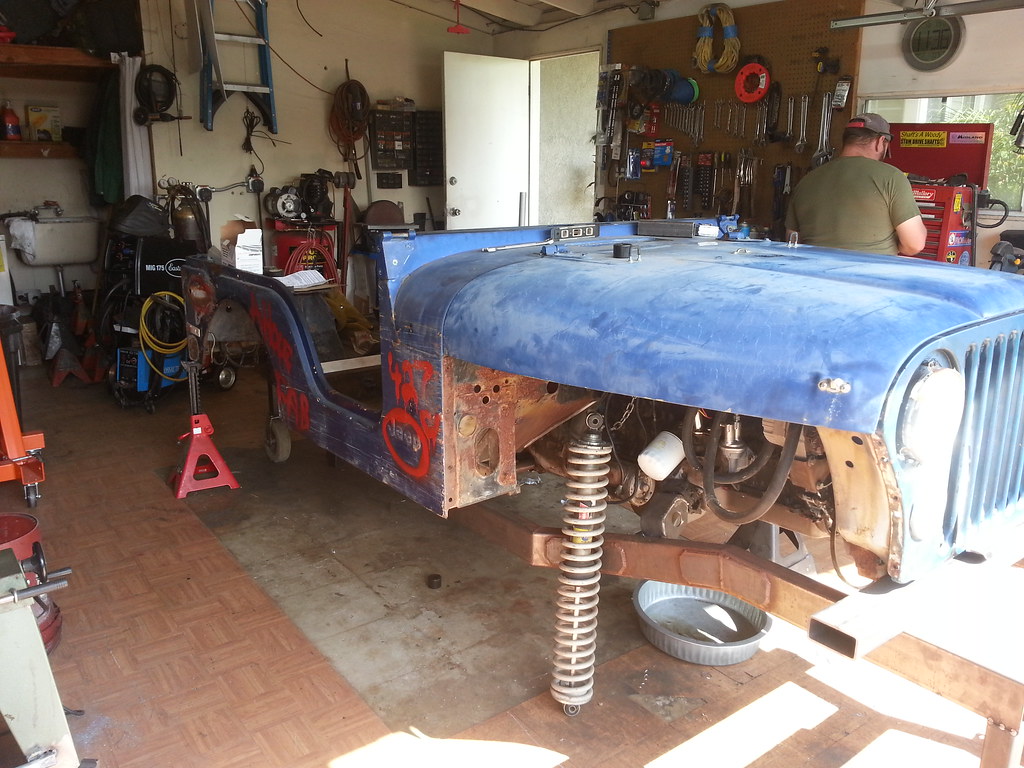
20131013_113607 by MJR RAT, on Flickr
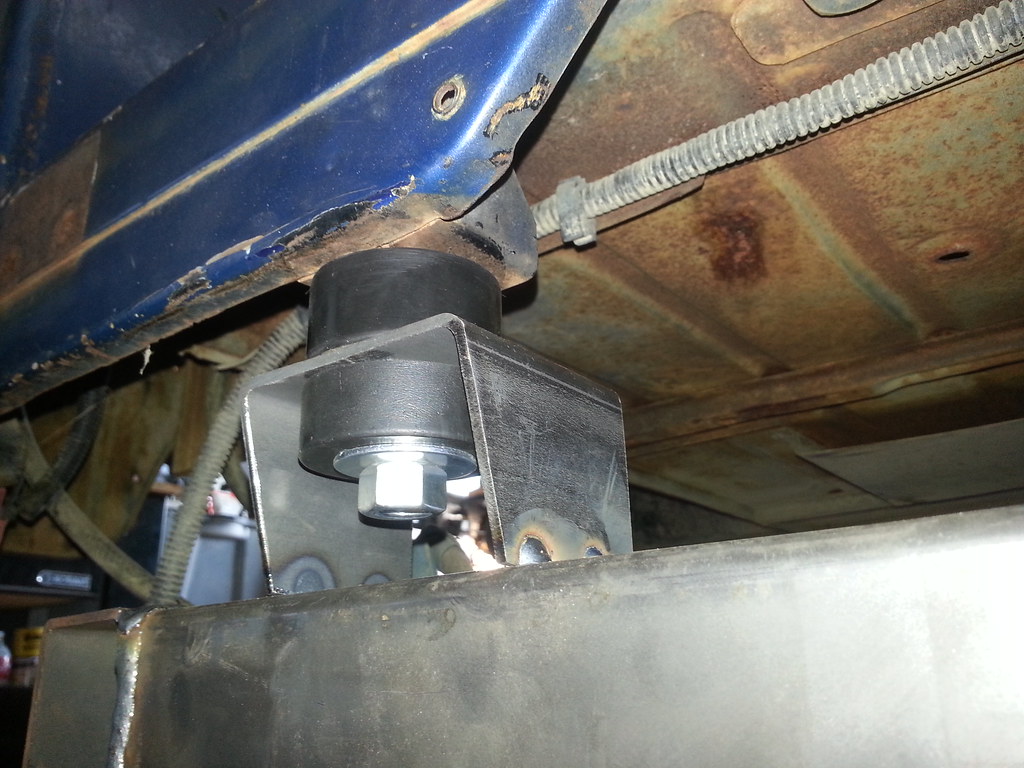
Body mounts tacked in. These are the main mounts directly under the driver compartment
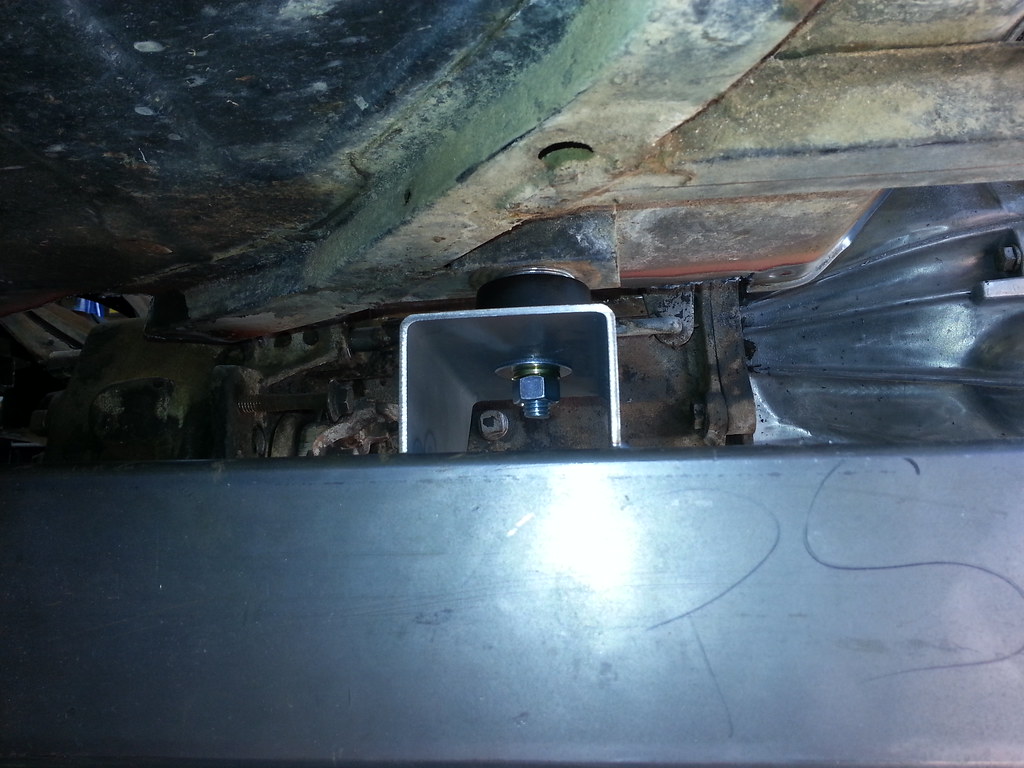
20131013_113626 by MJR RAT, on Flickr

20131013_113631 by MJR RAT, on Flickr
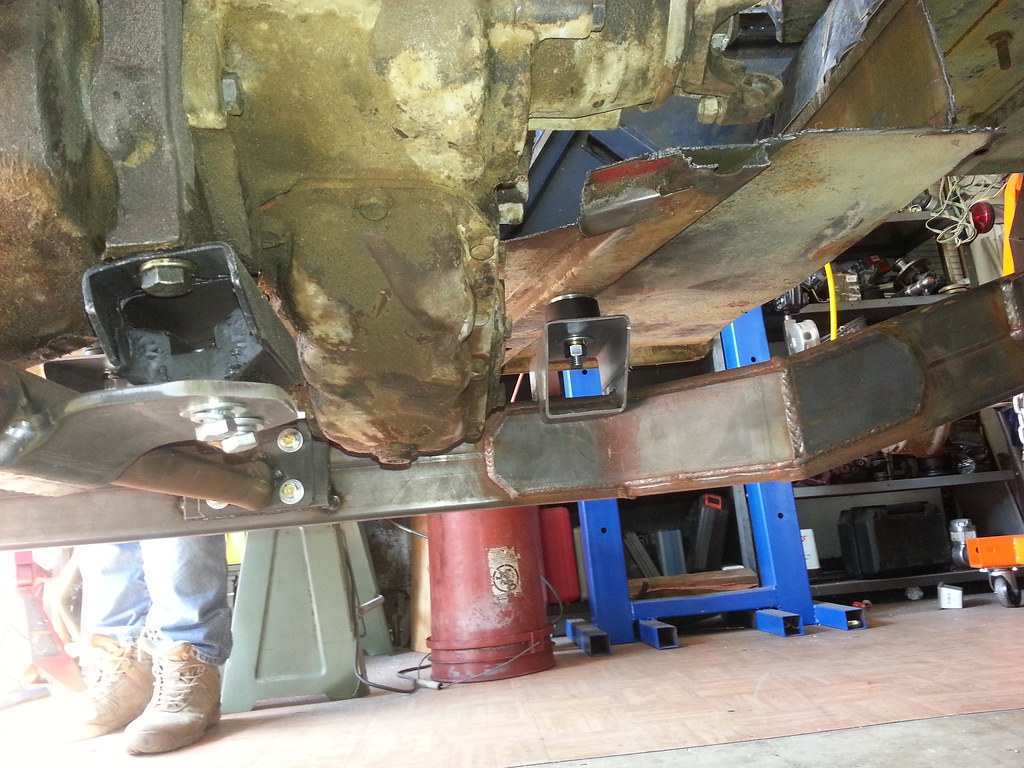
20131013_114752 by MJR RAT, on Flickr
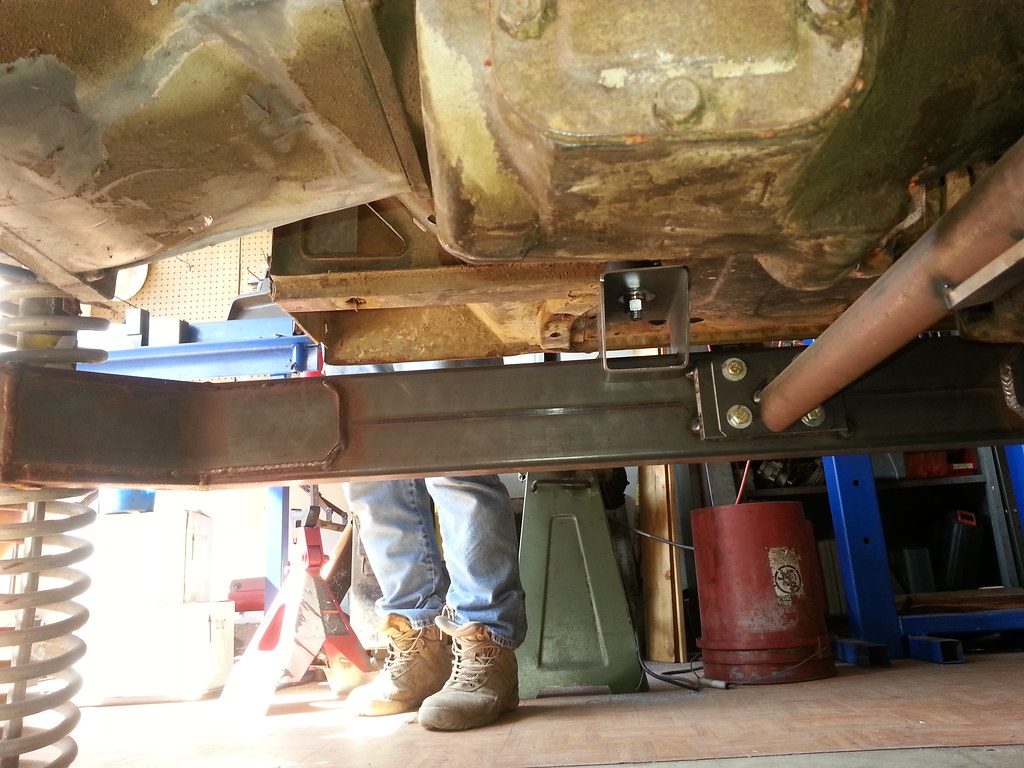
20131013_114759 by MJR RAT, on Flickr
Making the rear mounts under the tail gate
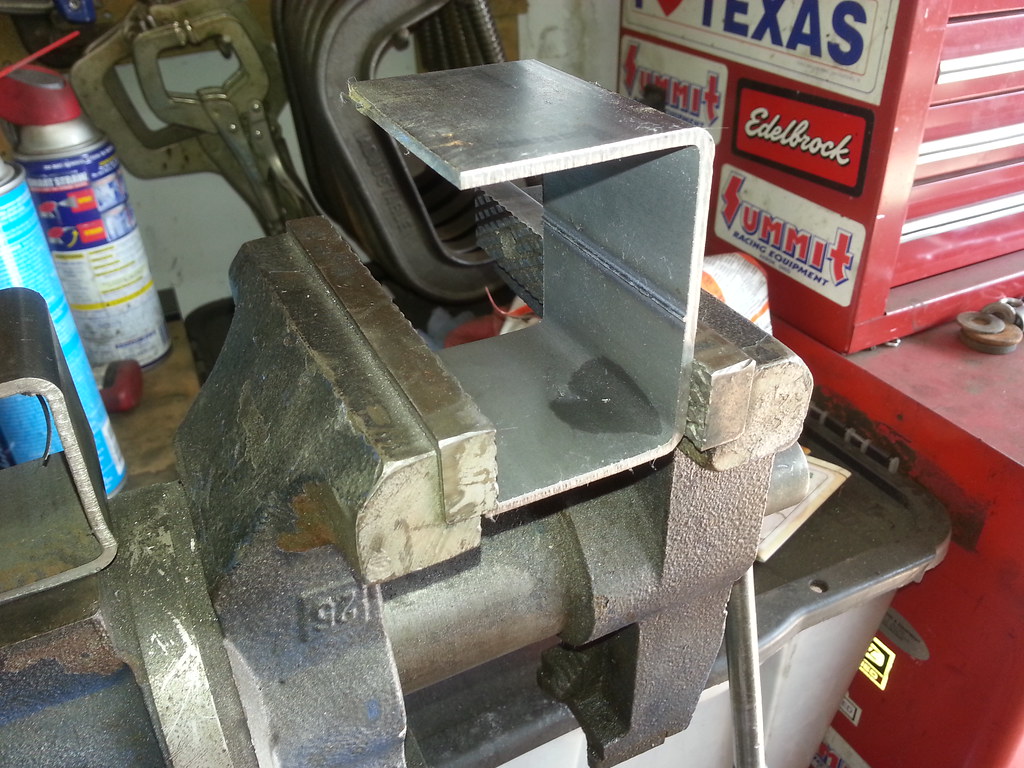
20131013_134759 by MJR RAT, on Flickr
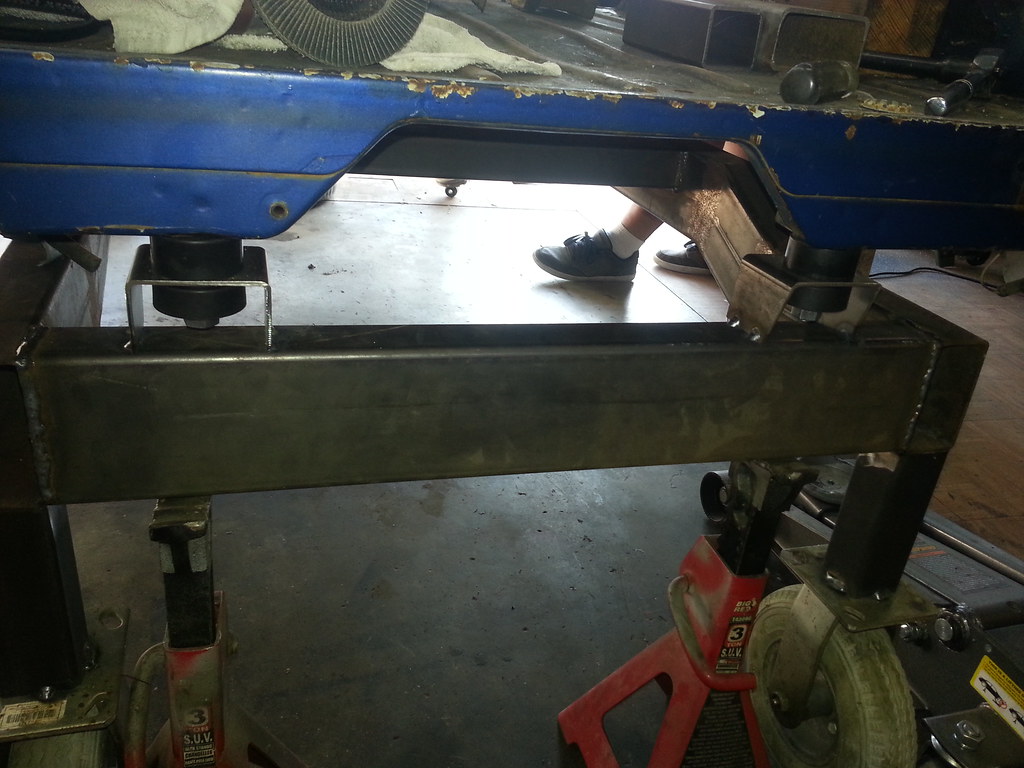
20131013_160123 by MJR RAT, on Flickr
20131013_172715 by MJR RAT, on Flickr
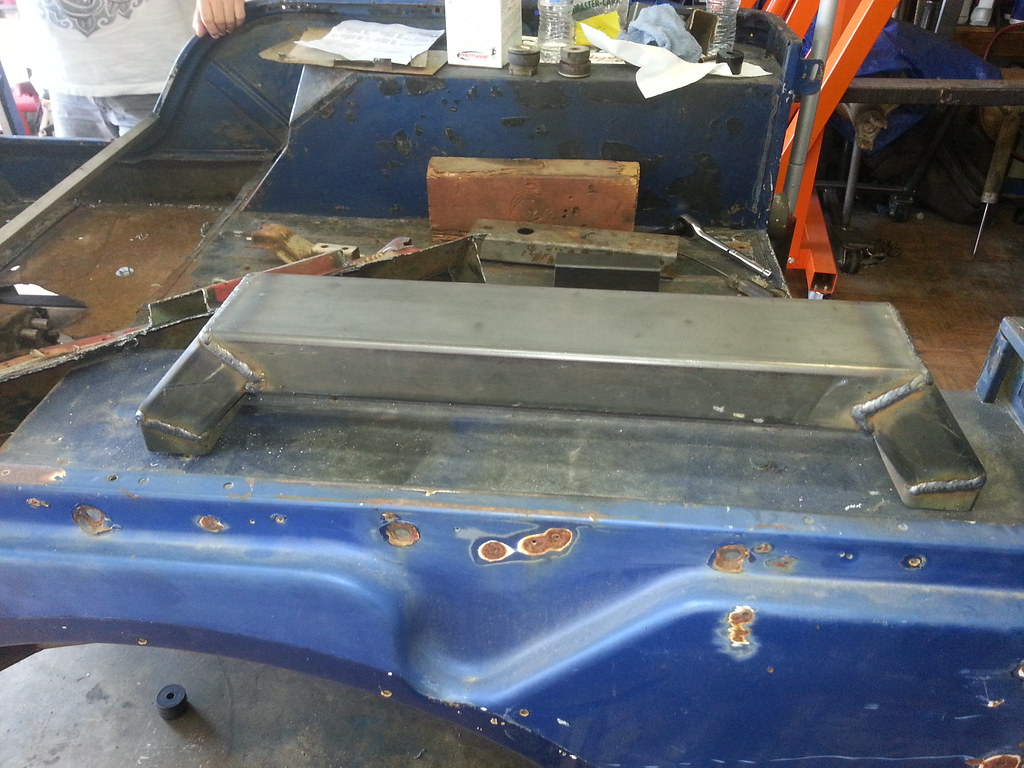
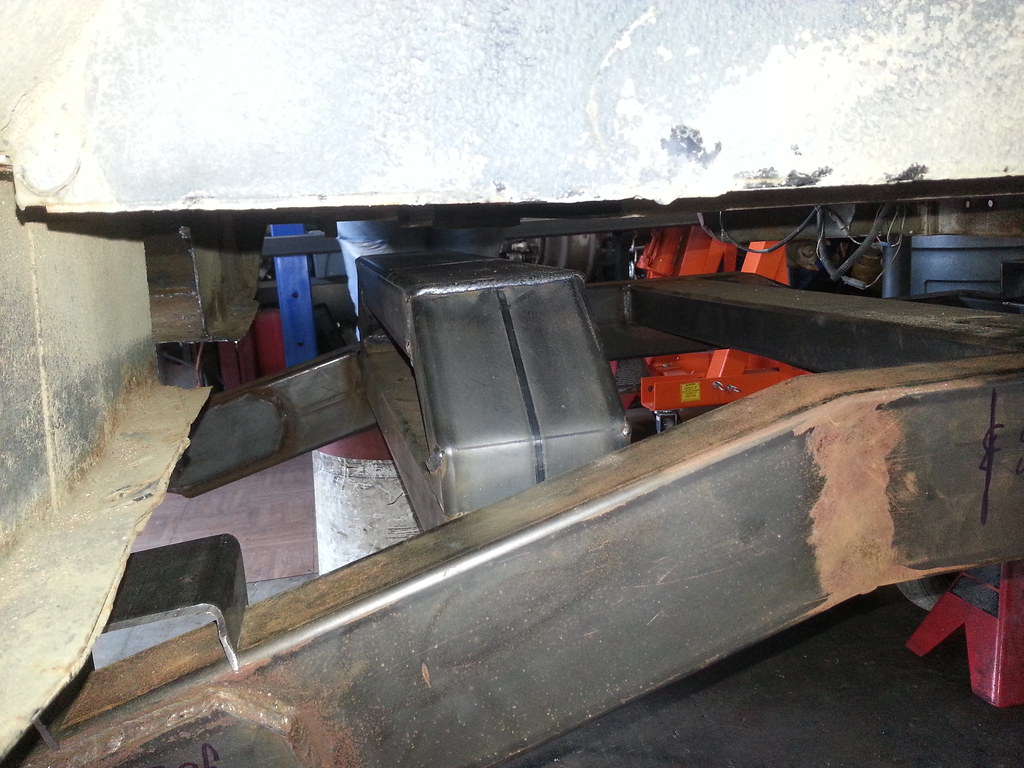
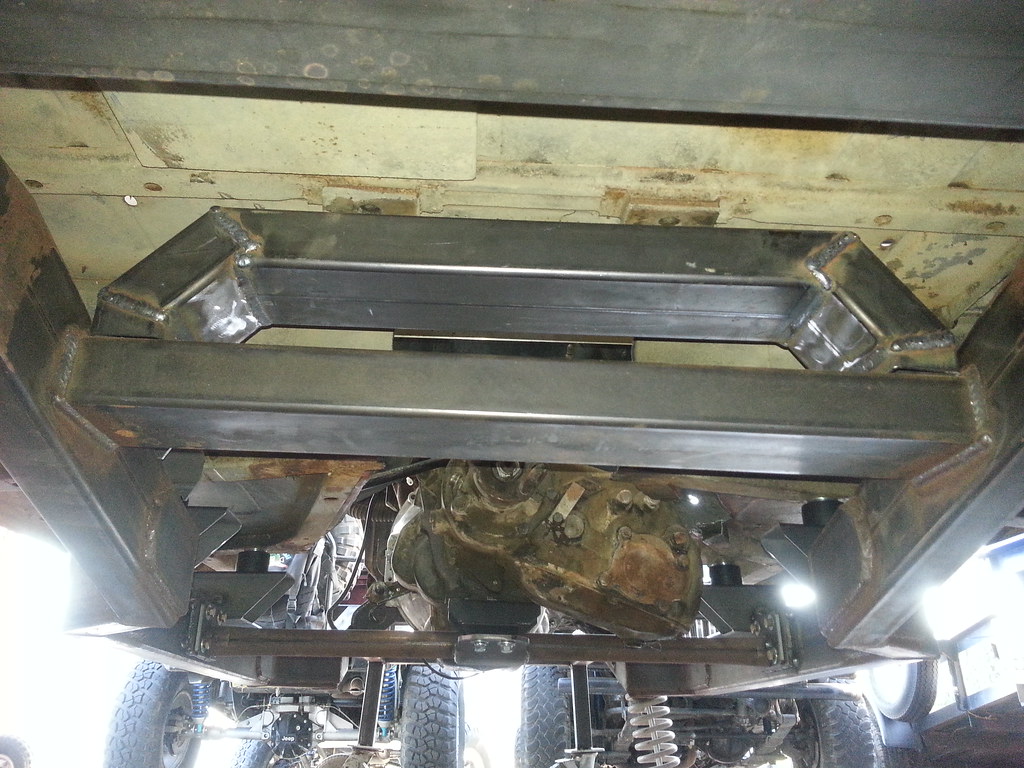
This is a riser for the mounts under the seats. It will be the central cross member support in the frame. We welded in a straight section when building the frame because we didn't know for sure how high this bridge would be. I'll weld this bridge in place on the flat cross member, then recip saw the center out for drive shaft clearance.
20131013_160103 by MJR RAT, on Flickr
20131013_172646 by MJR RAT, on Flickr
20131013_172703 by MJR RAT, on Flickr
Still have some mounts to complete but the body is on, straight, and level. NEXT!? Why, Hi-lining the hood and fenders of course.[CENTER][COLOR=#ff0000]Resistance Off Road
[/COLOR]Join the Resistance...
http://www.resistanceoffroad.us[/CENTER]
Comment
-
I forgot to mention that we doubled up on the top pucks to meet the original body height requirement, which has been lowered by a 1.5 inches now. We wound up with more clearance under the hood and at the fire wall that originally expected. Nick's dream of a Michigan Sky High Mudder Jeep has been dashed upon the rocks of despair...[CENTER][COLOR=#ff0000]Resistance Off Road
[/COLOR]Join the Resistance...
http://www.resistanceoffroad.us[/CENTER]
Comment
-
Got some more done on the CJ. Finished the front body mounts and made a bridge to connect the radiator core support. Still need to get some body pucks of the right size to finish fitting things together. Got the 8.8 situated in the rear of the frame. Using a narrow track D44 for reference up front.
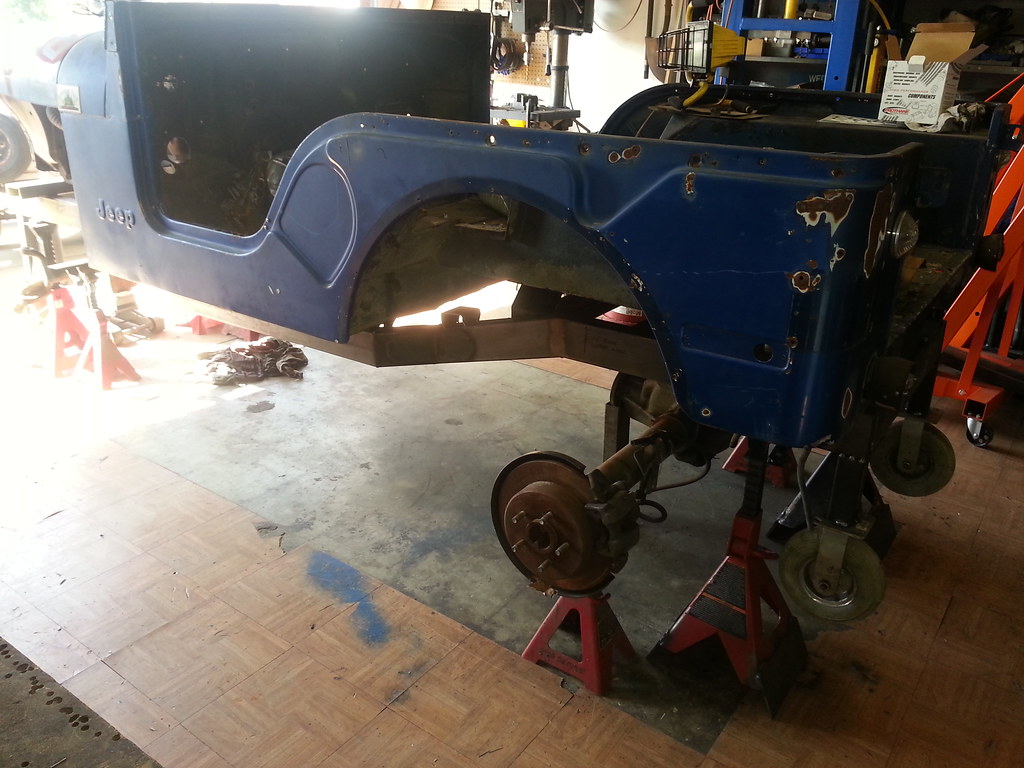
20131020_105902 by MJR RAT, on Flickr
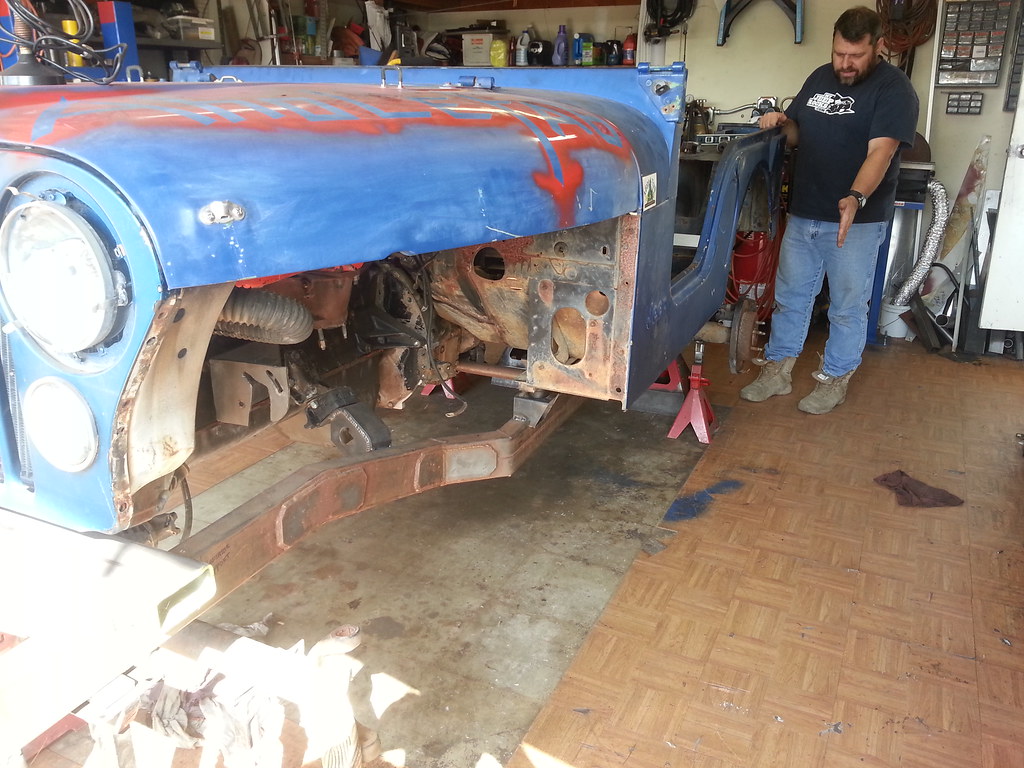
20131020_105916 by MJR RAT, on Flickr

20131020_105938 by MJR RAT, on Flickr
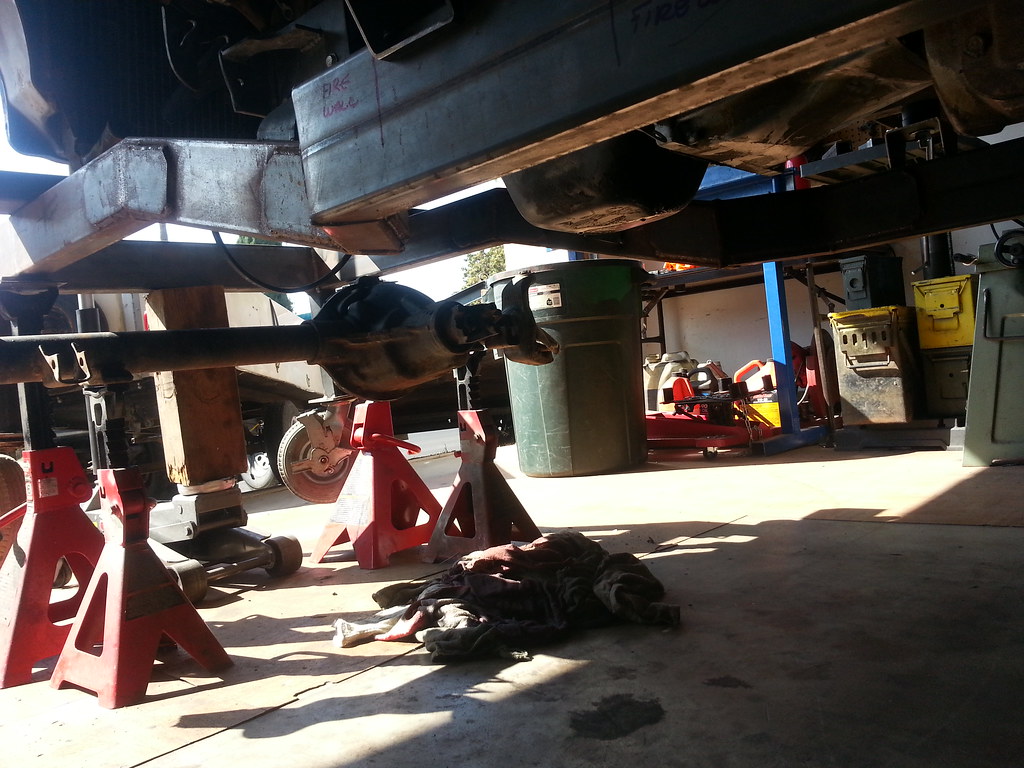
20131020_105943 by MJR RAT, on Flickr
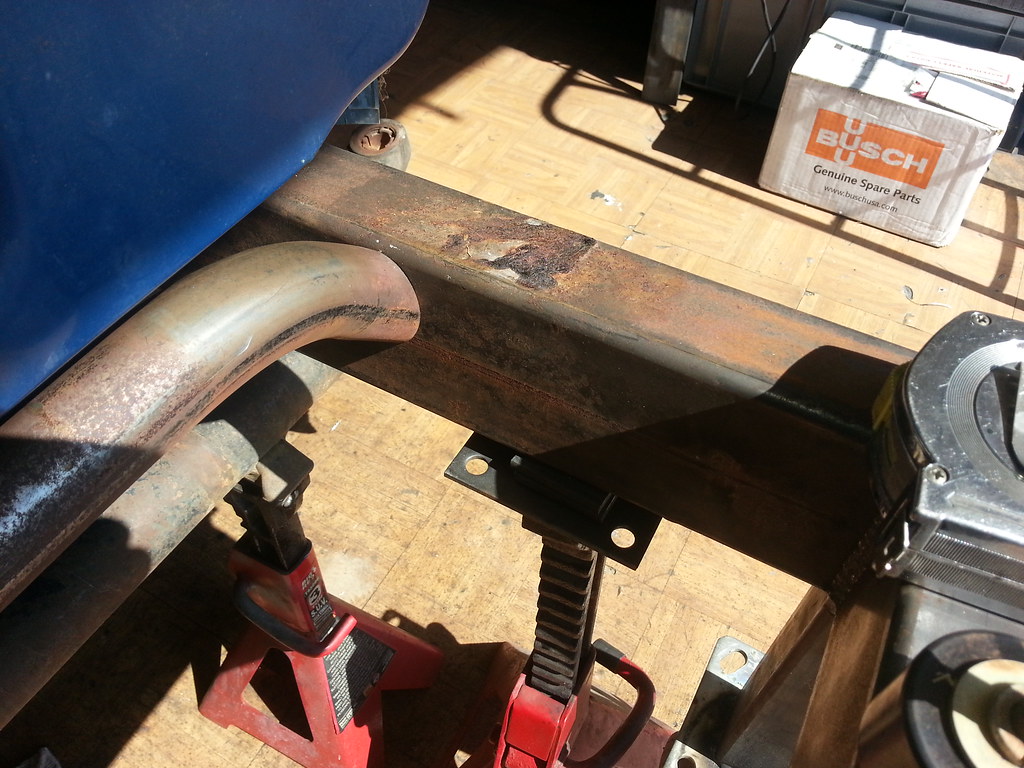
20131020_124835 by MJR RAT, on Flickr
While I'm waiting on the pucks I'll start shaving the rear axle. More pics in a while.[CENTER][COLOR=#ff0000]Resistance Off Road
[/COLOR]Join the Resistance...
http://www.resistanceoffroad.us[/CENTER]
Comment
-
Did some tinkering on the CJ this weekend. Finally got at least some of the JJ's we need so we made up the control arms for the rear suspension. Started the cross member (no holes drilled in this one). Had several designs, went with the 2"x.250 wall DOM tube and 1/4"x3 plate CA mounts. There will be gussets in strategic locations for anti-twist and stuff...
Got the 8.8 shaved and ready for brackets and CA mounts. Got some other, smaller projects done as well.
Making the LCAs for the rear axle
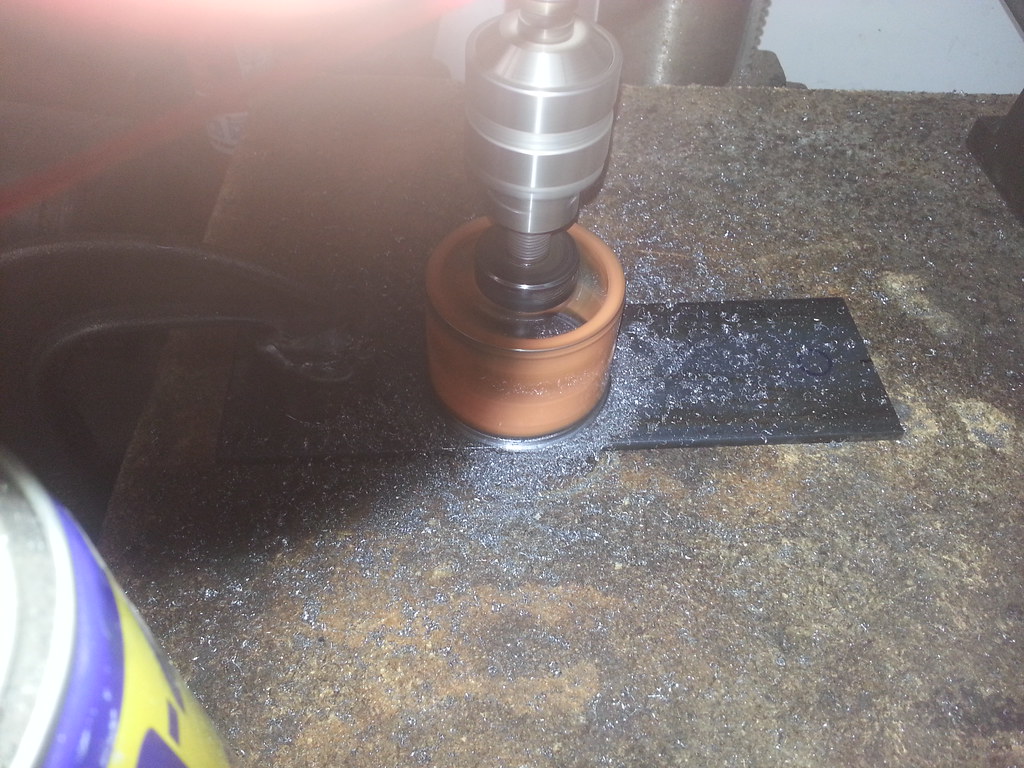
20131103_111249 by MJR RAT, on Flickr
Ahh the fun part...
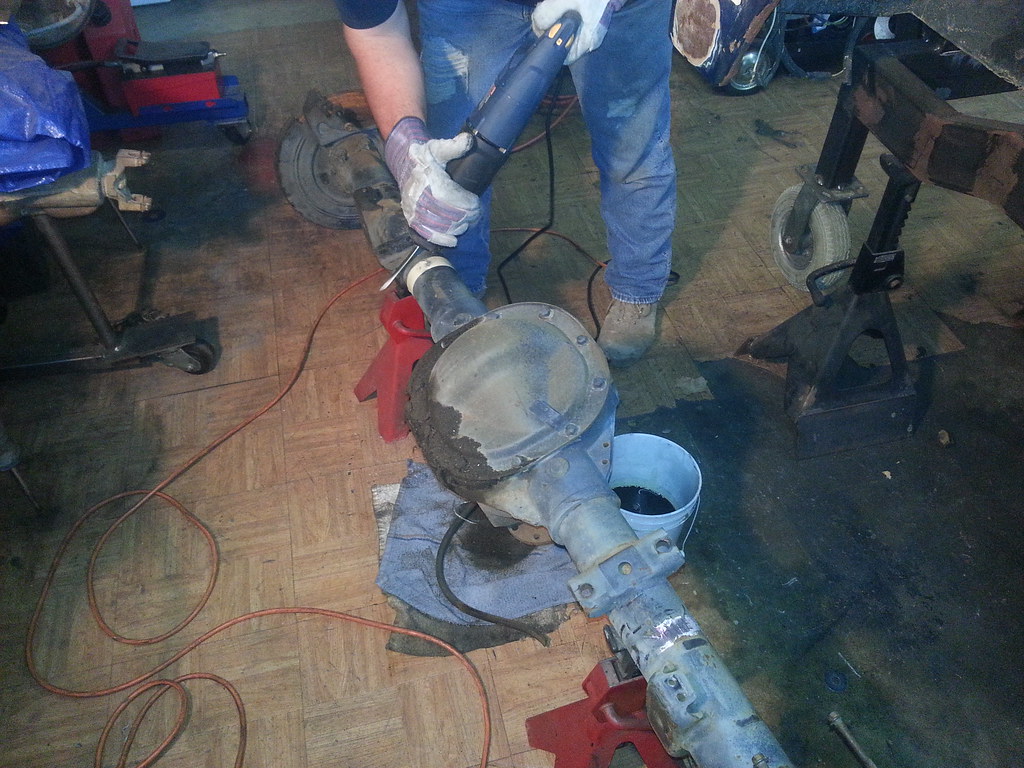
20131103_111238 by MJR RAT, on Flickr
How many steps does it take to get to the tootsie roll center of a LCA?
A One...
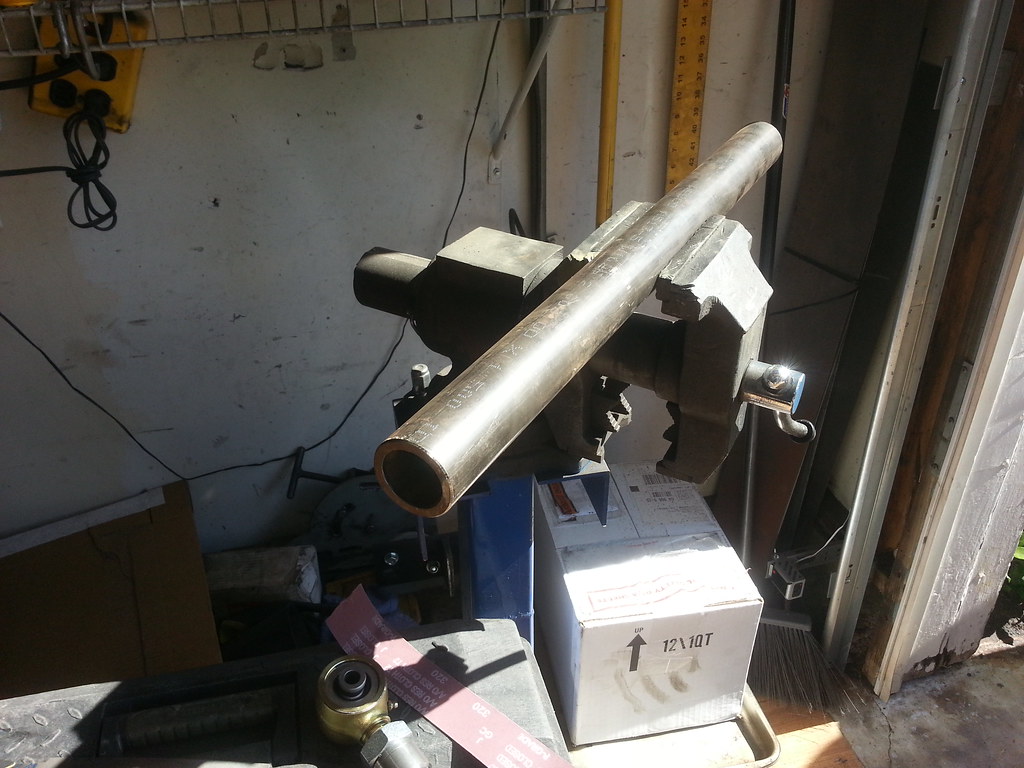
20131102_123747 by MJR RAT, on Flickr
A Two...
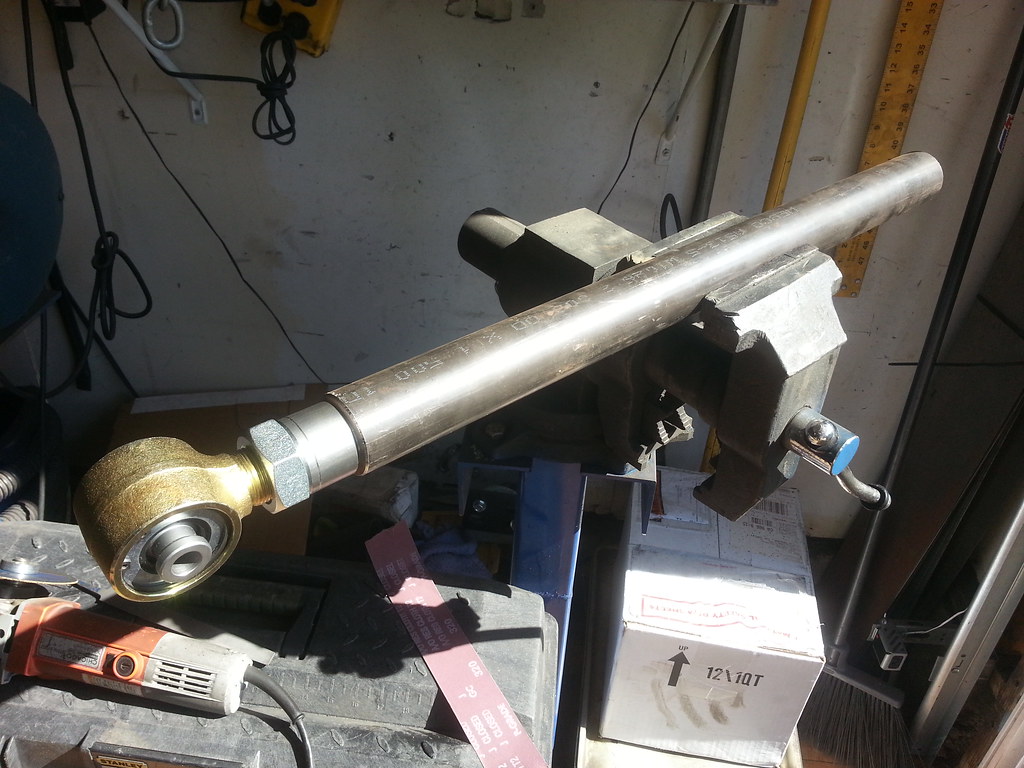
20131102_123759 by MJR RAT, on Flickr
A thhhreee...
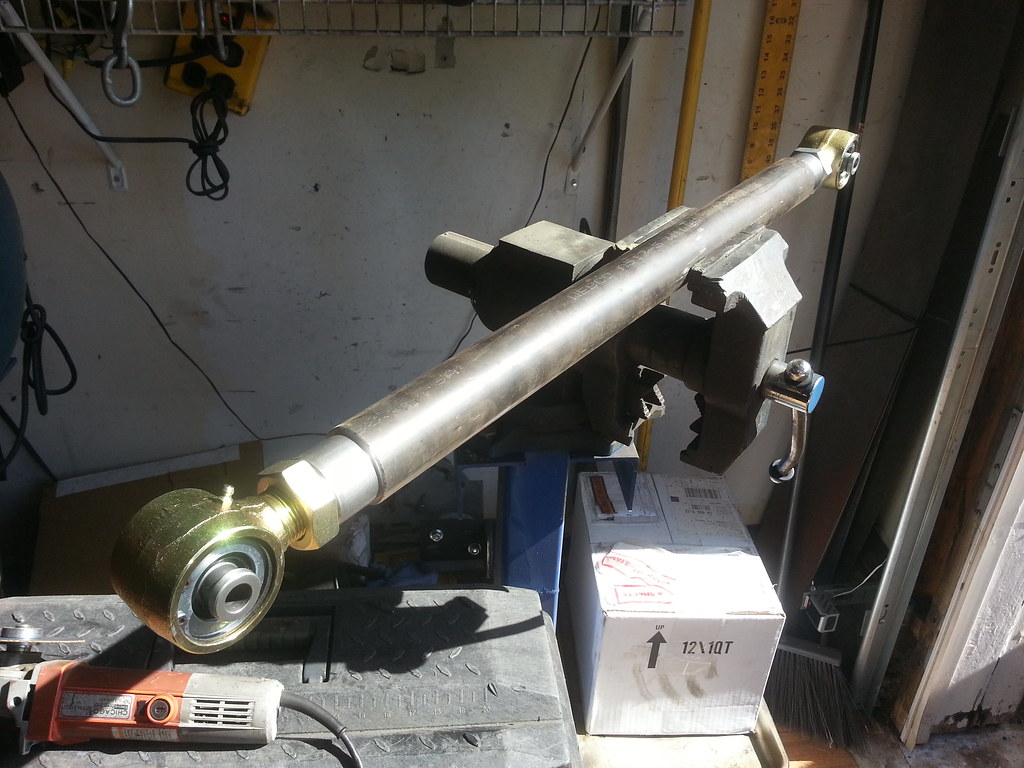
20131102_124610 by MJR RAT, on Flickr
Three!
LCAs axle side, roughed out and ready for shaping
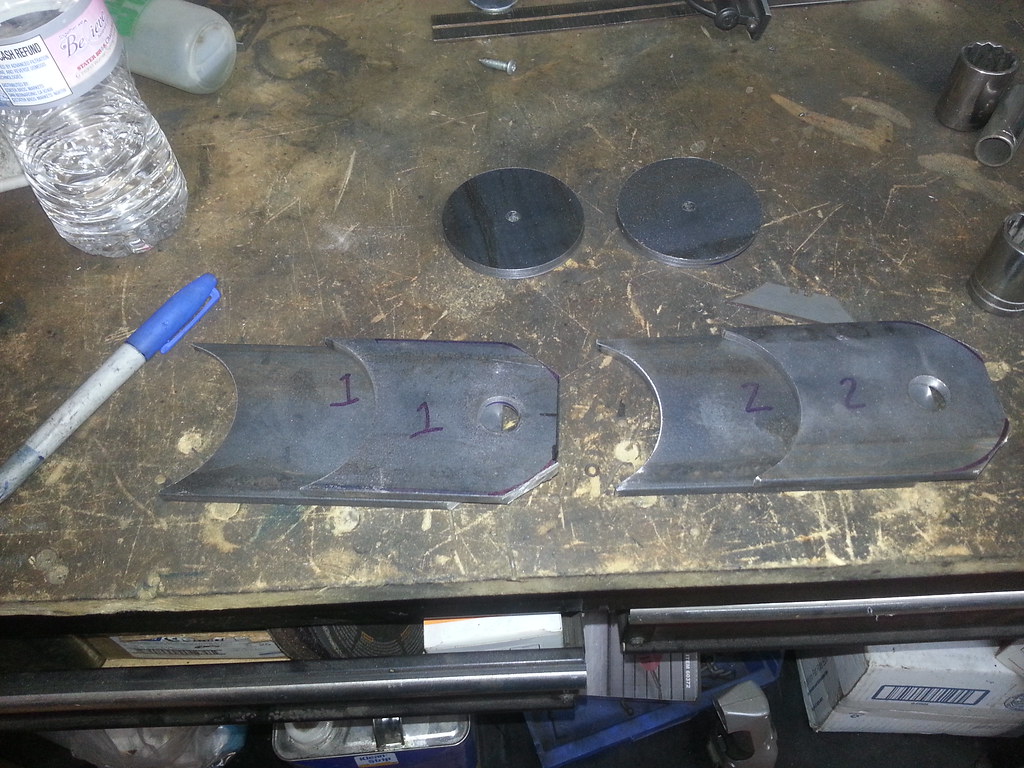
20131103_114011 by MJR RAT, on Flickr
Brackets, tabs, CAs and cross member for rear suspension
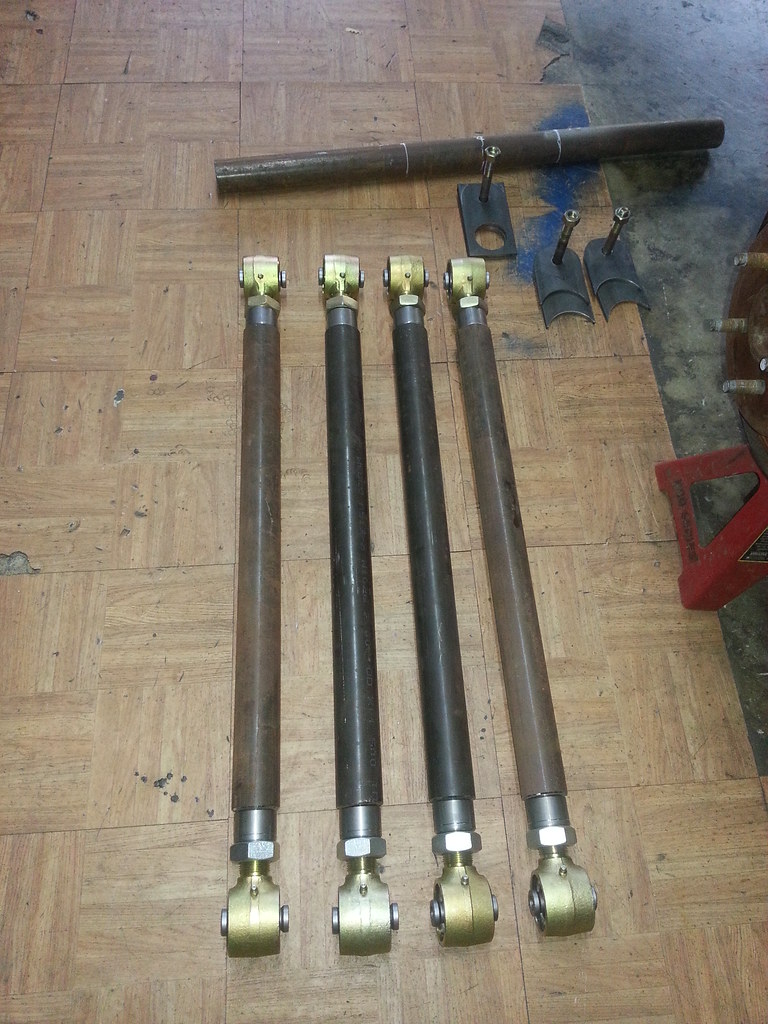
20131103_164235 by MJR RAT, on Flickr
Seeing the issues Jonah is having with cooling his engine, we decided to put a quadruple row cooling system in the CJ...
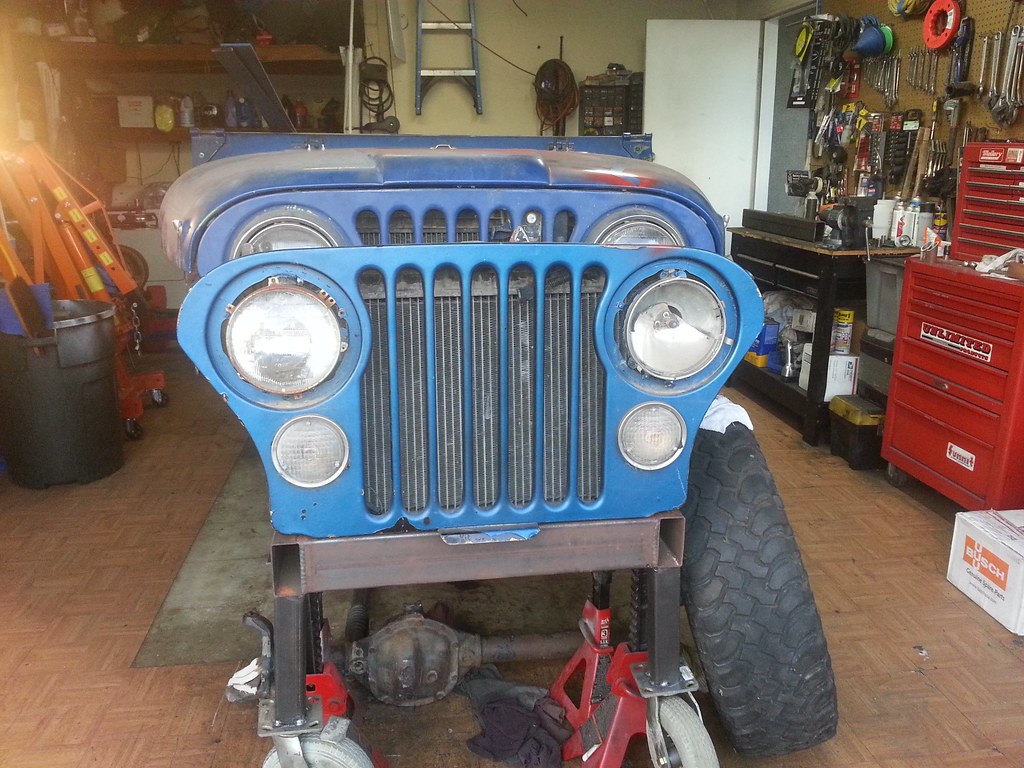
20131103_164303 by MJR RAT, on Flickr
I'll be installing the rear suspension this week at night after work. Should be fun...[CENTER][COLOR=#ff0000]Resistance Off Road
[/COLOR]Join the Resistance...
http://www.resistanceoffroad.us[/CENTER]
Comment
-
I'm multi-tasking tonight. Laundry, LCAs, wash the dog, xmember, clean the garage, more suspension bracketry...
Oh yeah, and a Corona or two in the along the way
Test fit up LCAs on the axle

20131104_200639 by MJR RAT, on Flickr
Xmember for forward CA mounts. 2"x.250 wall DOM and 1/4" plate. After the CA mounts are installed, some x-bracing will be added for stiffness.
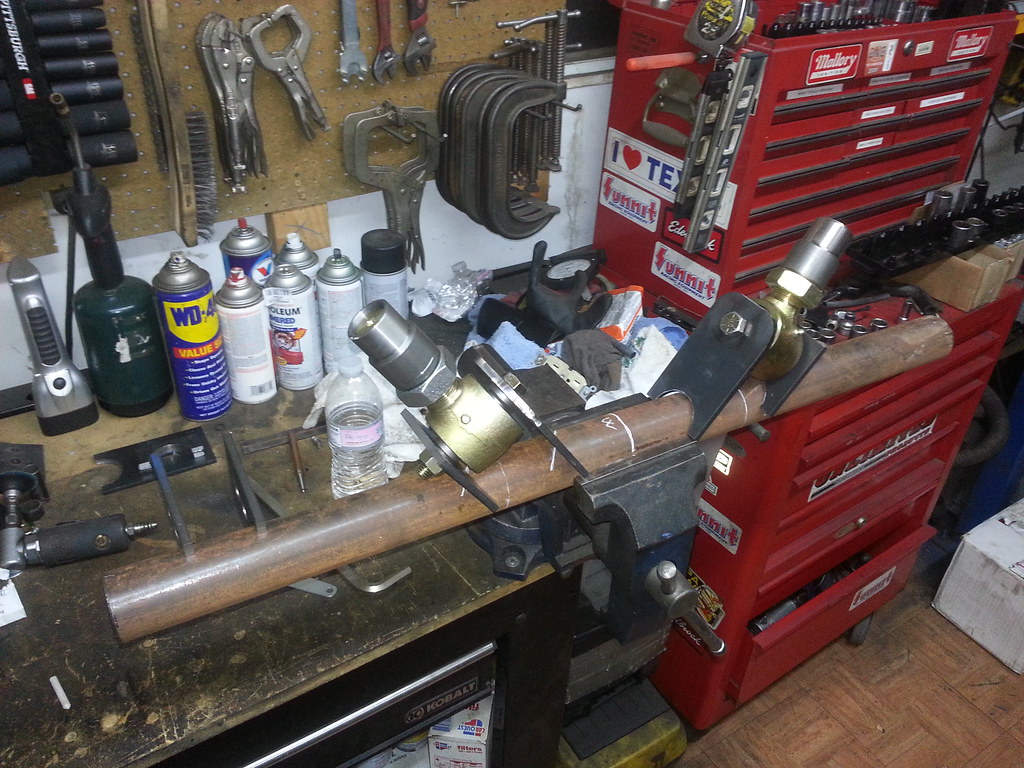
20131104_200613 by MJR RAT, on Flickr
Here's the Beef! If this bitch breaks I quit!
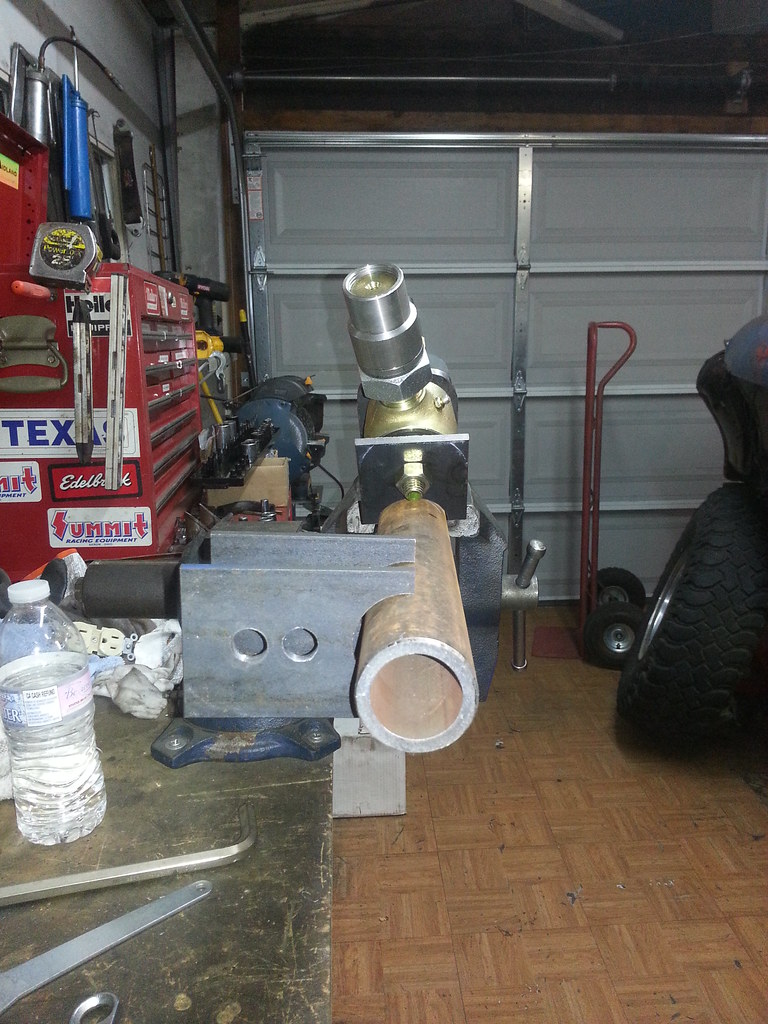
20131104_200546 by MJR RAT, on Flickr
The rectangle brackets in the fore ground are mock ups. The real ones are being made and will be 8.5" tall, to give a final vertical separation of 6.5" center to center on the CA bolts.
More tomorrow... Good night John Boy[CENTER][COLOR=#ff0000]Resistance Off Road
[/COLOR]Join the Resistance...
http://www.resistanceoffroad.us[/CENTER]
Comment
Comment