 Tweet
Tweet
Originally posted by RAT
View Post
-
[COLOR="#800000"]Oh I just KNOW that wasn't meant for me... :hide:[/COLOR][COLOR="darkred"]"Death Smiles at Everyone... Marines Smile Back."
Adopt-a-Trail Member.[/COLOR] -
-
Hey, we need more pictures. Hurry up! [COLOR="#FF0000"]R[/COLOR]edneck [COLOR="#FF0000"]D[/COLOR]riveway [COLOR="#FF0000"]F[/COLOR]ab
www.DanielBuck.net - www.DNSFAIL.com - www.FurnitureByBuck.comComment
-
Pushy huh? We haven't done anything yet to take pictures of. Might have some tomorrow though.Originally posted by daniel_buck View Post[CENTER][COLOR=#ff0000]Resistance Off Road
[/COLOR]Join the Resistance...
http://www.resistanceoffroad.us[/CENTER]Comment
-
Is this thing done yet?[COLOR="YellowGreen"]"You cant fit 2 fingers in my tailpipe"[/COLOR]Comment
-
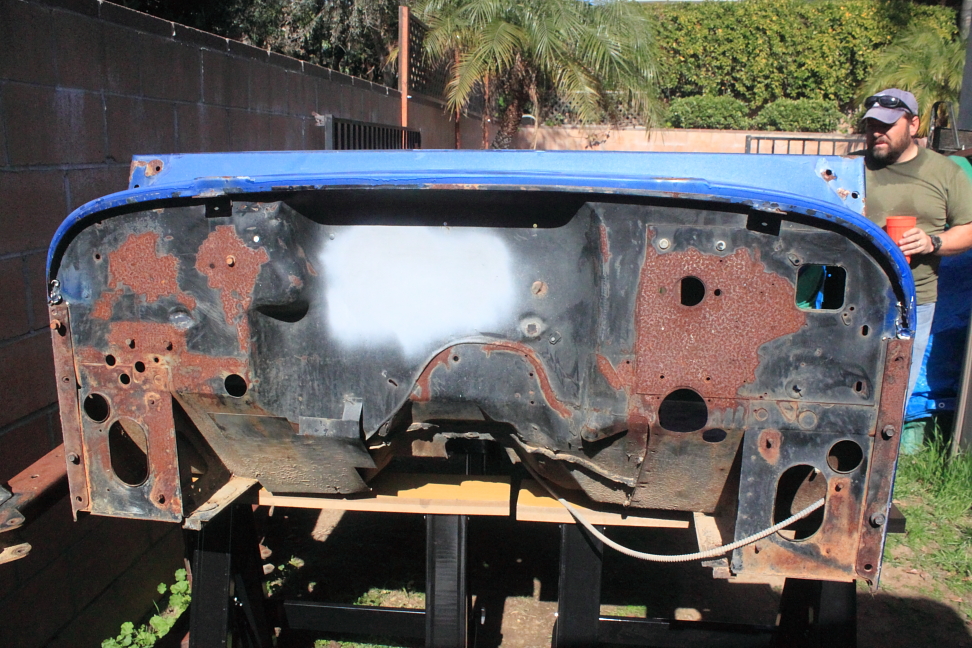
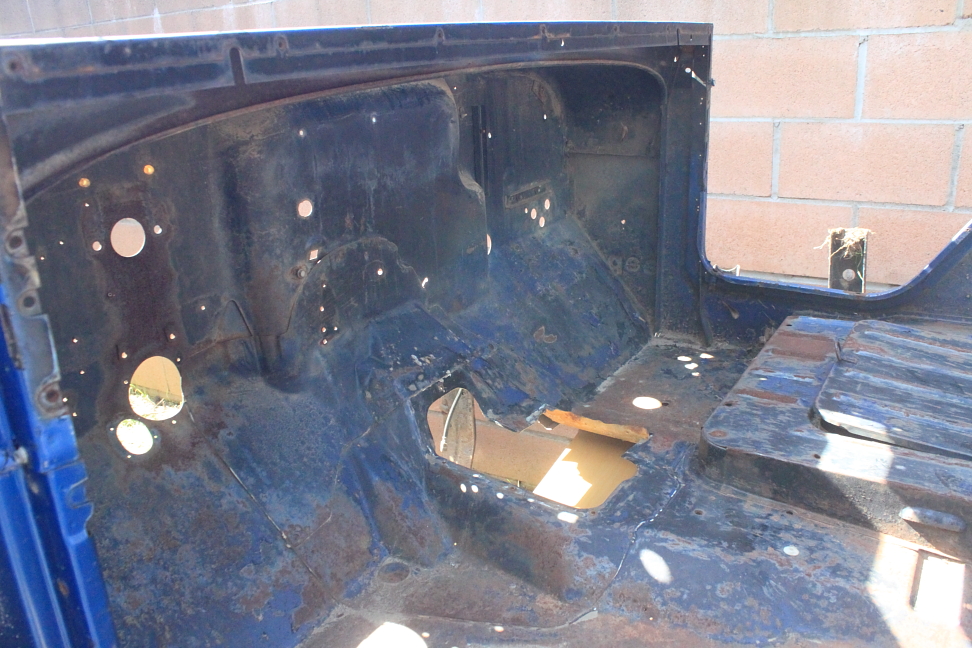
Fine, here are pictures! The project is done and Nick is ready to hit the trail! 3N93 here we come!Originally posted by daniel_buck View Post
Nicks cj 10004 by MJR RAT, on Flickr
Nicks cj 10003 by MJR RAT, on Flickr

Nicks cj 10002 by MJR RAT, on Flickr
Shes rolling on 37s baby!

Nicks cj 10001 by MJR RAT, on Flickr
So the fun begins...[CENTER][COLOR=#ff0000]Resistance Off Road
[/COLOR]Join the Resistance...
http://www.resistanceoffroad.us[/CENTER]Comment
-
Nice looking tub. Nick looks like one of the guys on Duck Dynasty.IN A LAND OF FREEDOM WE ARE HELD HOSTAGE BY THE TYRANNY OF POLITICAL CORRECTNESS!!
Better To Burn Out Than To Rust Out!Comment
-
Dang you guys out did yourselves lolOriginally posted by RAT View Post
It's worse then the other jalopyComment
-
It's ECO friendly Art. No emissions, no leaky diffs. Just what the tree huggers ordered!Originally posted by aw12345 View Post[CENTER][COLOR=#ff0000]Resistance Off Road
[/COLOR]Join the Resistance...
http://www.resistanceoffroad.us[/CENTER]Comment
-
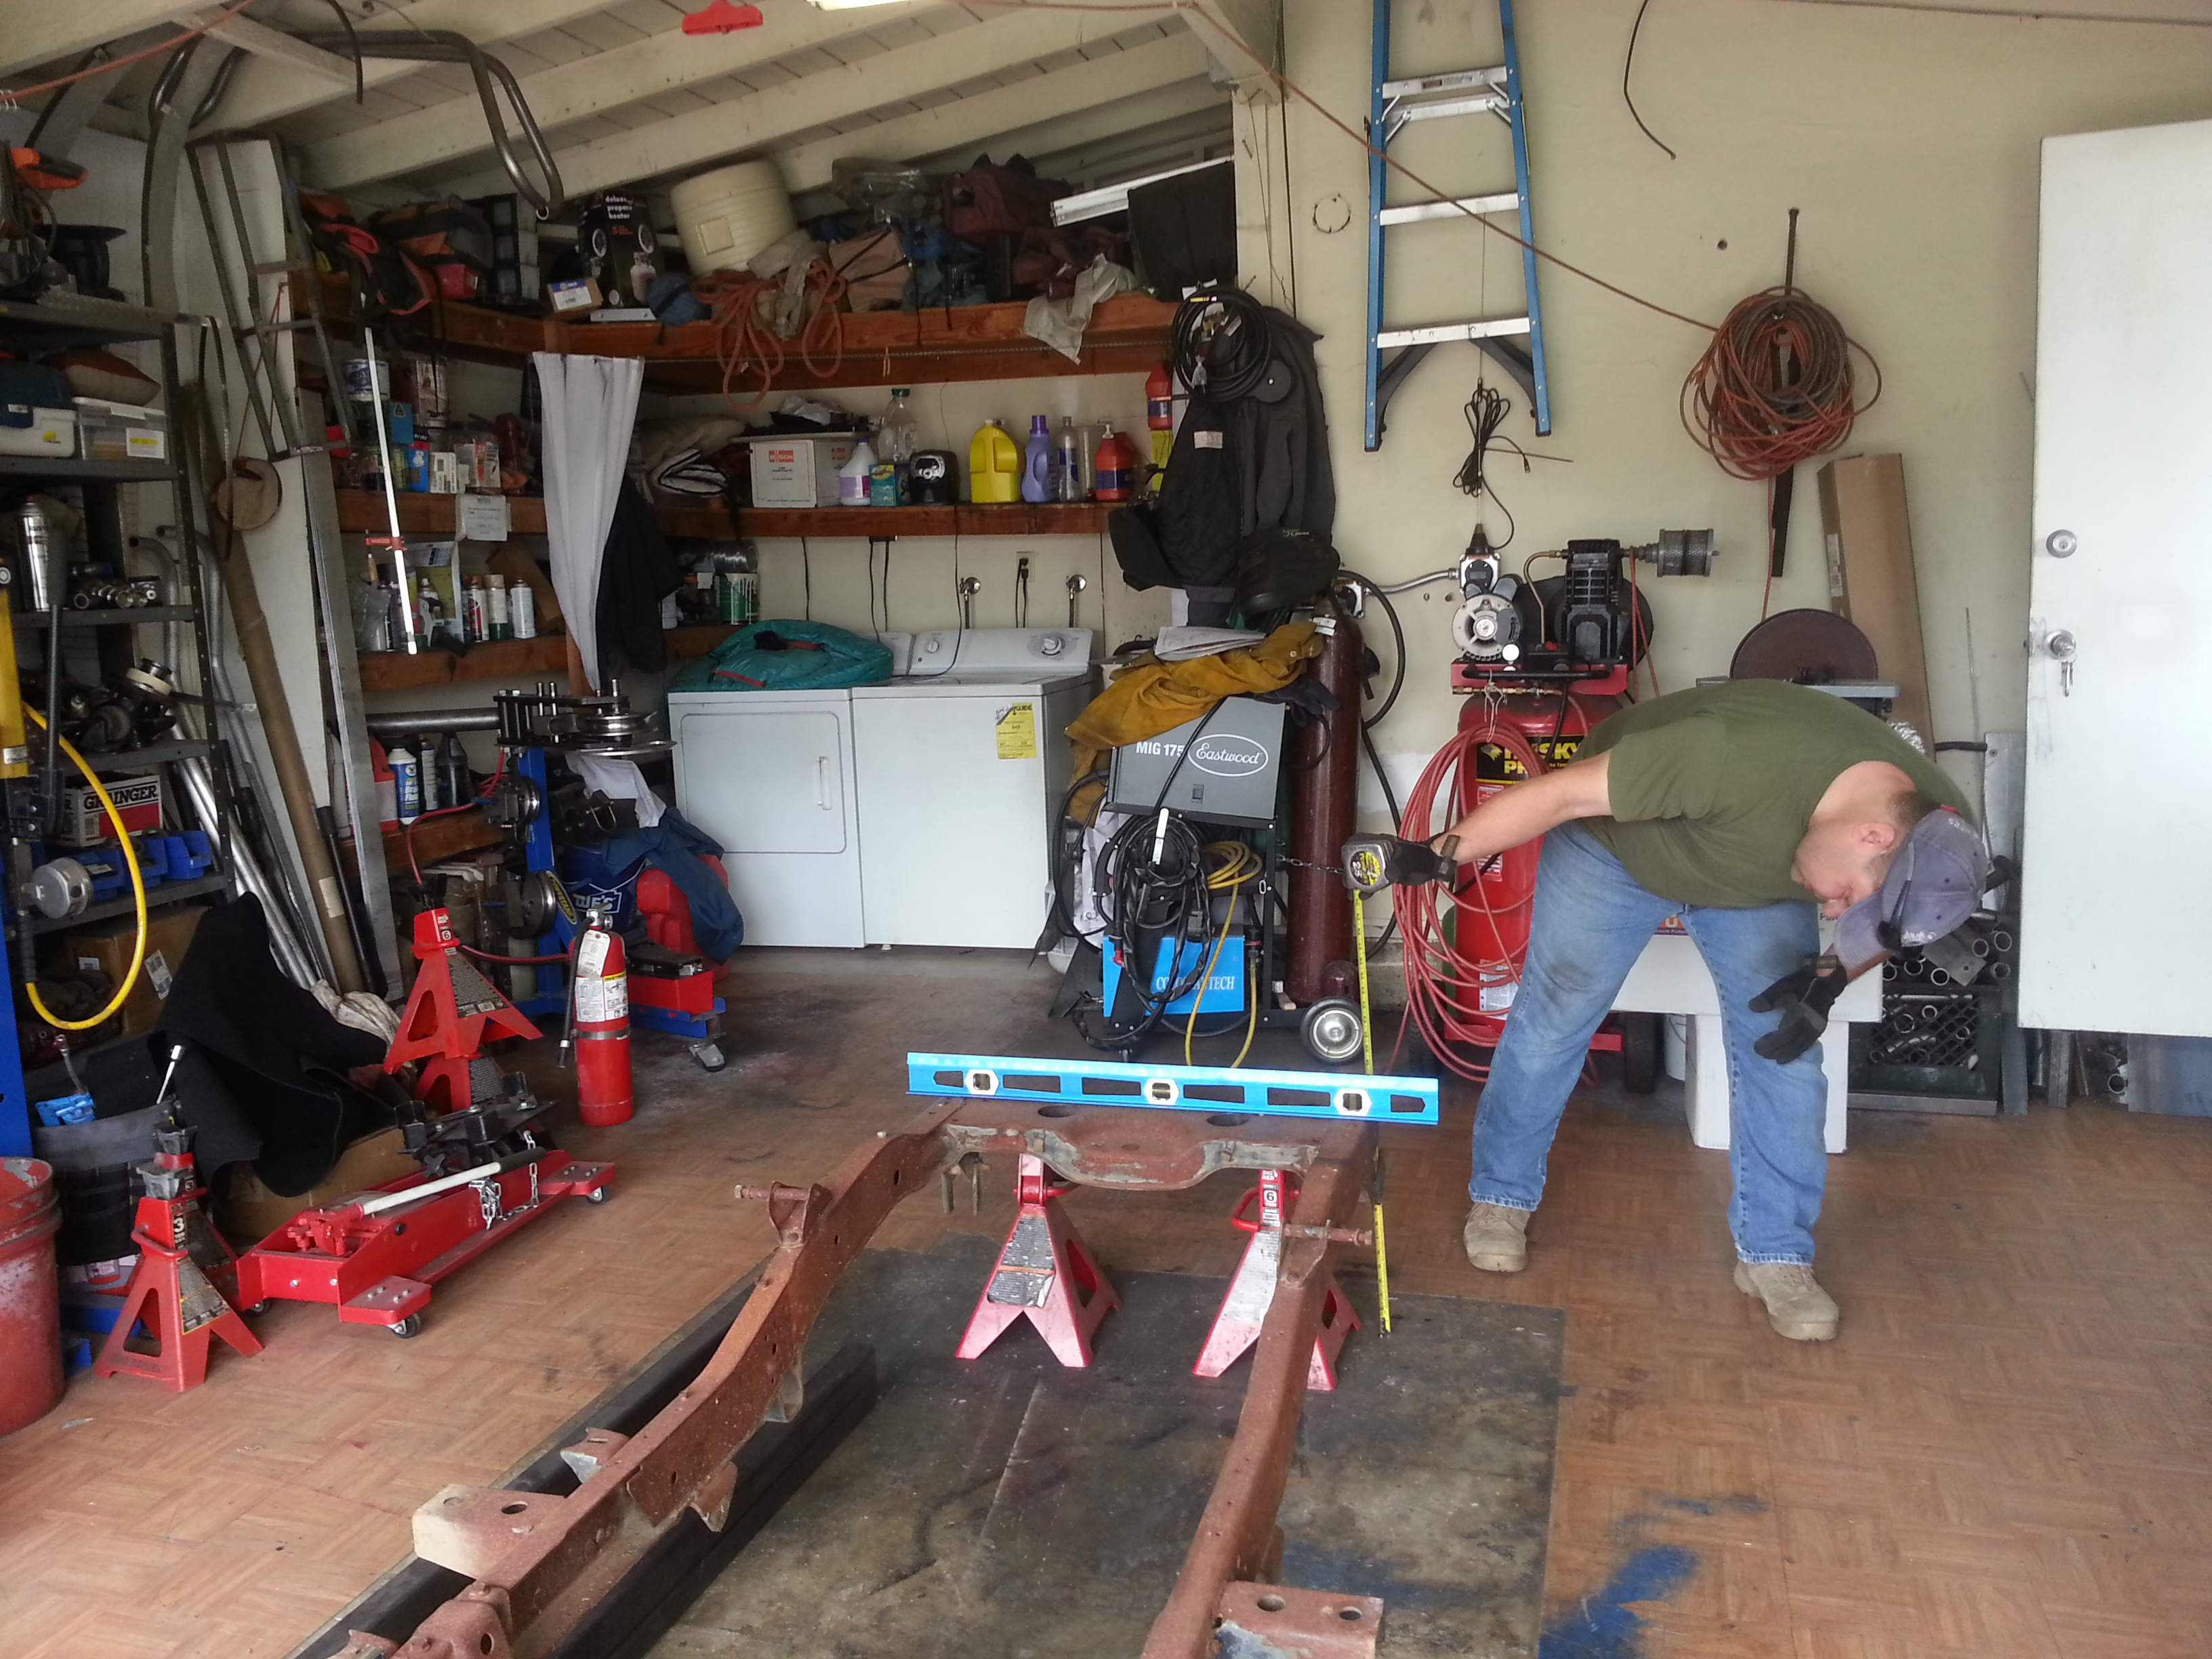
Finally, the Rat is back out on the trails so in goes Nick's CJ. We started the frame today and made very good progress for 4 hours of work.
The original frame for reference

20130505_112649 by MJR RAT, on Flickr
It's all about the angle of the dangle
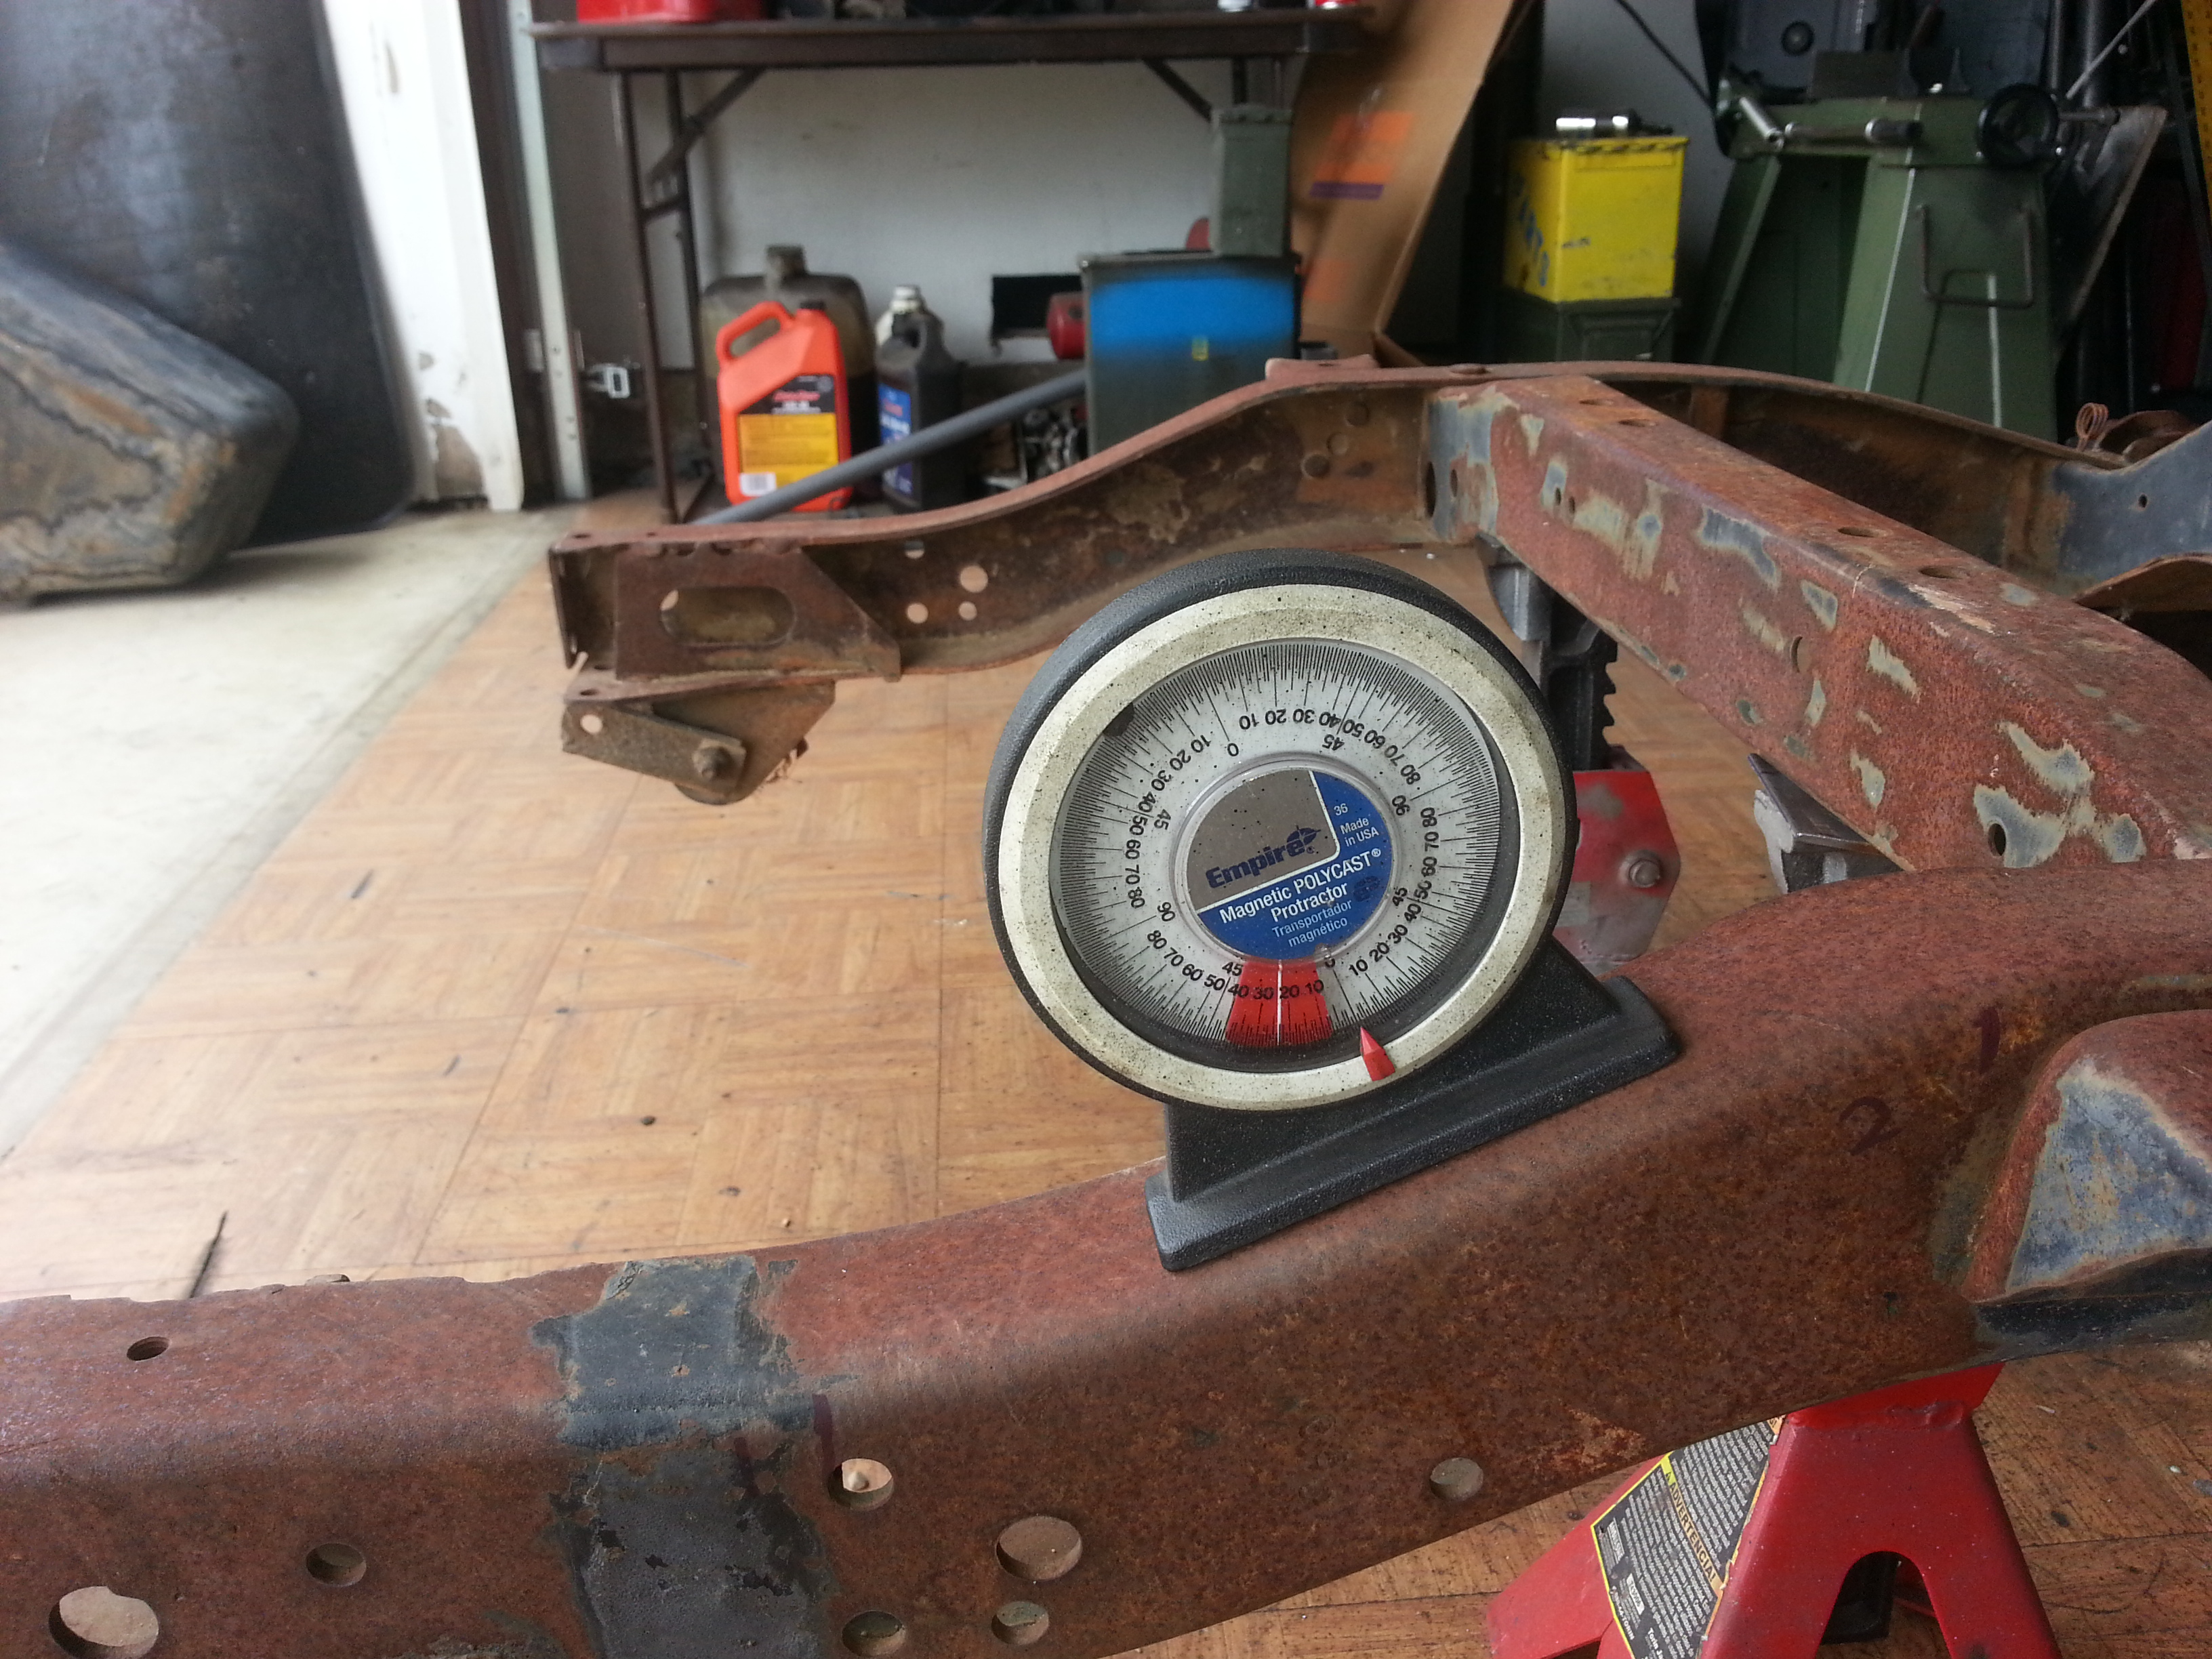
20130505_112655 by MJR RAT, on Flickr
Leveling it REAL gooder-er
20130505_112700 by MJR RAT, on Flickr
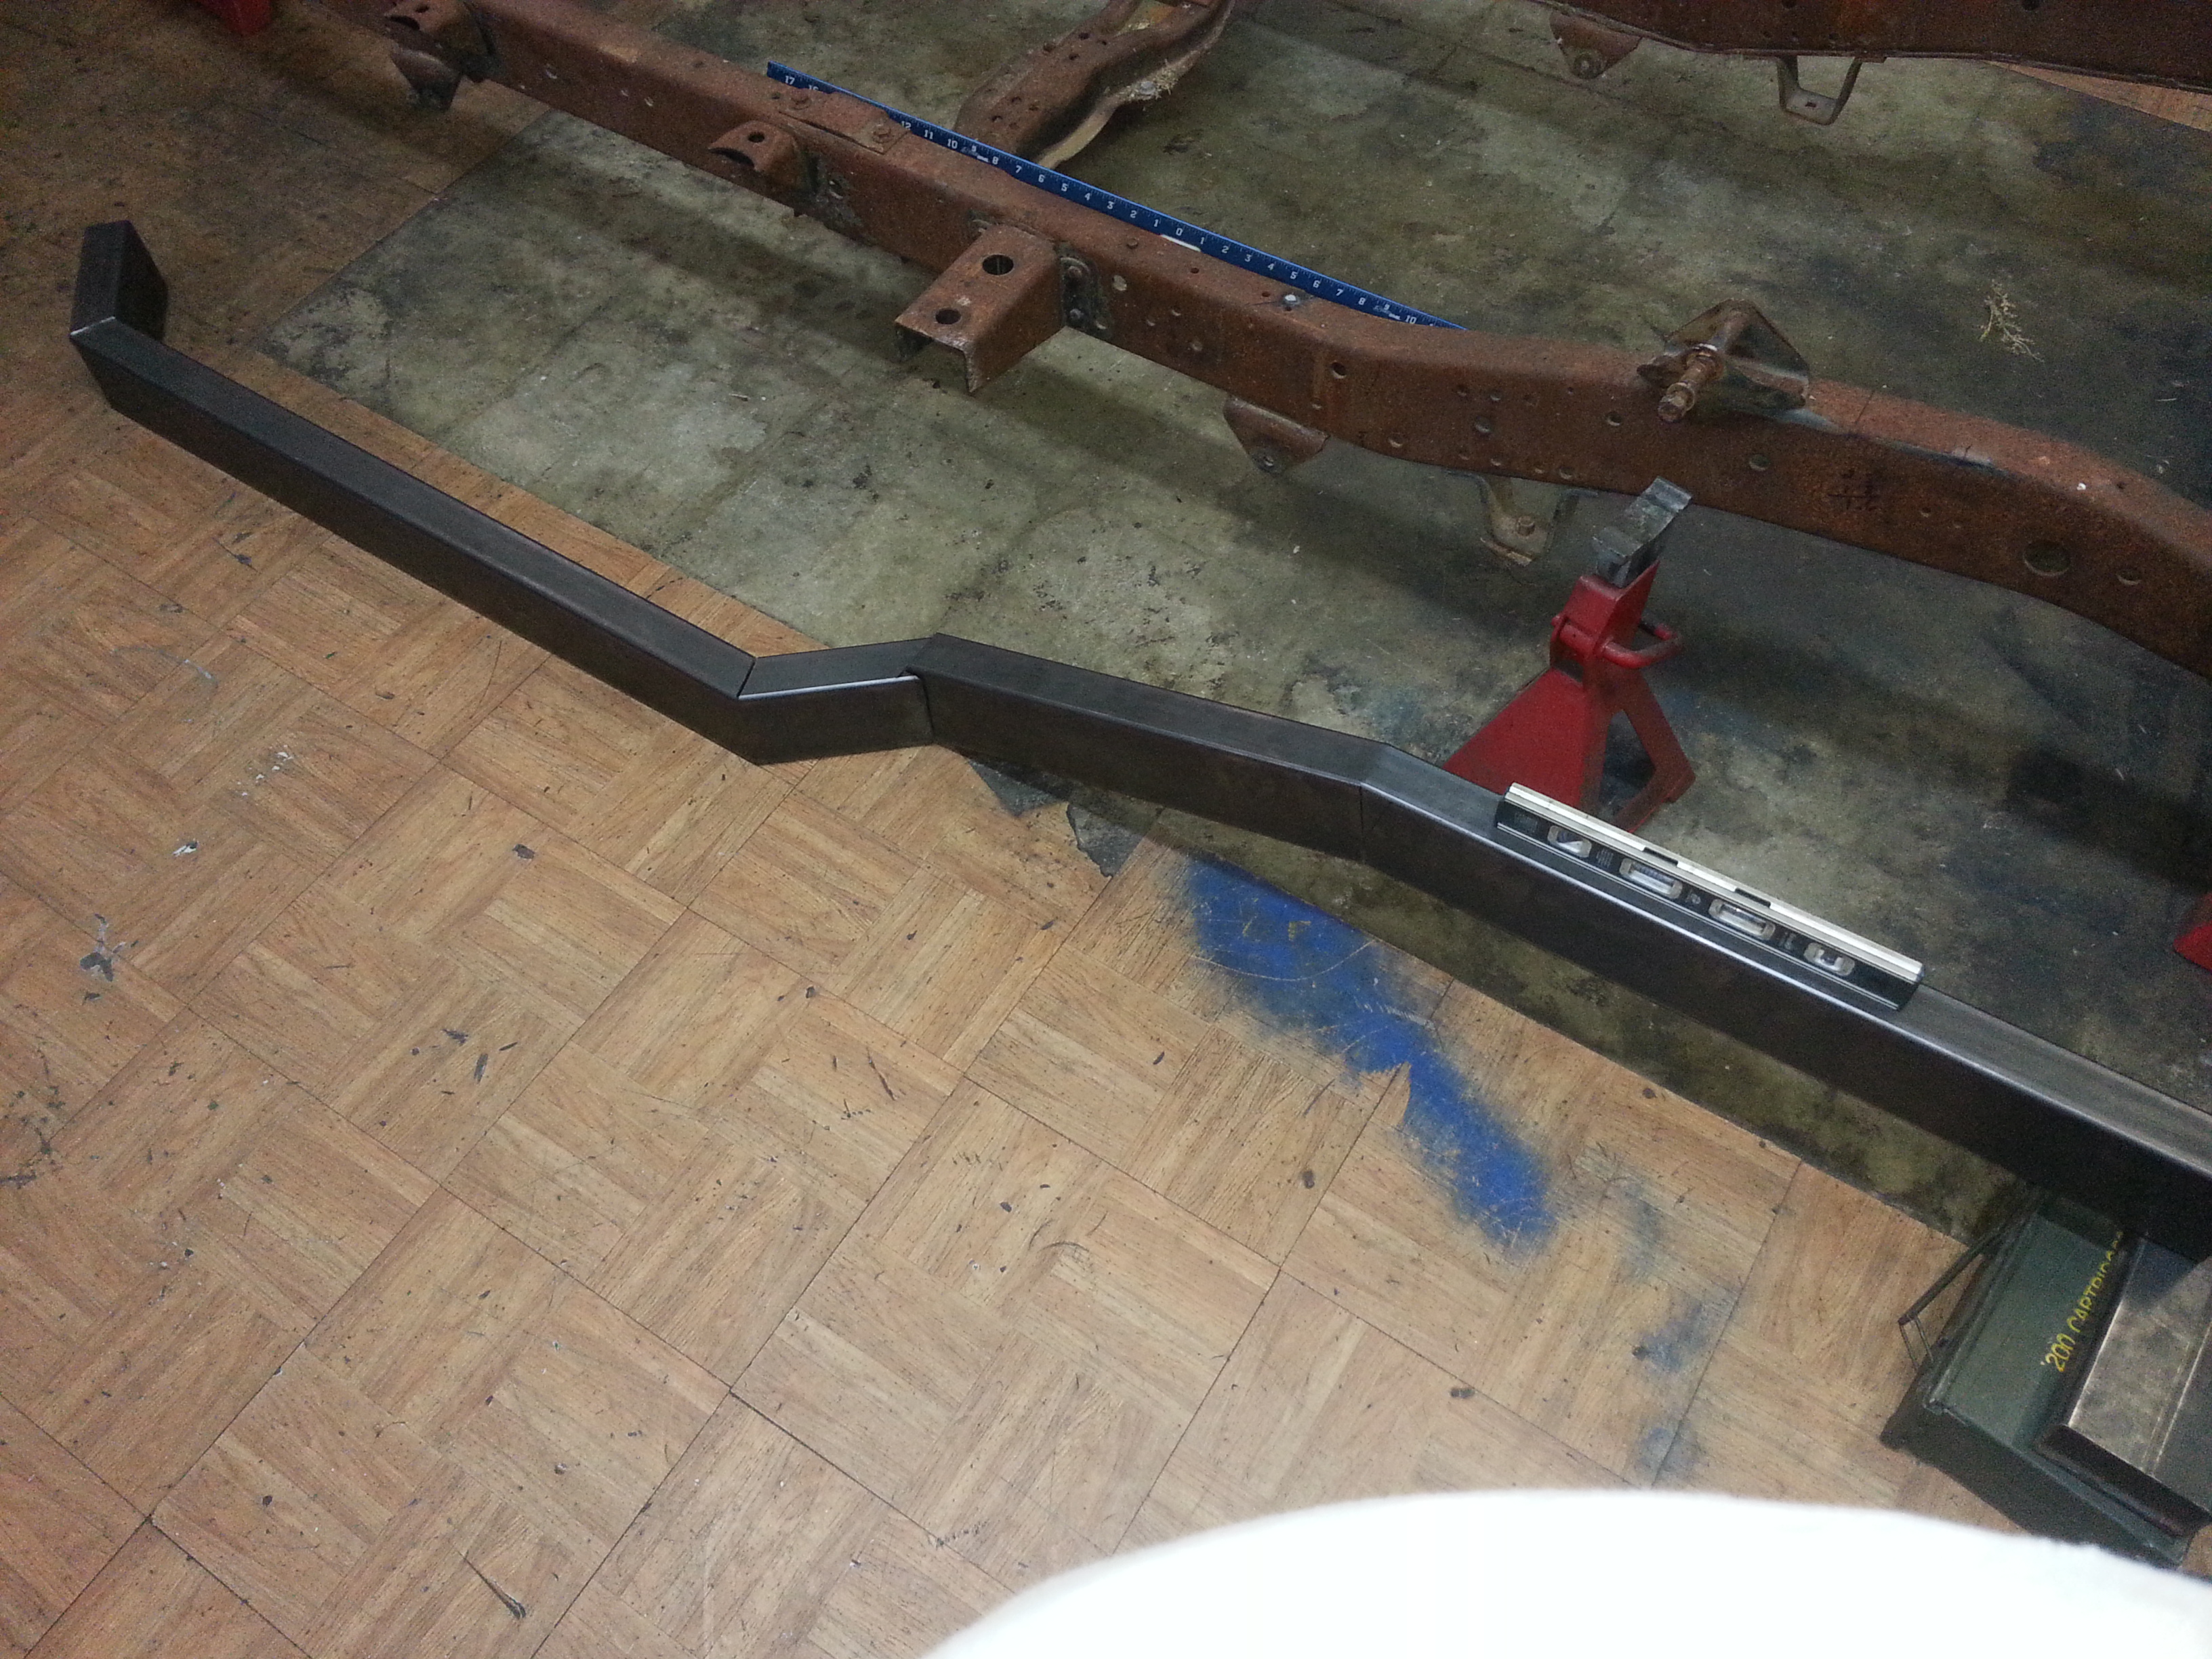
We decided to widen the frame in the center to hide the body mounts inboard and give the tub a little more stability. The beginning gambit

20130505_132229 by MJR RAT, on Flickr
The flash messed this up but the bubbles are dead nuts on

20130505_132239 by MJR RAT, on Flickr
Front PS riser

20130505_145131 by MJR RAT, on Flickr
Pre fit
20130505_145915 by MJR RAT, on Flickr
See guys, I TOLD you Nick actually works!
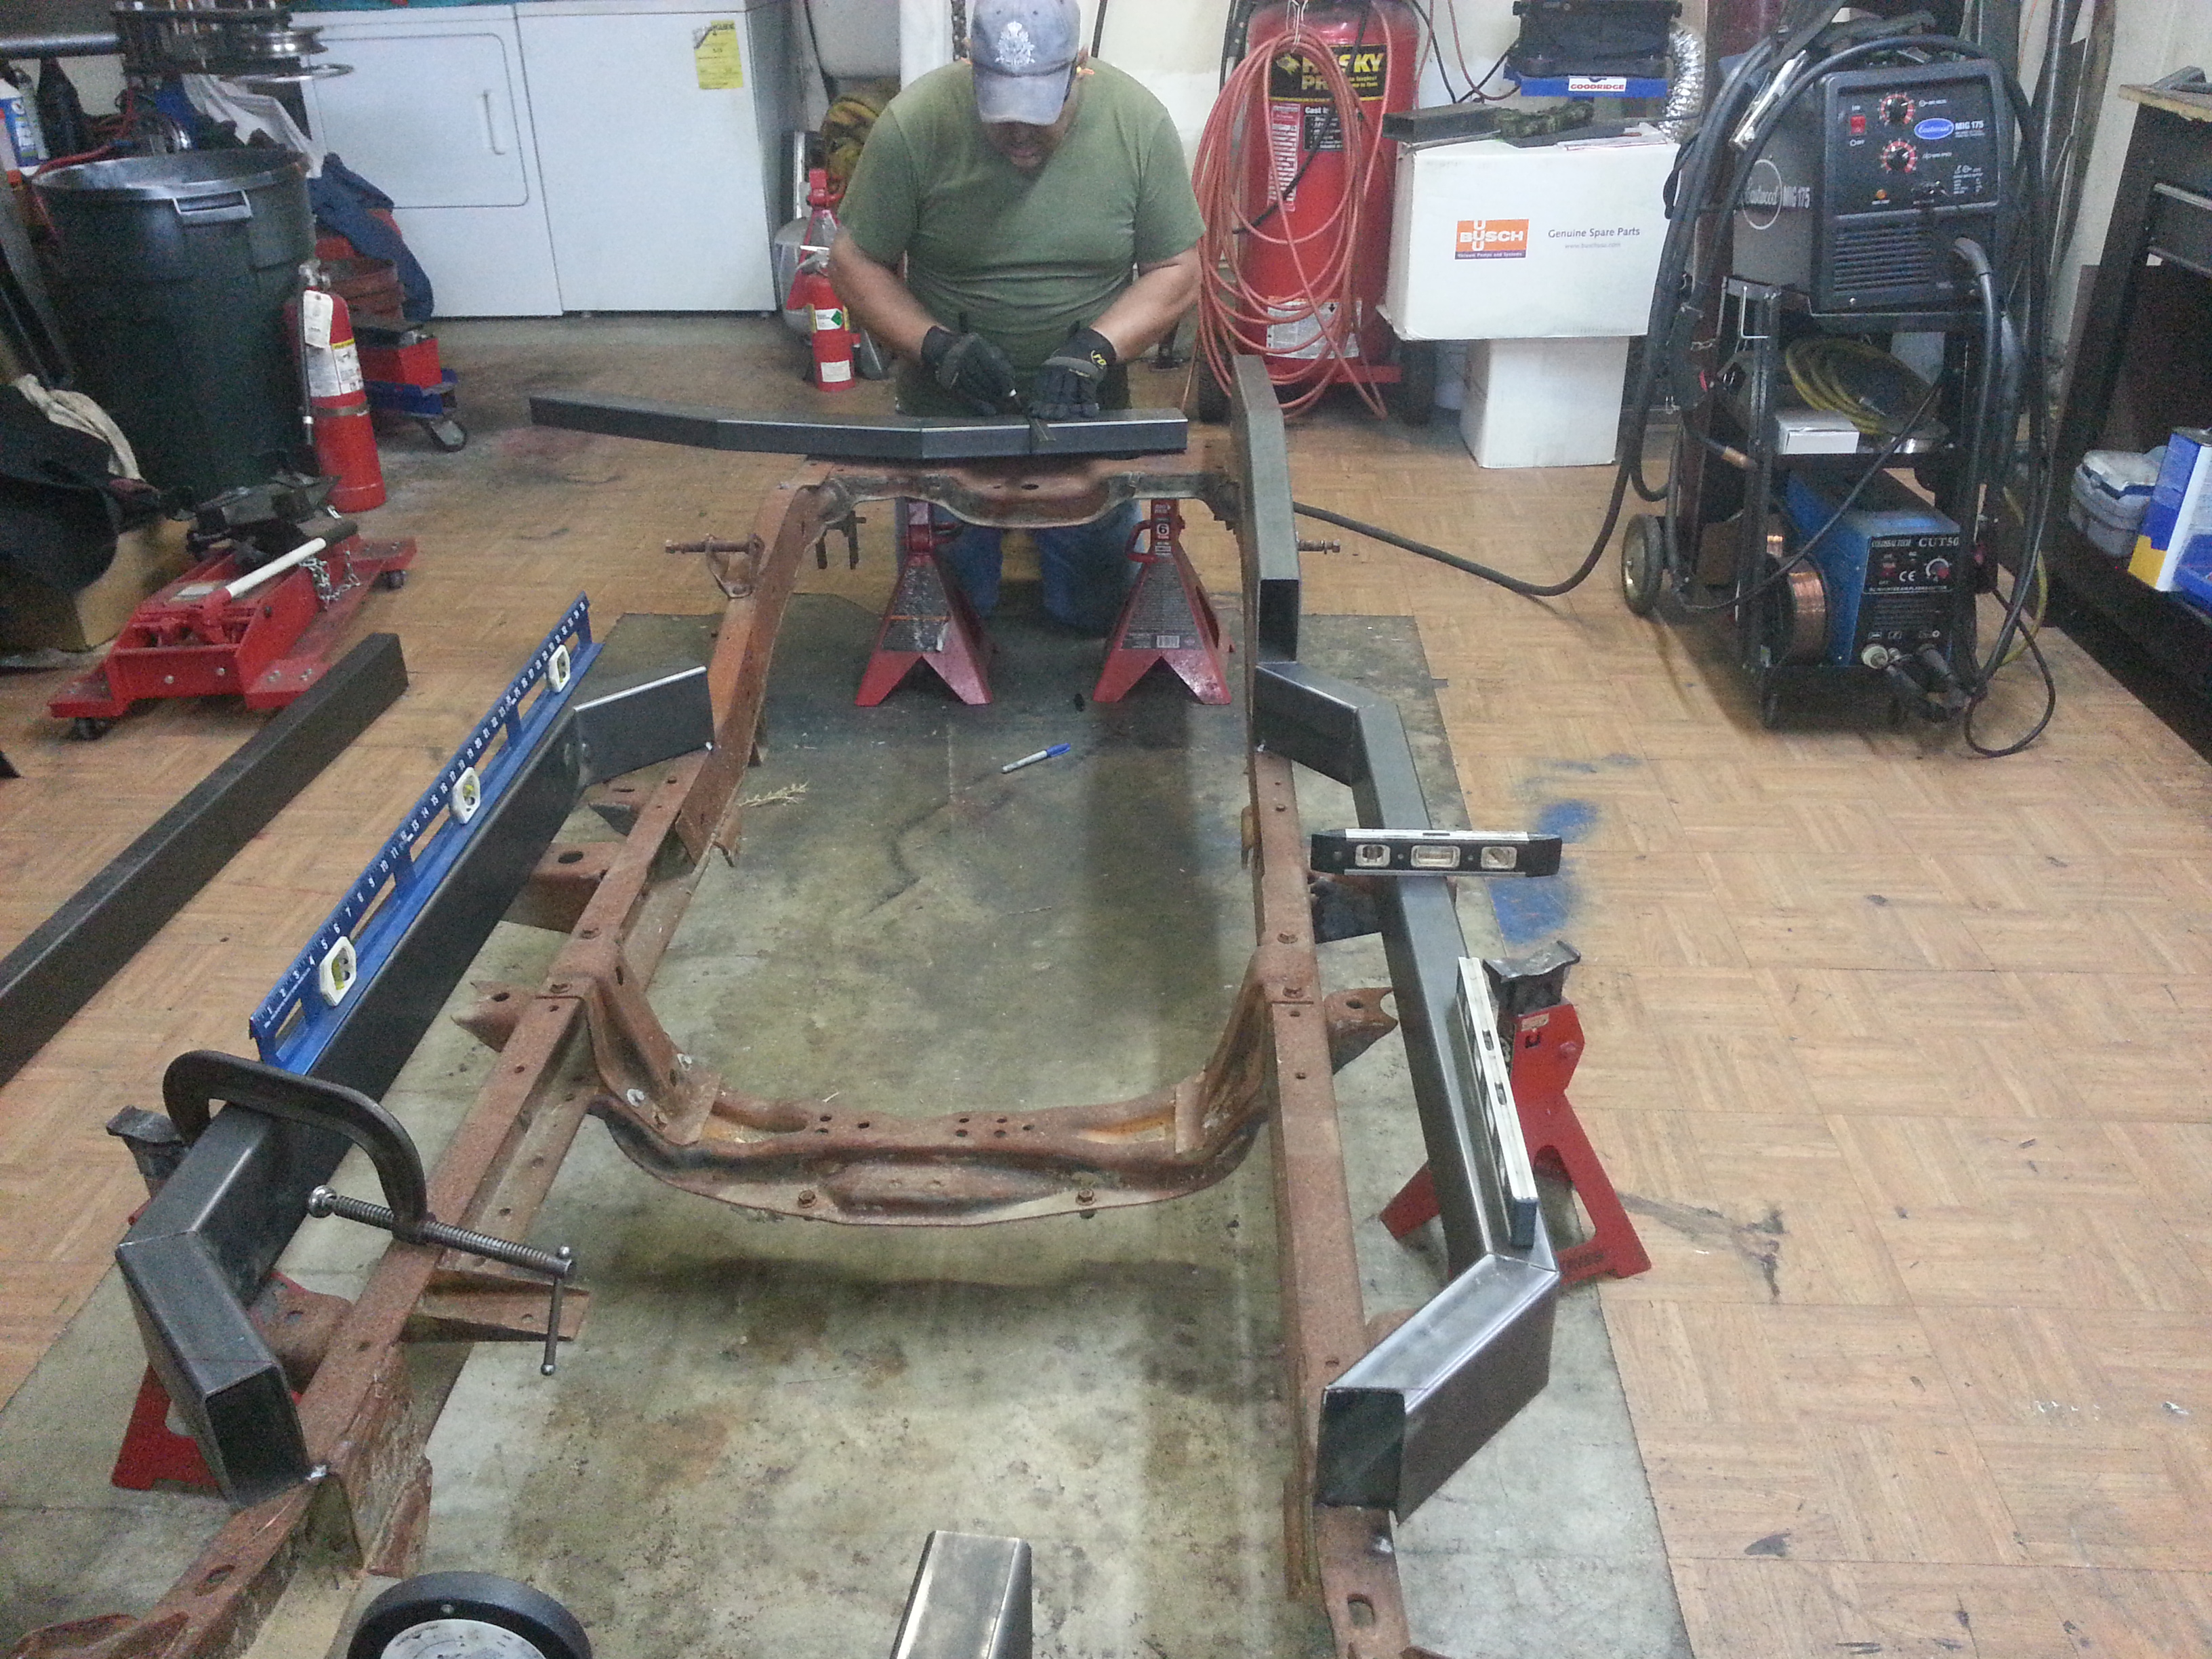
20130505_162455 by MJR RAT, on Flickr
His layout skills are ON
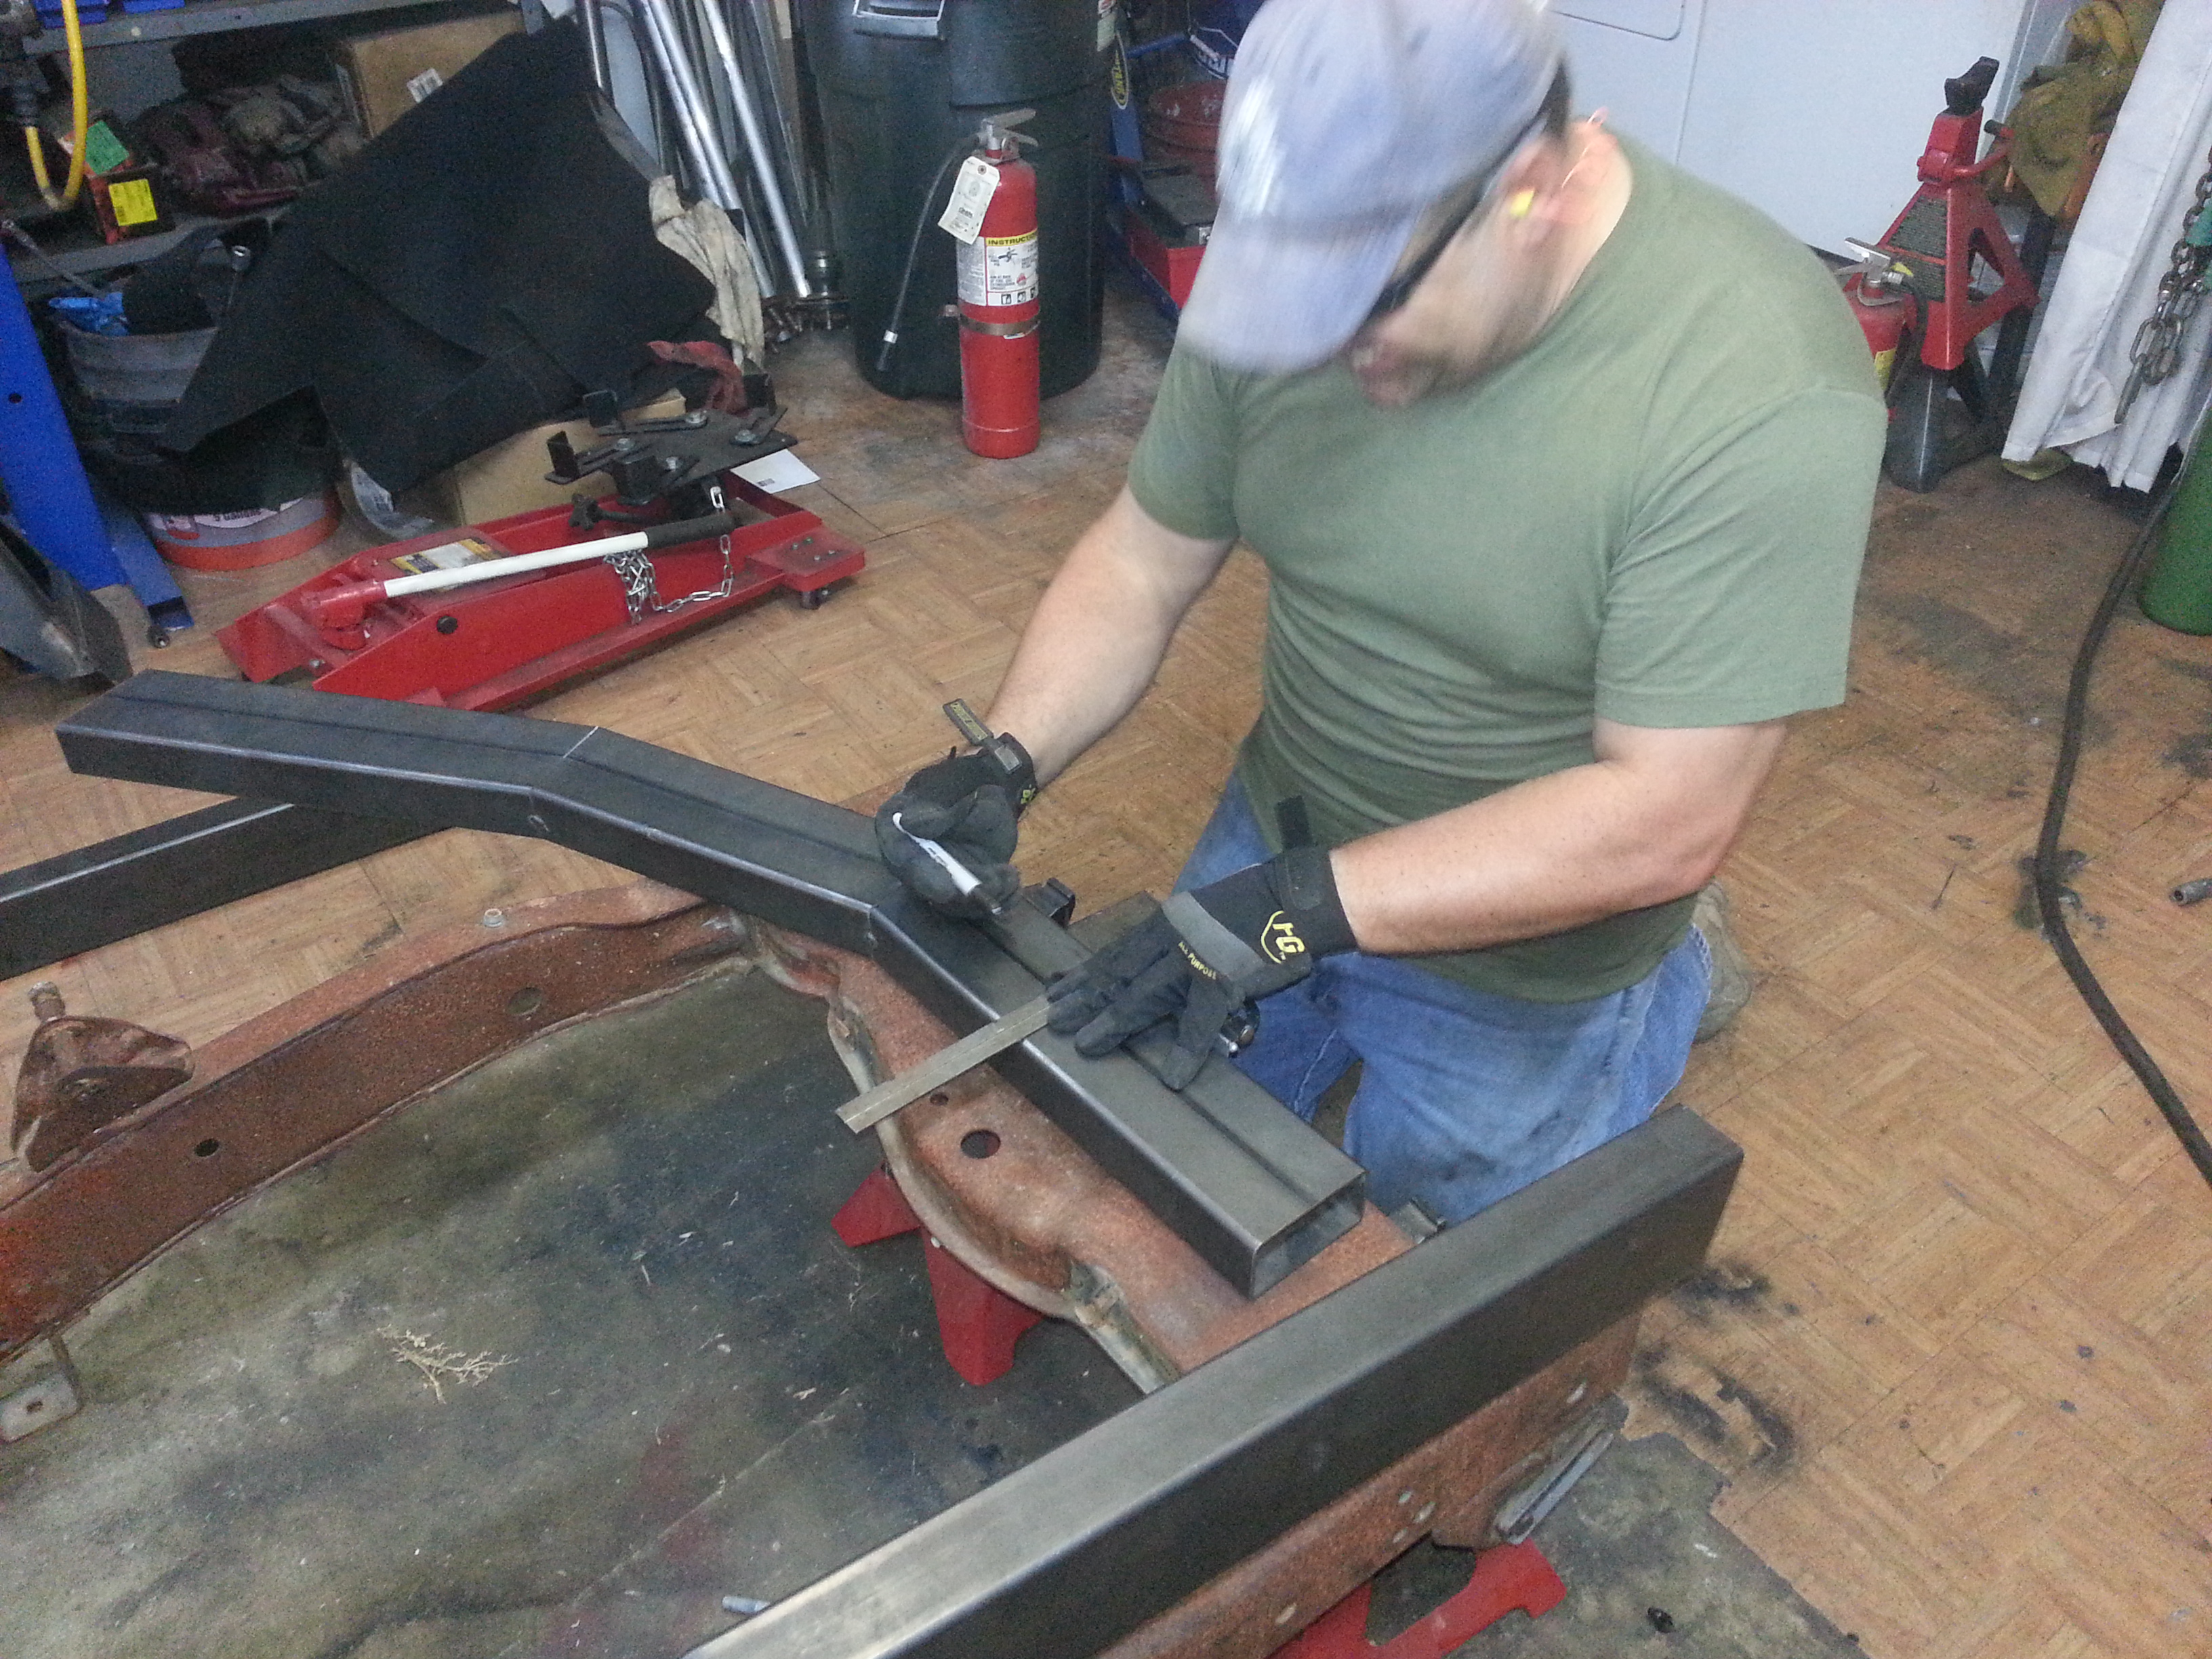
20130505_162507 by MJR RAT, on Flickr
PS rail done. Will not be welded until the DS is sone, and all the cross members are cut to fit. Then we'll jig it all up and put some fire to it.

20130505_163854 by MJR RAT, on Flickr
More to come...[CENTER][COLOR=#ff0000]Resistance Off Road
[/COLOR]Join the Resistance...
http://www.resistanceoffroad.us[/CENTER]Comment
-
That is looking really good. That is how I would have done it if I started over. The bump out in the middle for the t-case and exhaust room and narrow in the back for flex and room for outboard shocks. The only other thing I wish I would have done is making the rise for the axles greater for more up-travel. I keep thinking about raising my front frame rails for more room. Can't wait to see how it goes together!Comment
-
I thought about making the frame risers a little higher but since we are keeping is narrow in the front and rear and building a link suspension I doubt there will be any clearance issues as far as up travel. I have 14 inch shocks for the front and 12s for the rear.Originally posted by jonah View Post[CENTER][COLOR=#ff0000]Resistance Off Road
[/COLOR]Join the Resistance...
http://www.resistanceoffroad.us[/CENTER]Comment
-
IS it done yet?[COLOR="YellowGreen"]"You cant fit 2 fingers in my tailpipe"[/COLOR]Comment
-
Curious, how you determined how wide to make the frame in the middle there? Just made it a bit wider to give you more room to play? or was there a specific width you knew you had to hit?[COLOR="#FF0000"]R[/COLOR]edneck [COLOR="#FF0000"]D[/COLOR]riveway [COLOR="#FF0000"]F[/COLOR]ab
www.DanielBuck.net - www.DNSFAIL.com - www.FurnitureByBuck.comComment
-
[COLOR="#800000"]Well, essentially there is one body mount that juts out farther than the rest, it's the front-most mount for the tub and it happened to be exactly the width of the frame material we are using further out then the rest. So, with running the material parallel to the current frame rails it worked out really nice. It also gave us about 4-1/2 inches wider stance than the original frame. My goal was to limit the amount of hang-ups I got from those body mounts on the original frame, but turned out that I will have more room for exhaust routing, etc.Originally posted by daniel_buck View Post
Of note: the factory welds from these old girls are nothing to brag about. I think a 9 year old girl could have gotten a job at the Jeep factory in the 70's welding frames.[/COLOR][COLOR="darkred"]"Death Smiles at Everyone... Marines Smile Back."
Adopt-a-Trail Member.[/COLOR]Comment


Comment