 Tweet
Tweet
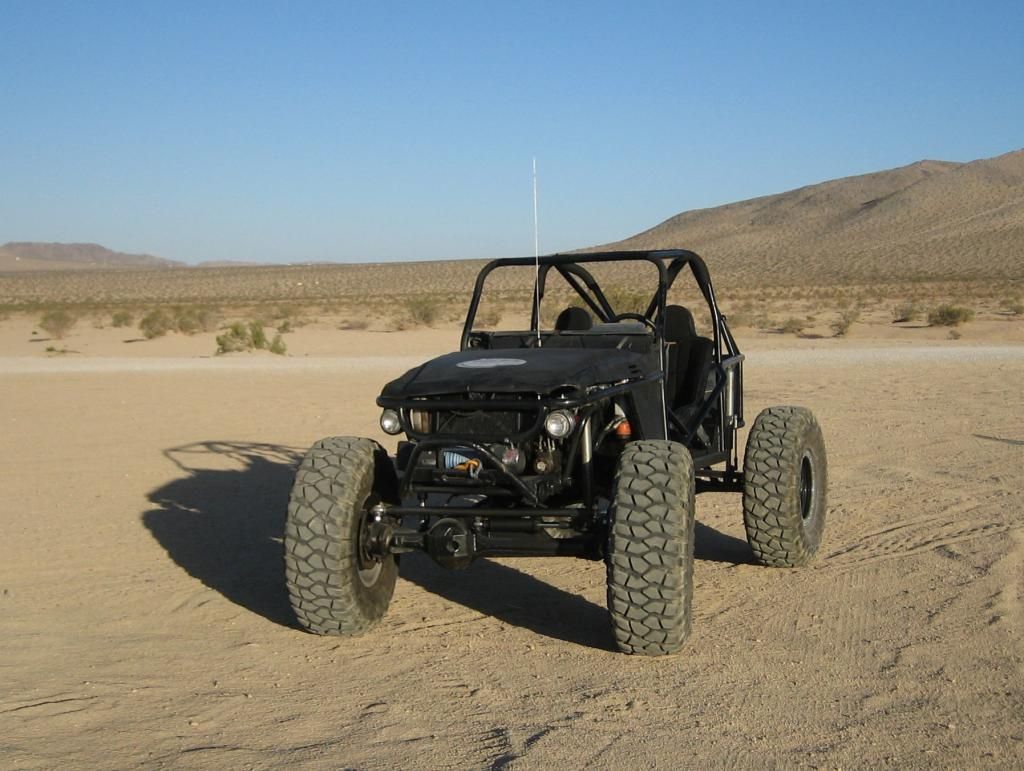
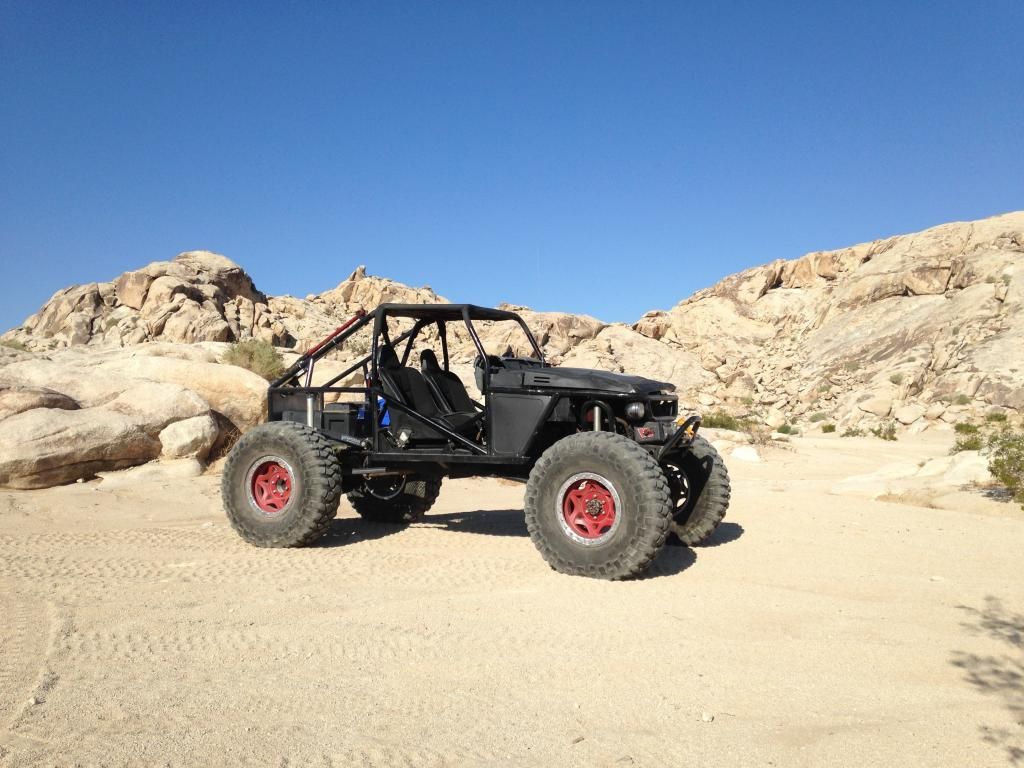
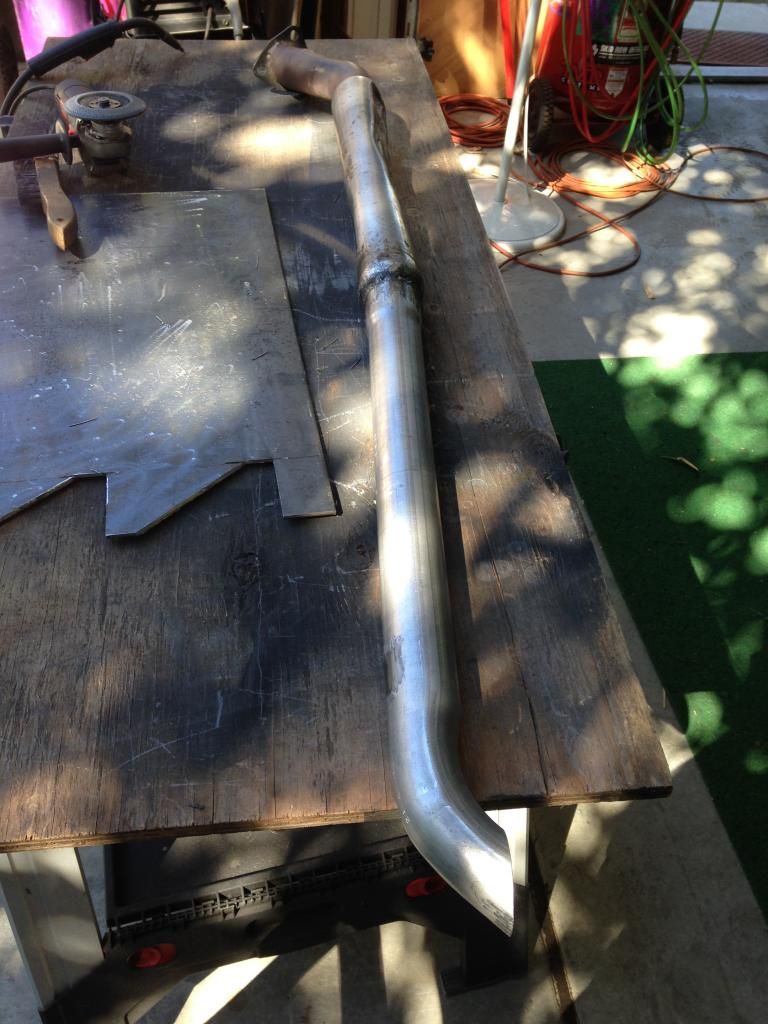
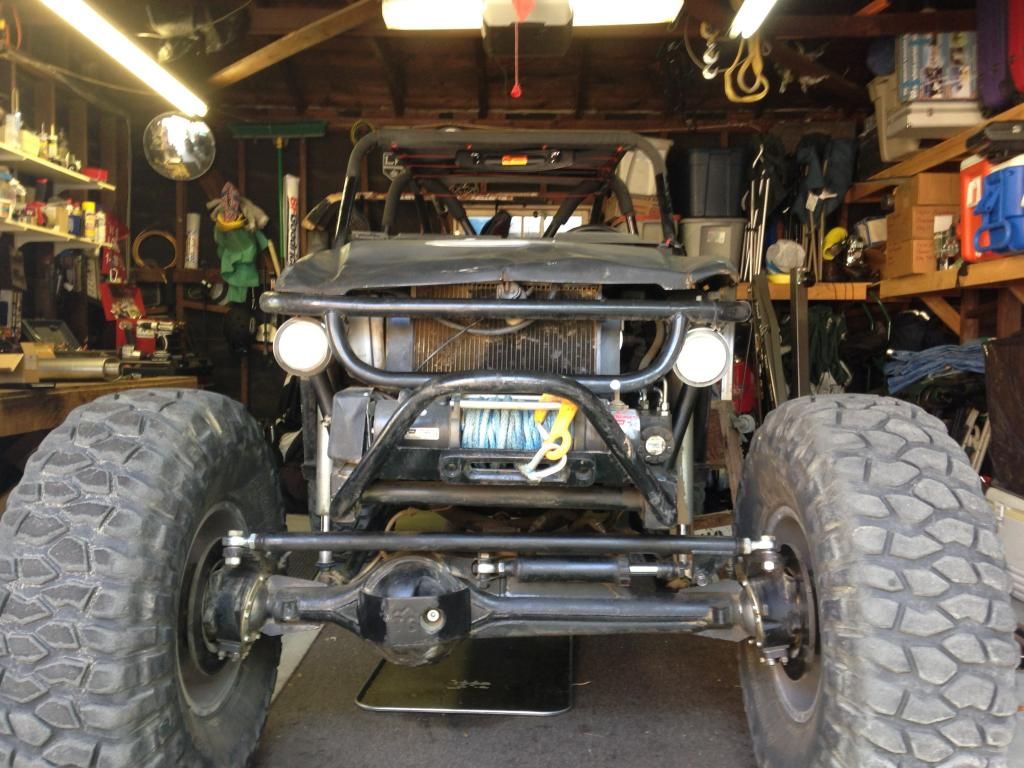
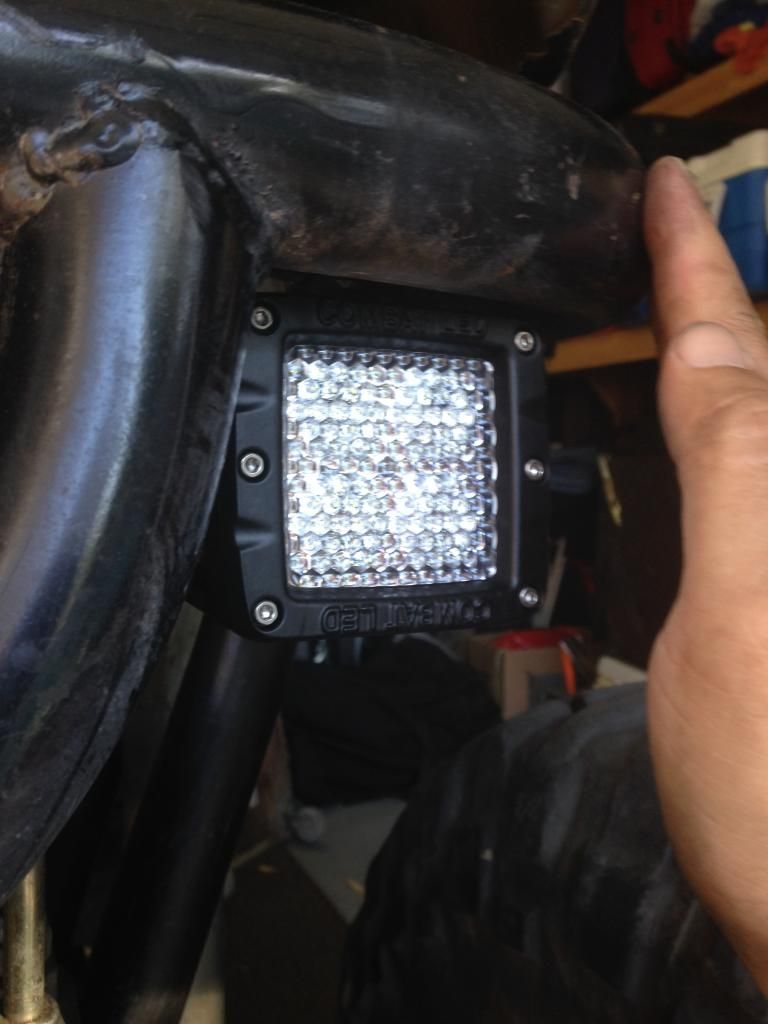
Lame! You can't tease us with fabrication photos and then not show it working on the trails. Unacceptable!
In all seriousness, glad to hear that it's working well for you. As I said before, it looks like a neat little buggy that will be a lot of fun. Congrats!
In all seriousness, glad to hear that it's working well for you. As I said before, it looks like a neat little buggy that will be a lot of fun. Congrats!


Comment