 Tweet
Tweet
Originally posted by Lumpy Grits
View Post
-
That is part of the plan.It was like that when I got here. -
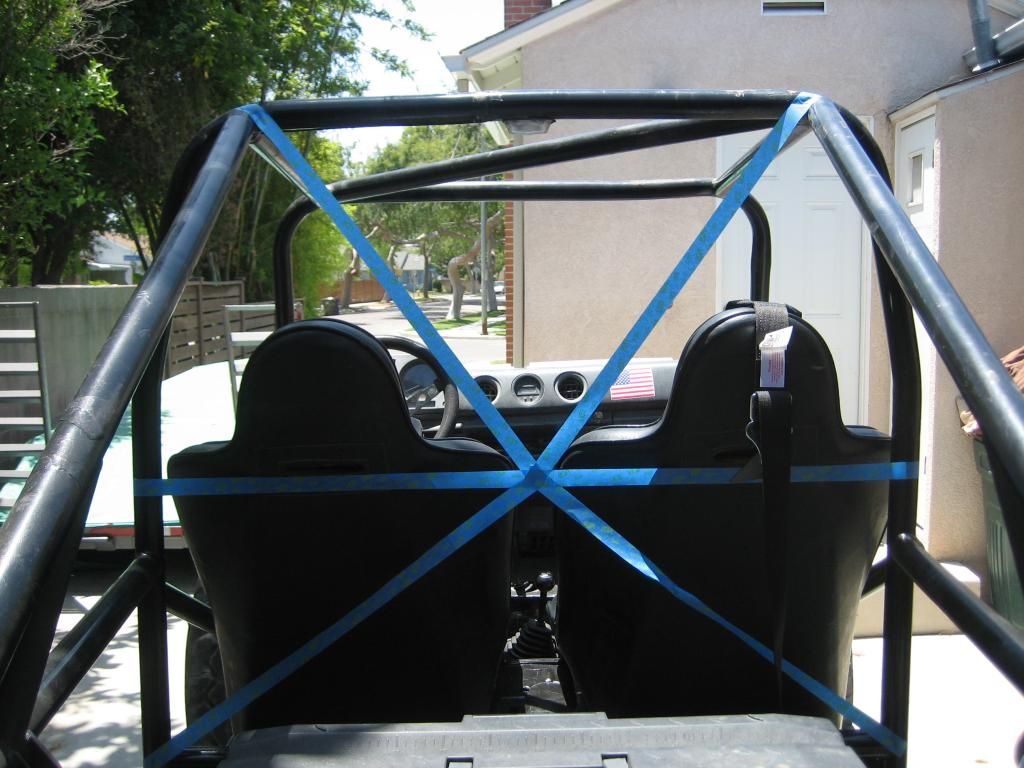
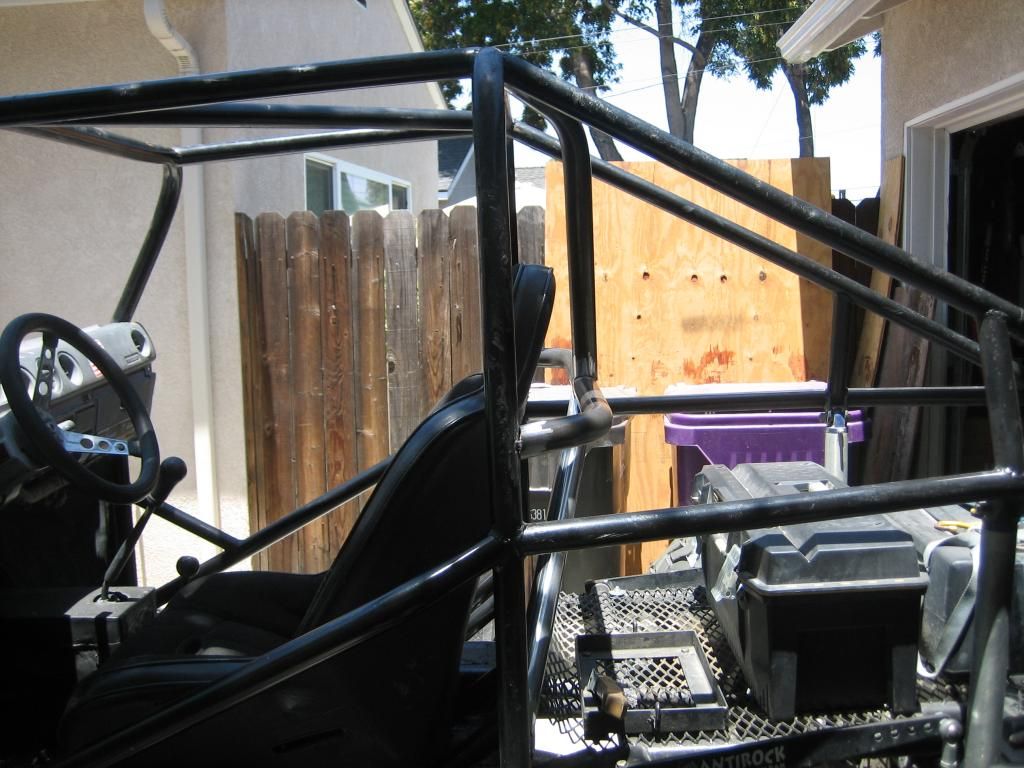
Well, I've been back at it. I went out and bought a set of shoulder straps, that I would put in, soon. They only sat for a day, and I decided, no time like the present. :dunno: So, This was my plan.
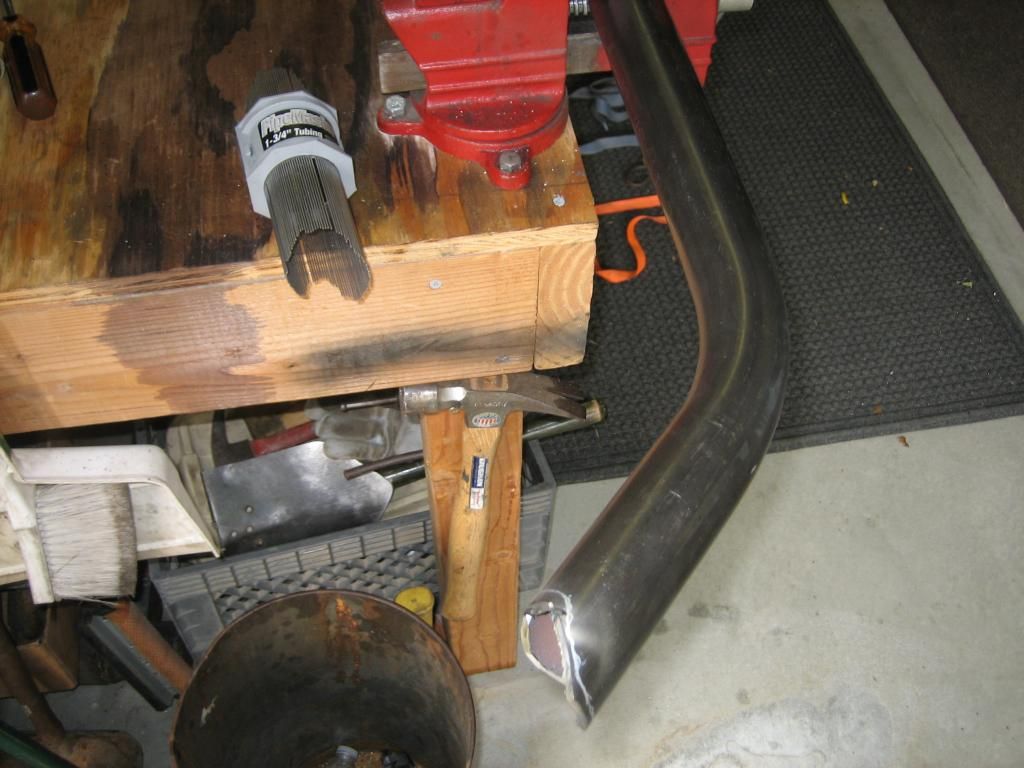
I went over to my good buddy Rick's. He allowed me to use his bender and his brain. He pretty much did all the brain work and bent up my harness bar, for me. Otherwise I would have wasted some expensive tubing. Thanks Rick. He also showed me how to use his bender. I did a couple more bends, for the upper portion of the X support. After a bit of messaging, the harness bar went right in.
How to hold up tube when your by your self. Also, made sure it cleared the seats.

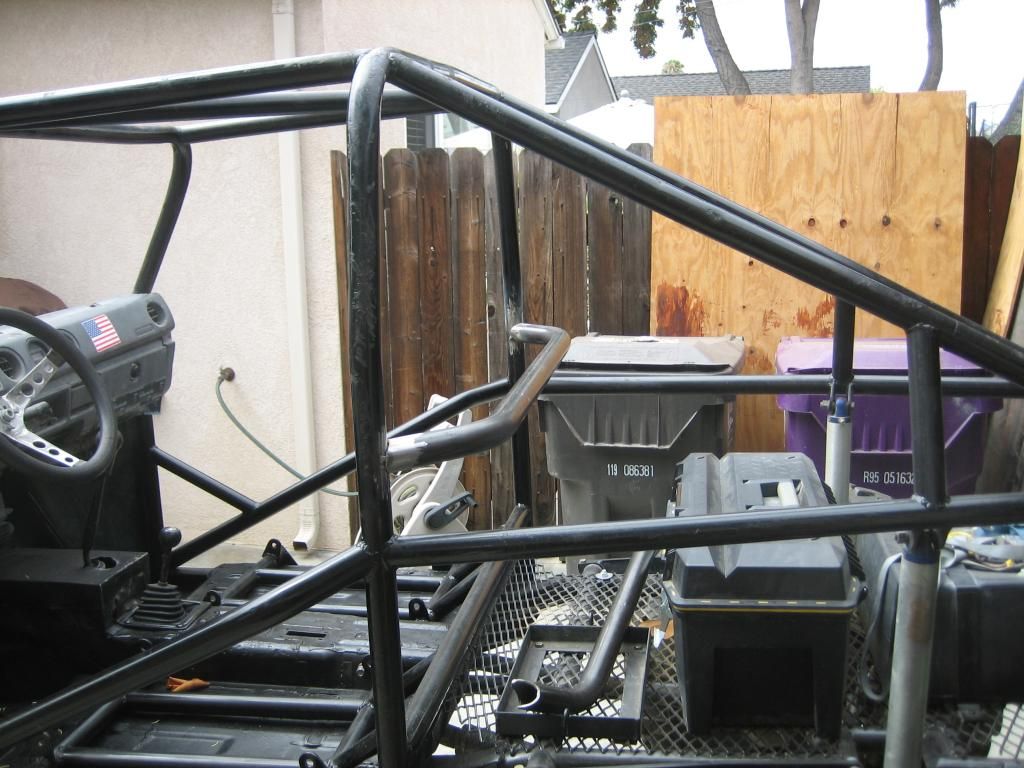
Tacked in and ready for the X
Get back when I have more to postIt was like that when I got here.Comment
-
BUT-BUT-I liked the blue tape. :hide:
LGHav'n you along, is like loose'n 2 good men....Comment
-
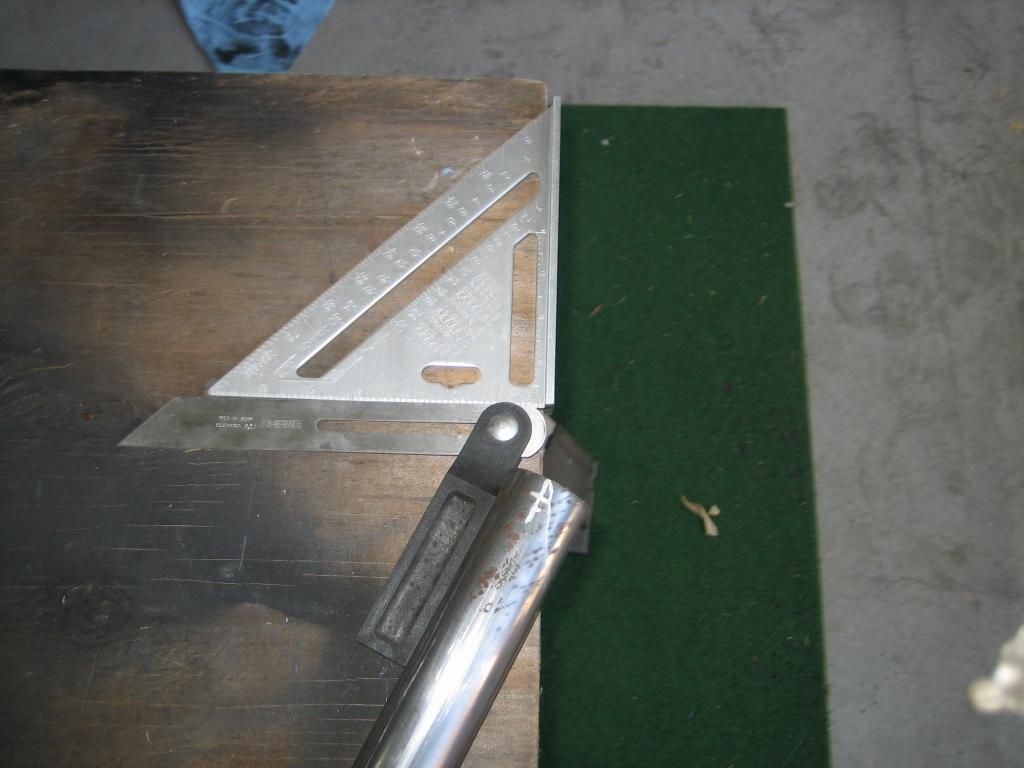
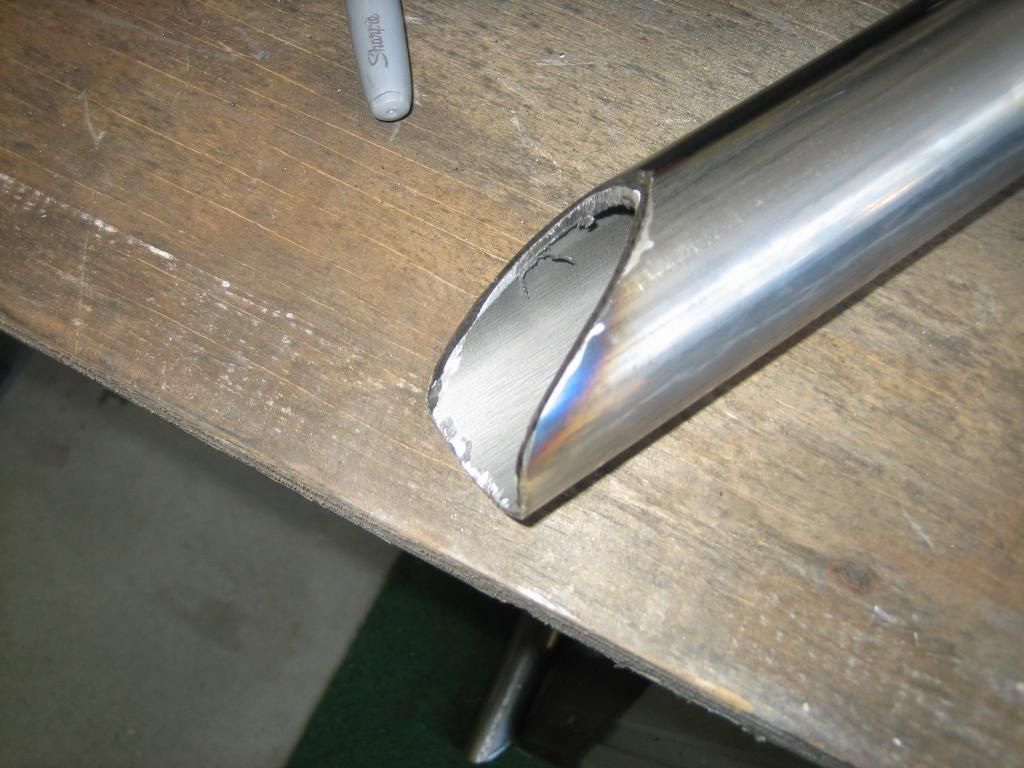
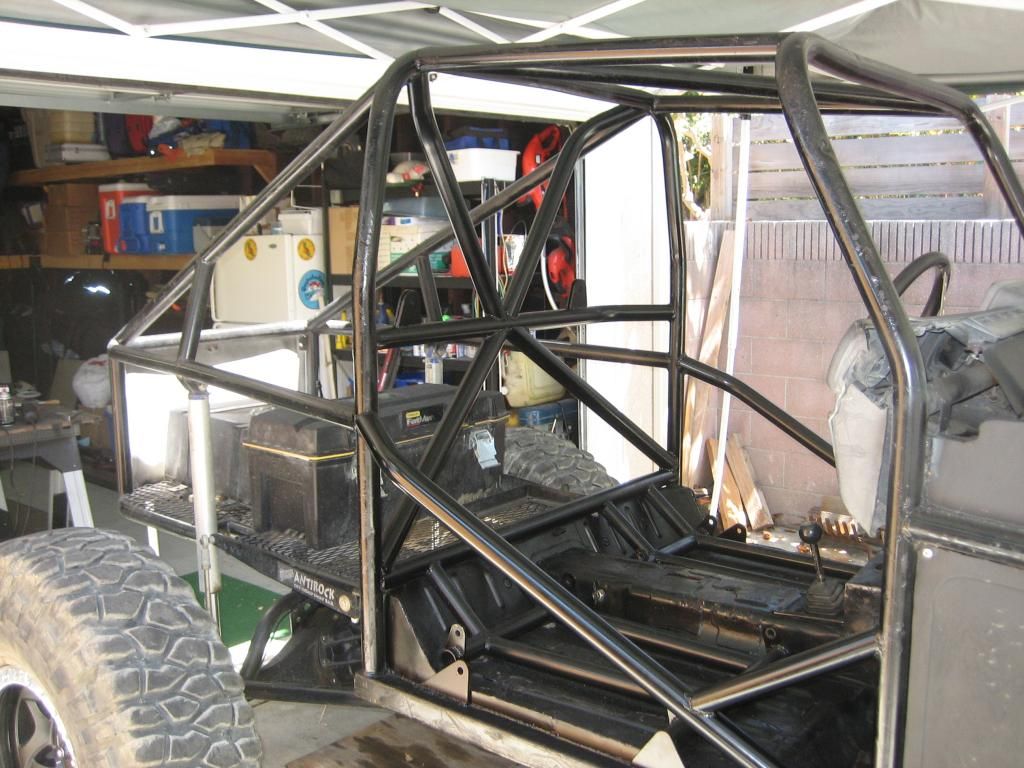
I started the X portion of the project. I did not realize the can of worms I was opening. Everything that I've done, up to this point had gone smoothly and had been easy. This part required some more complex and steeper notches. I didn't know that cutting notches more then 30* in 1.75" tube, was gonna be such a PITA. After ruining a couple pieces, getting low on material fast, and wasting a wholes day of work, getting nothing done. I went to the internet for some knowledge. I learned all about the chop saw method of notching. This cleared things up tremendously. So the next day, I want out and was able to get some stuff done. The joys of inexperience. LOL.:bonk:
Another big help from my buddy Rick, was the use of his pipe master tool. With that, it makes harder notches, alot easier.
This is how I figured out how to cut a 64* notch.
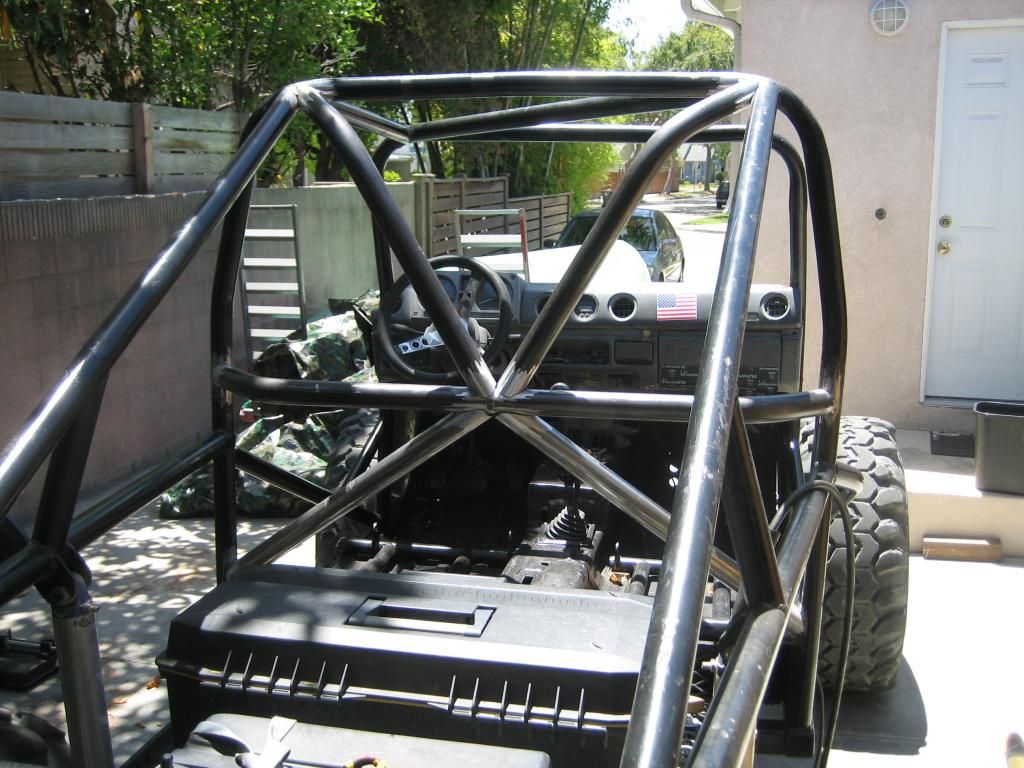
Half the X tacked in.

Making sure everything clears the seat.
After a few notches. I'm not to bad with a cutting wheel and a grinder.
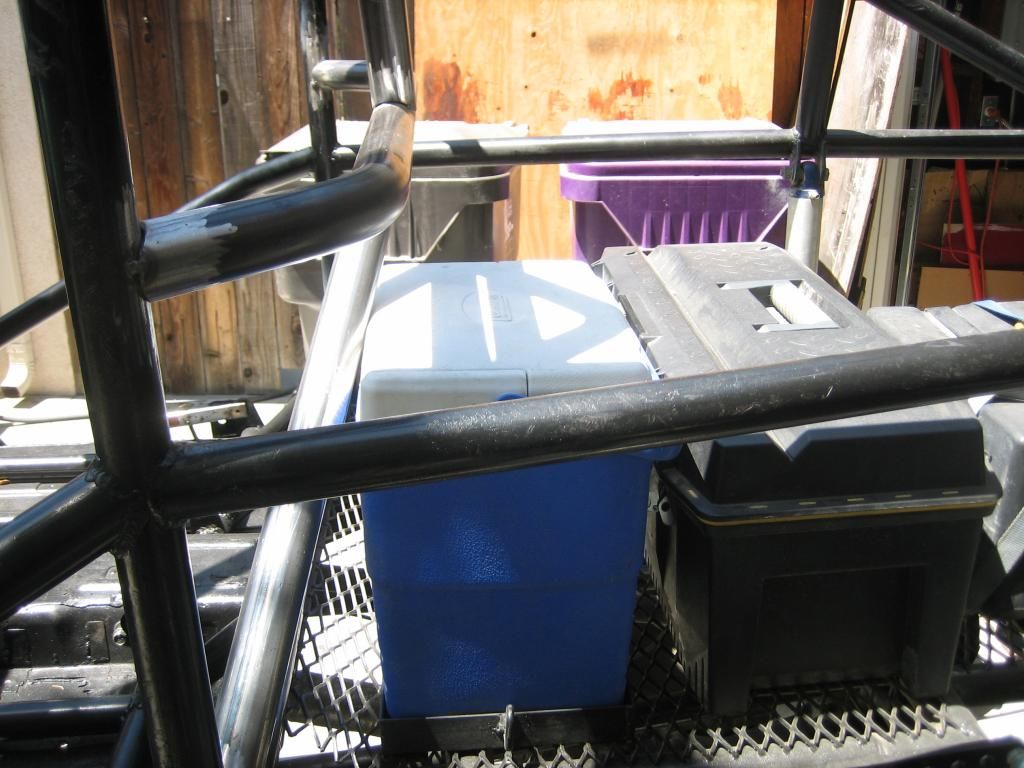
The important part. Have to make sure the ice chest still fits. It couldn't be any tighter.
This is how she sits now. I tacked in a 3rd bar. But I ruined one of the bent bars (the 1st one I tried). So, I can't finish till I get another tube bent and I can't get back to it till monday.

I happy with how its coming along. It will be a safer cage, and I'm learning a lot in the process.
So farIt was like that when I got here.Comment
-
This buggy stuff is fun isn't it? Before ya know it we will both be tearing it up
Comment
-
Dang nice work!
LGHav'n you along, is like loose'n 2 good men....Comment
-
Art- I can't wait. I'm itch'n to go, so bad.
Gary- Thanks.It was like that when I got here.Comment
-
looking good Joe,You can lead a horse to water, but it might drownComment
-
I got the 4th bar in today. Took awhile to get it right. I only finish welded 3 joints. I'll finish burning it in tmrw. Then I'll work on the shoulder harness mounts. Clean it all up, paint, and then I should be ready to bolt the seats back in. Hope to be done in a couple, 3 days.
 Last edited by Tumbleweed13; 06-19-14, 12:55 AM.It was like that when I got here.
Comment
-
I finished welded everything.I also added the shoulder harness mounts.Painted everything. I got the seats back in, and installed the seat belts and shoulder straps.
Here, it's all welded up. I cleaned all the joints up. That took some time, cuz I use flux core. I really need to start using gas. It's ready for paint. The paint job isn't great. It's more, to stop rust, then to look good.

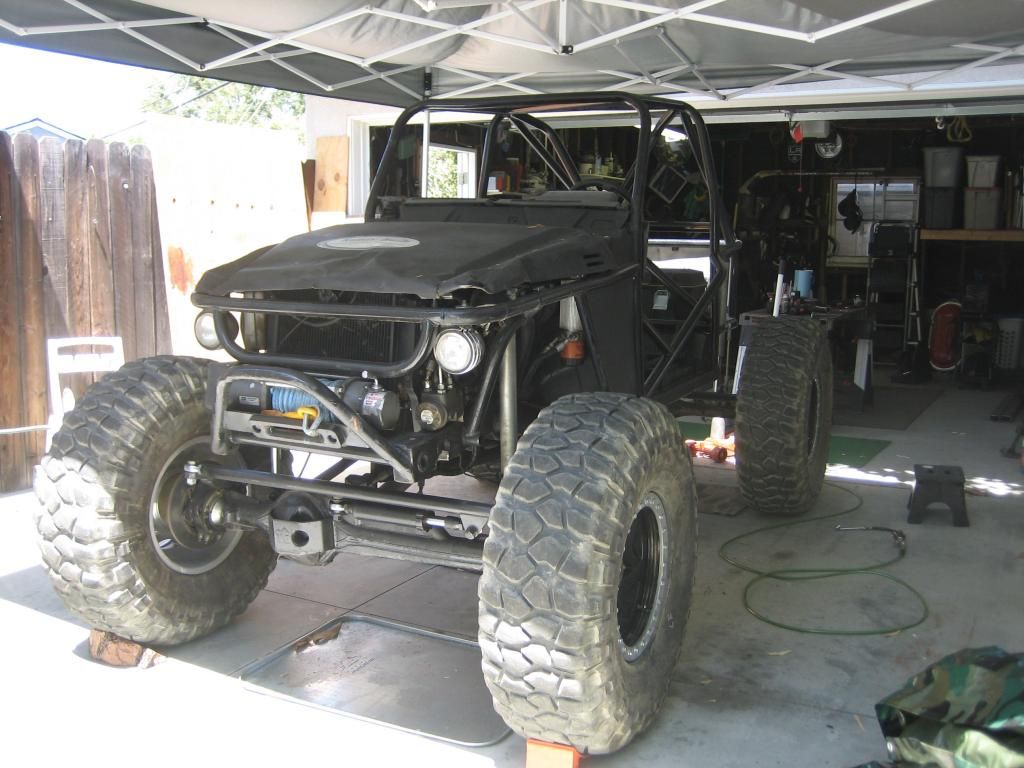
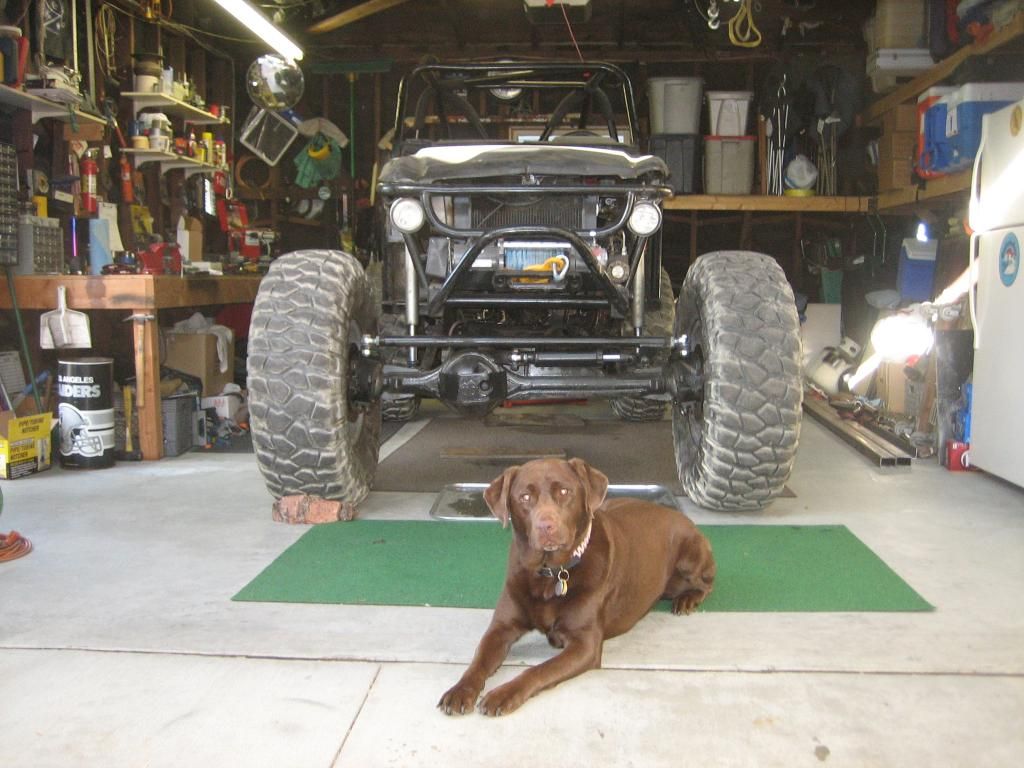
While I was waiting for the paint to dry. I decided to put my new(to me) wheels and tires on. They are Walker Evans beadlock wheels, with 39.5" BFG red label stickies. This really changes the look of the buggy, and is another step in making it my own.
It's all painted and dried, and ready to be put back together.
Seats and belts, back in.
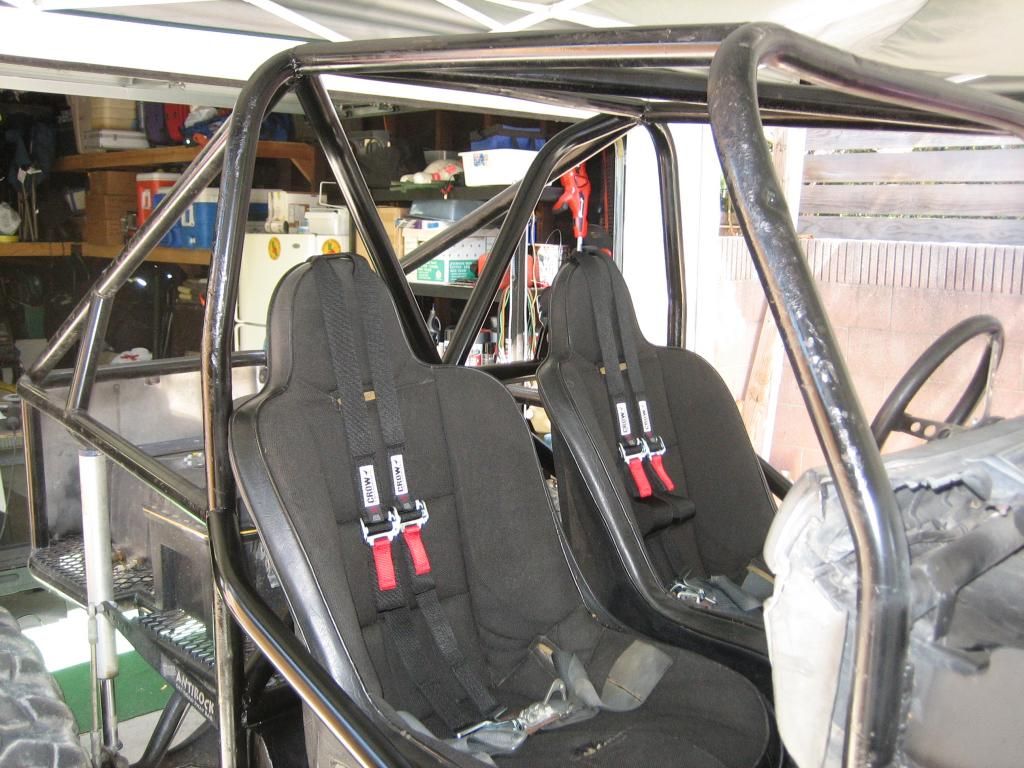
The harness mounts, didn't come out the way I wanted. The "Y" rubs on my neck. I think I may end up cutting the mounts off, and wrapping the harnesses to the bar. This will make the straps rest more on my shoulders, without rubbing on my neck.

This crawler is tight in the seating area. I added some padding over, and around the driver and passengers heads. I pulled from my hockey experience, and wrapped the padding in cloth tape. The pic is dark, but you can see the difference between just wrapping the ends vs. wrapping the length of the padding.

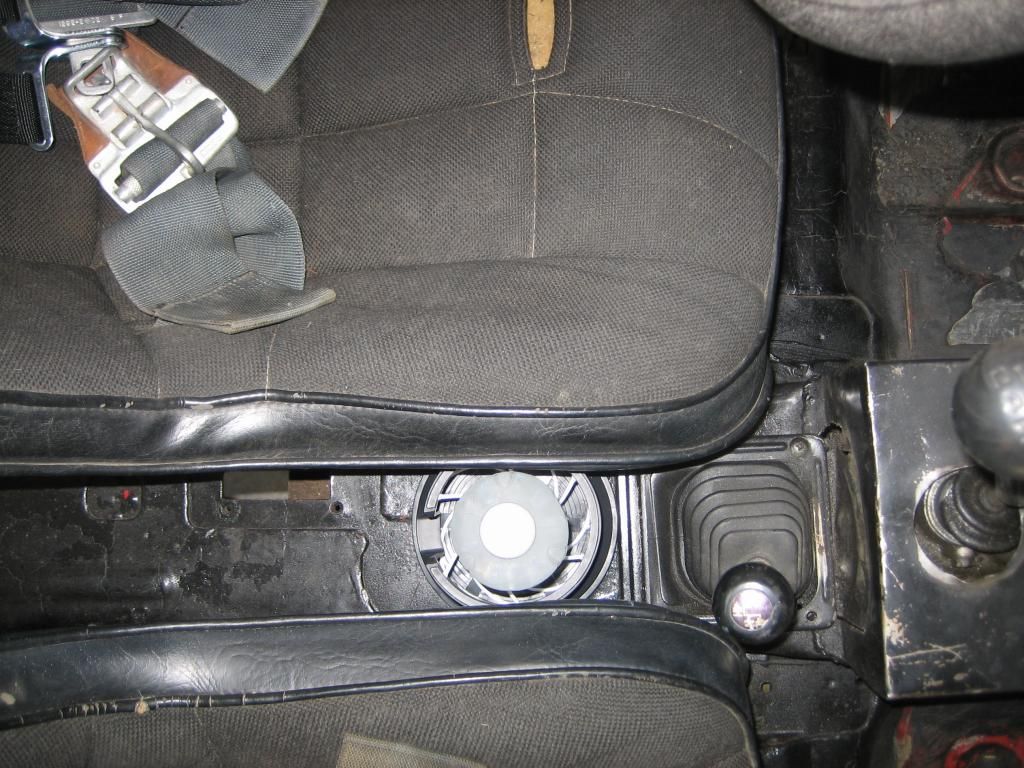
Last, and by all means, one of the most important things this buggy needed. A cup holder. LOL
Buggy is all back together and ready to go. My girl Rubi, is ready to go too.
 It was like that when I got here.
Comment
-
nice idea with the cloth tape! How does that stuff hold up to water? Just curious [COLOR="#FF0000"]R[/COLOR]edneck [COLOR="#FF0000"]D[/COLOR]riveway [COLOR="#FF0000"]F[/COLOR]ab
www.DanielBuck.net - www.DNSFAIL.com - www.FurnitureByBuck.comComment
-
Not sure yet. This will be my 1st outdoor use. But it'll only be out when I'm wheel'n. Buggy is garaged, when home. I did wrap the grab handles of my Poison Spyder cage, that I had in my TJ. It was on there for 3 years, and never started falling off. I know Big 5 sells the cloth tape, in blk or white. If you want colors, go to a hockey shop. They have every color.Originally posted by daniel_buck View PostIt was like that when I got here.Comment
-
You have done a great job!
Paula will like the cup holder-
Don't forget a rifle rack--
LGHav'n you along, is like loose'n 2 good men....Comment
-
Joe.. umm... this is nice and all... but let's get to the important stuff... let's put some lights on it!
Comment
-
I like the hockey tape. I will be using that cross platform solution.
Thanks Joe.You can lead a horse to water, but it might drownComment
Comment