Announcement

Collapse
No announcement yet.

CJ7 Build Part 2 aka Stopping the Flopping

Collapse

Forum Thread First Post

Collapse
X
 
  • Filter
  • Time
  • Show
Clear All
new posts

  • Couple more items checked off the list.

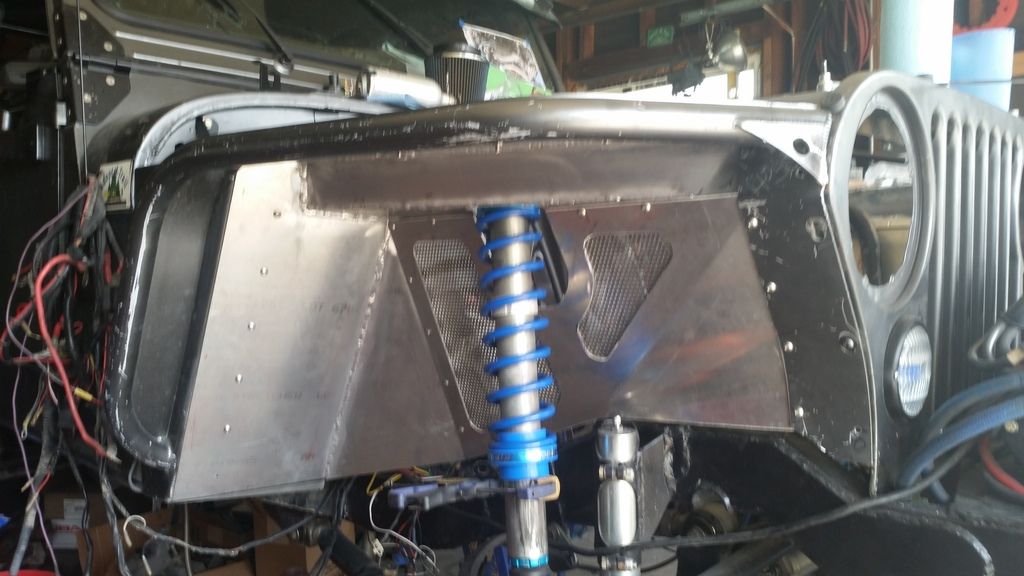
    Removed the weak grill struts and replaced them with these turnbuckles I got from a GoKart site.


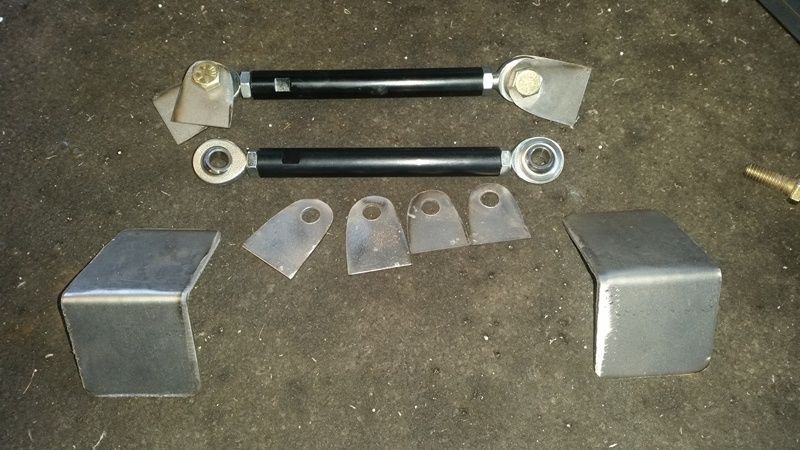
    Attached them to the shock hoop brace. So much more support.


    I have had nothing but problems with these Gen Wrong aluminum tube fenders. This is one of the weak points.


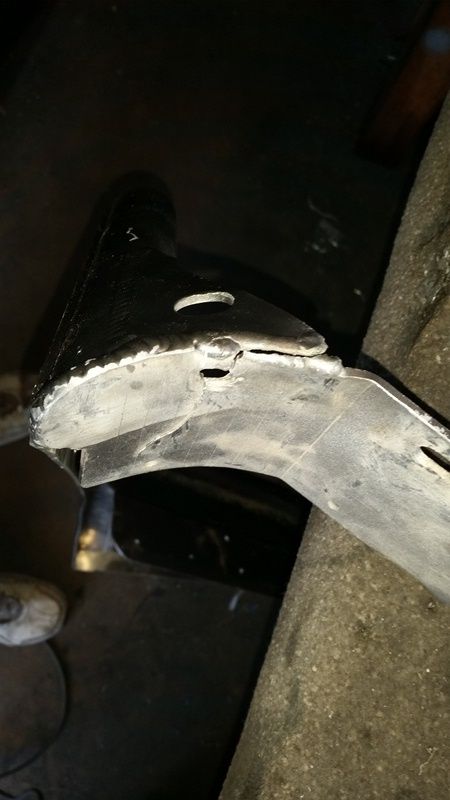
    Hence one of the reasons I'm making these. The front is rock solid now. One down one to go.


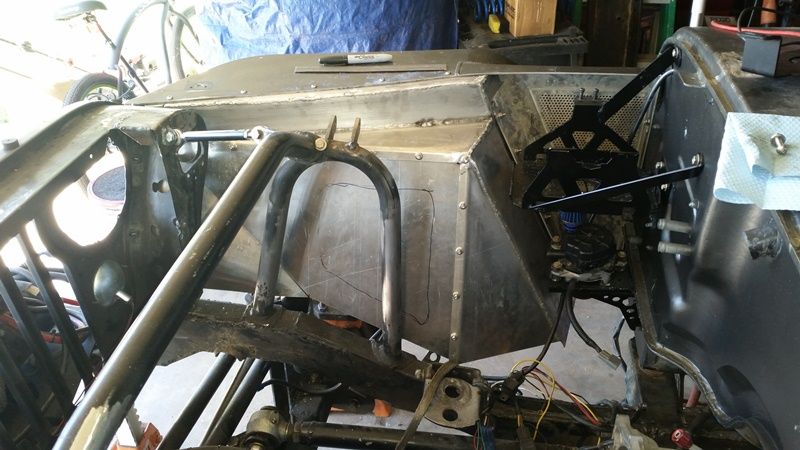
    Had to do a little more bending to match the radius of the CJ grill. Slow process.


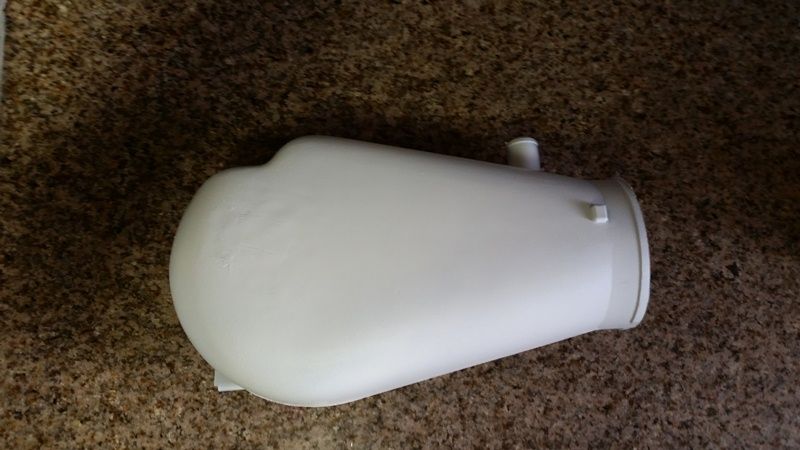
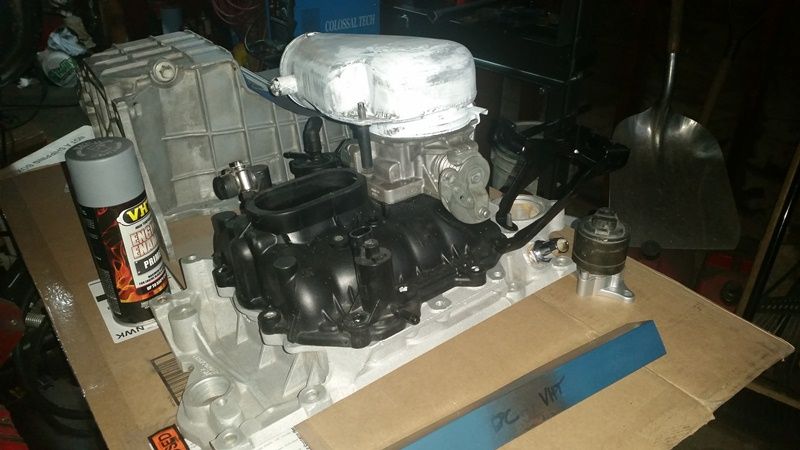
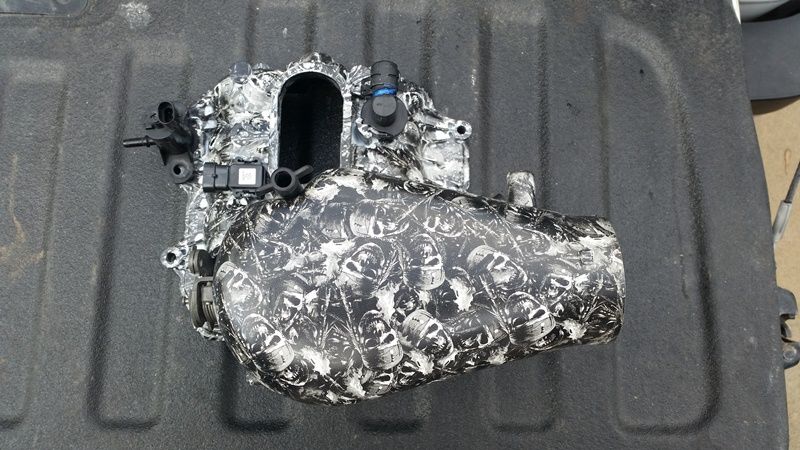
    That wheel well kicked my ass so I cleaned up early and played around with some hydrographics.
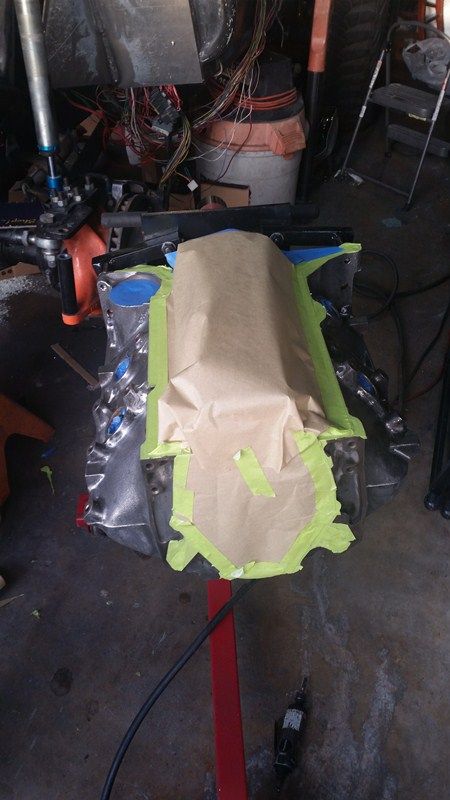
    Intake hat unfinished.
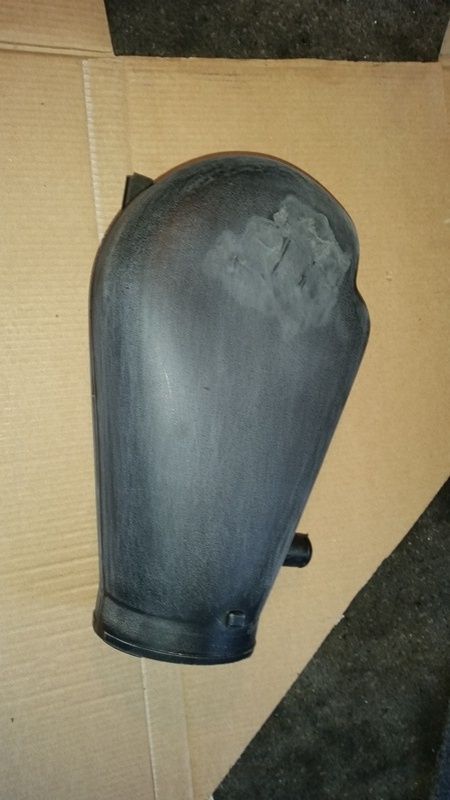
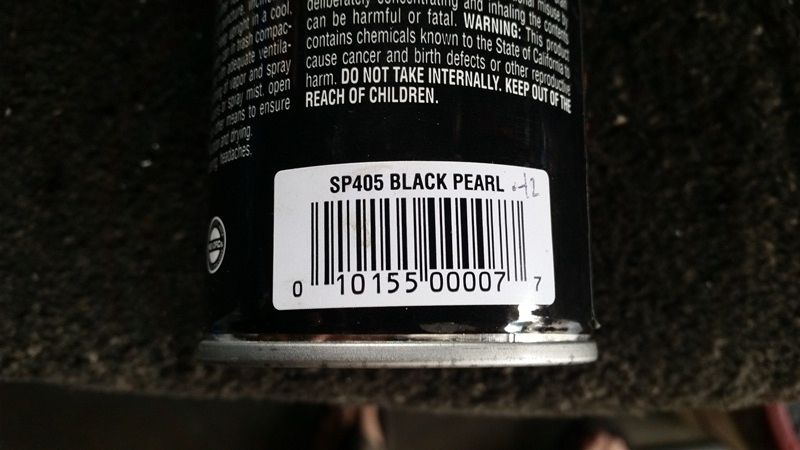

    Primer and basecoat


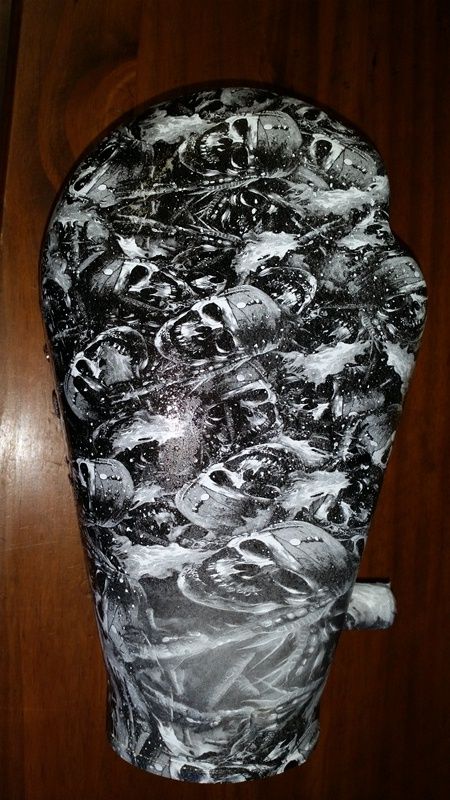
    This was my first attempt at this and I'm pretty happy with the results.
    Check out .

    Comment


    • That's cool
      [COLOR="#FF0000"]R[/COLOR]edneck [COLOR="#FF0000"]D[/COLOR]riveway [COLOR="#FF0000"]F[/COLOR]ab
      www.DanielBuck.net - www.DNSFAIL.com - www.FurnitureByBuck.com

      Comment


      • Spoolgun on aluminum takes some work doesn't it Chuck
        Came out really nice though. The intake hat is the piece de resistance.
        To stop the fenders from breaking, you need to tie the hoops to the cage inside the cab. About the only way you'll stop the frame flex
        Last edited by aw12345; 03-09-15, 10:02 AM.

        Comment


        • Nice job on the fenders, Chuck.

          And, the hydrodip is freaking cool!
          "The Jeep...is a fitting instrument to transport the free people of a free nation with the respect to which we are entitled and the dignity that we deserve."

          Comment


          • Originally posted by aw12345 View Post
            To stop the fenders from breaking, you need to tie the hoops to the cage inside the cab. About the only way you'll stop the frame flex
            That isn't happening now. I would have to pull the dash apart to pull the heater assembly and the wife wouldn't like that. Another project for another time. Plus that wouldn't actually help with what I'm doing and strengthen the weak points on these fenders. What the inner well will do is help stop the fender from buckling when I lay it on a rock. The red arrow points to where I'm talking about. That fender has been bent twice from just laying on a rock at that point.
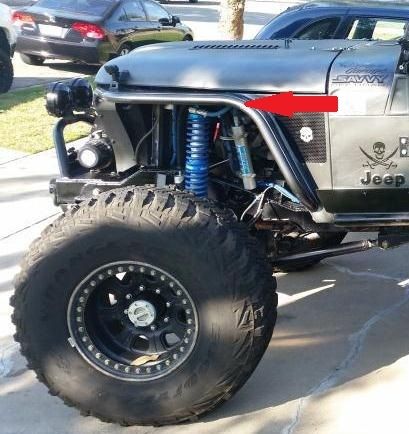
            Check out .

            Comment


            • Swung by the engine shop yesterday to drop off a few parts and was able to get a few shots.

              Every pistons oil rings were seized compressed in their groove. The crank had some scaring.


              The block and heads are at the machine shop getting their work done. I picked up the oil pan and lower intake manifold then took them home for a good cleaning.


              Almost new again.


              Now I'm trying to decided whether to just clear coat them or spray them with aluminum cast paint. I kind of like the look of the raw metal with a satin clear coat. I sanded the intake hat cause I want to use silver for the base coat instead of white. Thinking about dipping the upper intake as well since it's plastic. You can see the blues in the lower left corner.


              Hopefully picking up the engine next week for paint then assembly begins.
              Check out .

              Comment


              • I'm a big fan of clear coating bare metal. I've not done any of that on my jeeps, but I do my furniture that way.
                [COLOR="#FF0000"]R[/COLOR]edneck [COLOR="#FF0000"]D[/COLOR]riveway [COLOR="#FF0000"]F[/COLOR]ab
                www.DanielBuck.net - www.DNSFAIL.com - www.FurnitureByBuck.com

                Comment


                • Originally posted by daniel_buck View Post
                  I'm a big fan of clear coating bare metal. I've not done any of that on my jeeps, but I do my furniture that way.
                  Me too. I think that's the route I'll go.
                  Check out .

                  Comment


                  • Finished the passenger side wheel well and drivers side just about done.


                    Removed the old leaking proportioning valve off the frame and installed a Wilwood adjustable mounted off the master cylinder.


                    Getting closer


                    Also got the new center console top laid out.


                    This is the old one.
                    Check out .

                    Comment


                    • Finally got the engine painted. 4 coats of primer, 6 coats of paint, and 6 coats of satin clear.

                      Prepped


                      Ended up finding this paint and decided not to go GM Blue. Couldn't resist.


                      Done. Taking it back to the engine builder tomorrow.


                      Didn't like the silver basecoat on the intake parts so I went back to white. Ended up also doing the upper intake as well since it is also plastic.


                      The Jeep is temporarily back on all fours so I can finish the frame repairs and paint the frame.
                      Check out .

                      Comment


                      • I think I can squeeze this in.

                        Check out .

                        Comment


                        • just caught up on your thread... looking great chuck! Awesome job with the Oreos and other goodies this weekend too!

                          Comment


                          • Originally posted by dirtman13 View Post

                            THIS! This F'ing ROCKS!!!!!
                            [COLOR=#ff8c00]MYJEEP(crawls)ROCKS(again).com

                            I have finally stopped drinking for good.
                            Now I drink for evil..... :devil:
                            [/COLOR]

                            Comment


                            • Now the real fun begins. Started the re-wire.

                              Already looking cleaner.


                              The old fuse/relay block will be removed and integrated in to the new relay/fuse block.


                              This is the new one. I'm installing two of them to control all the lighting and engine controls which will replace all the old firewall mounted relays.


                              Center console is about complete. Just need to install the cup holders.


                              Made it much easier to pull the switch block for troubleshooting.


                              I did have to modify the twin stick so the bracket didn't get near the upper switches.
                              Before

                              After
                              Check out .

                              Comment


                              • Looks like fun!
                                [COLOR="YellowGreen"]"You cant fit 2 fingers in my tailpipe"[/COLOR]

                                Comment

                                Working...
                                X