 Tweet
Tweet
Since the bench grinder that I picked up was missing the cover and tool rest on the left side, I made a tool rest and managed to get the cover from my old bench grinder (the one with a wobbly spindle) to fit onto this one  I'll put some small spark deflectors on the top of the openings, and then it'll be done
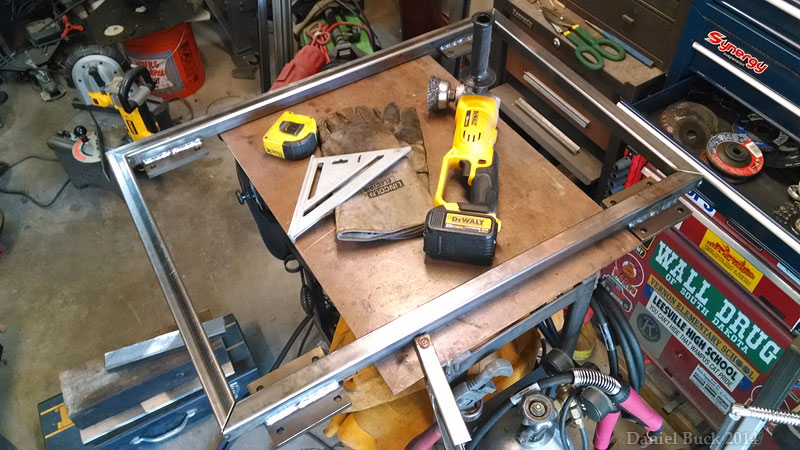
I have to say, ever since I got the little band saw and band saw table, I've been constantly using that thing. I can't believe I got by without one before! It makes real quick work of cutting out little shapes for brackets and things out of plate or angle, or simply cutting down a bolt length, or what have you.


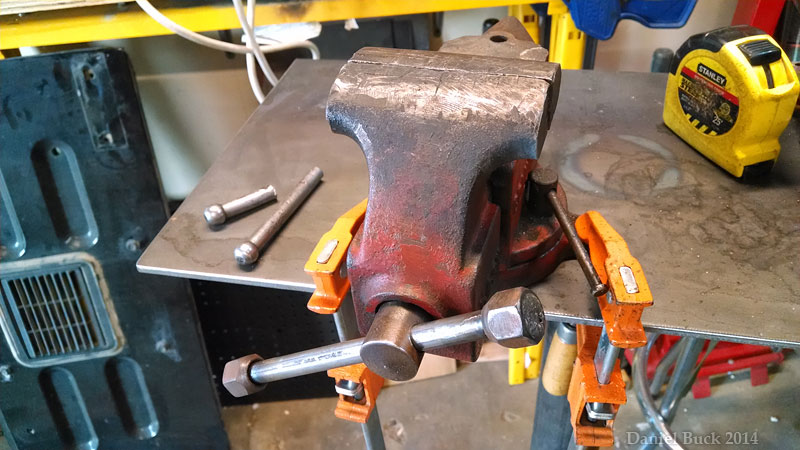
and the handle on the bench vice that I picked up was bent (someone probably trying to use the vice as a press, haha!) I happened to have some solid rod the same diameter. Fixed.
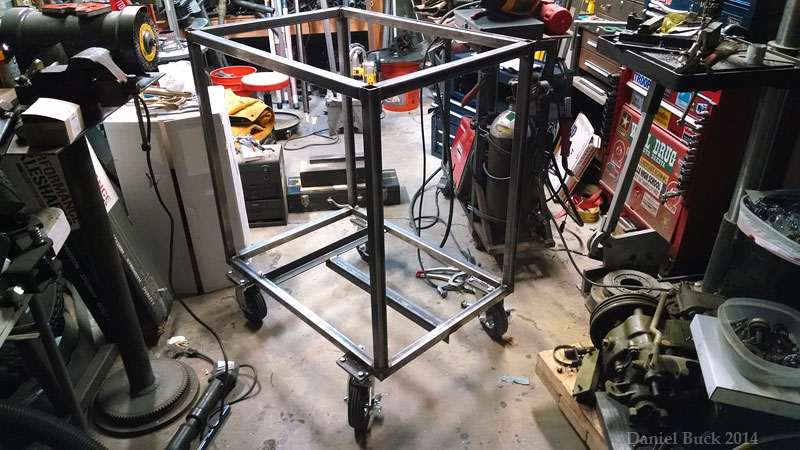
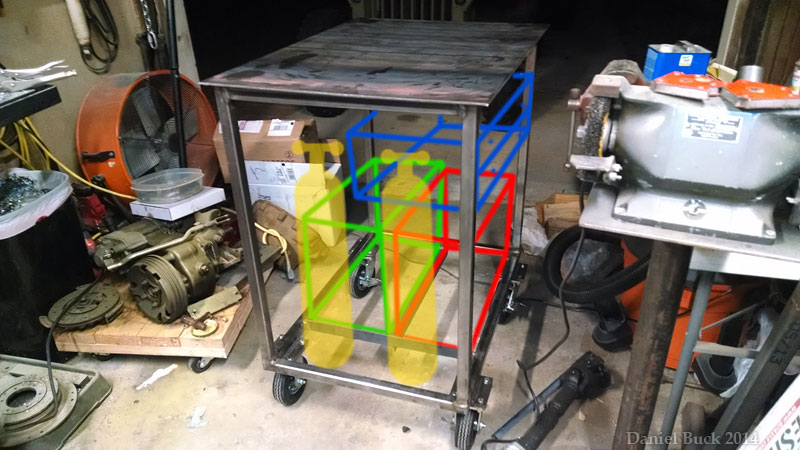
I'm going to leave things clamped to the stand for a little while, and use them for a few weeks until I like how they are arranged. Then I'll drill and bolt them down proper.
The small vice on the stand will be used for small things. If I need to pound on something, or work with something heavy, I have a larger vice that's mounted to my work bench.

I'll put some small spark deflectors on the top of the openings, and then it'll be done I have to say, ever since I got the little band saw and band saw table, I've been constantly using that thing. I can't believe I got by without one before! It makes real quick work of cutting out little shapes for brackets and things out of plate or angle, or simply cutting down a bolt length, or what have you.
and the handle on the bench vice that I picked up was bent (someone probably trying to use the vice as a press, haha!) I happened to have some solid rod the same diameter. Fixed.
I'm going to leave things clamped to the stand for a little while, and use them for a few weeks until I like how they are arranged. Then I'll drill and bolt them down proper.
The small vice on the stand will be used for small things. If I need to pound on something, or work with something heavy, I have a larger vice that's mounted to my work bench.
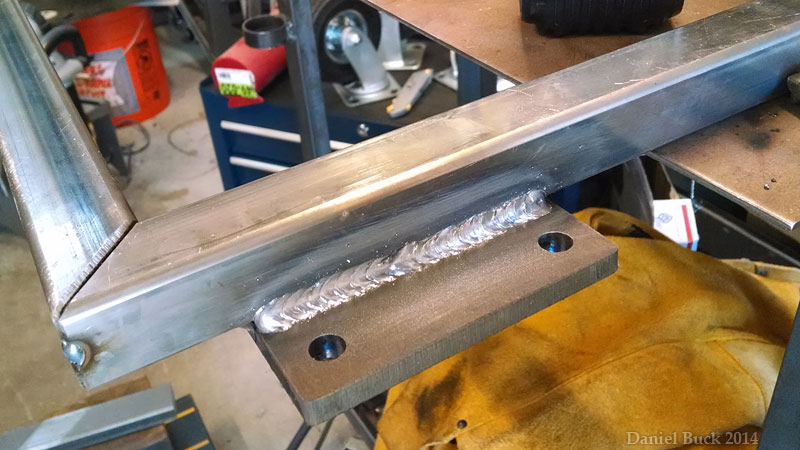
 Man, both welders burn quite a bit hotter with 220


Comment