 Tweet
Tweet
Originally posted by daniel_buck
View Post
 any ideas?
You also need a good way/ place to hang your cables. My preference would be something that isn't likely to gouge your eye out when you squat down next to the machine.
If haven't built it already. You're going to want a secure way to hold a bottle or two as well. Mine holds two bottles forward of the rear axle. They are held in place by a ratchet strap to the frame. Two ratchet straps would be even better. Two pieces of angle iron welded to the floor diagonally keep the bottom of the bottles from kicking out. My MIG welder power cable goes between the two bottles to isolate them (I should put a real isolator in there). You can also buy purpose-built bottle holding bracketry. Allow for a larger bottle. Bigger bottles can be much more economical to fill.
Originally posted by daniel_buck
View Post

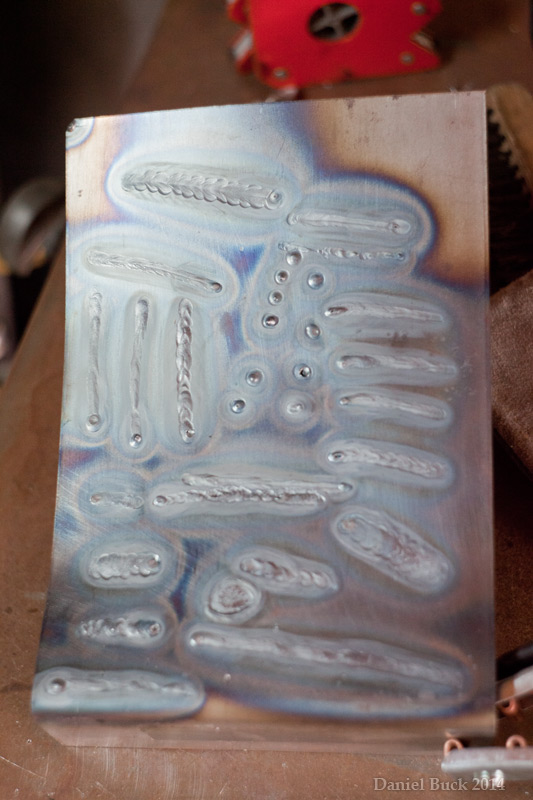
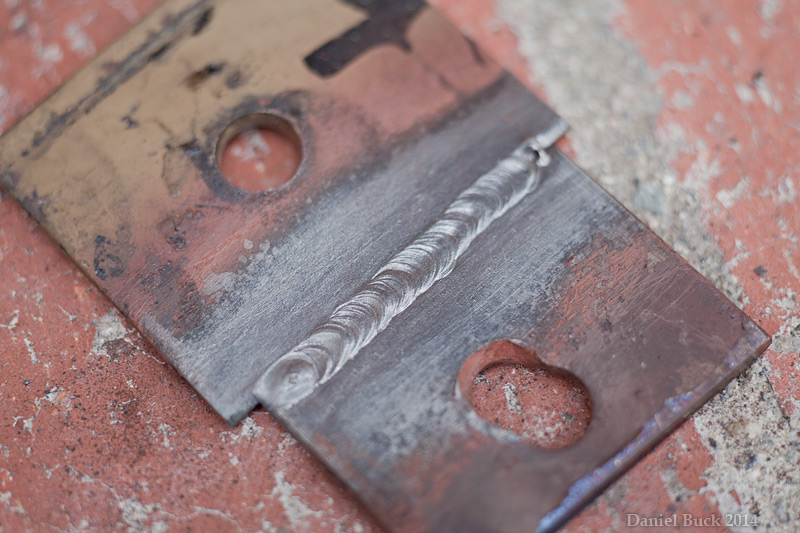
 Switched back to MIG for this.


Comment