Announcement

Collapse
No announcement yet.

CJ7 Build Part 2 aka Stopping the Flopping

Collapse

Forum Thread First Post

Collapse
X
 
  • Filter
  • Time
  • Show
Clear All
new posts

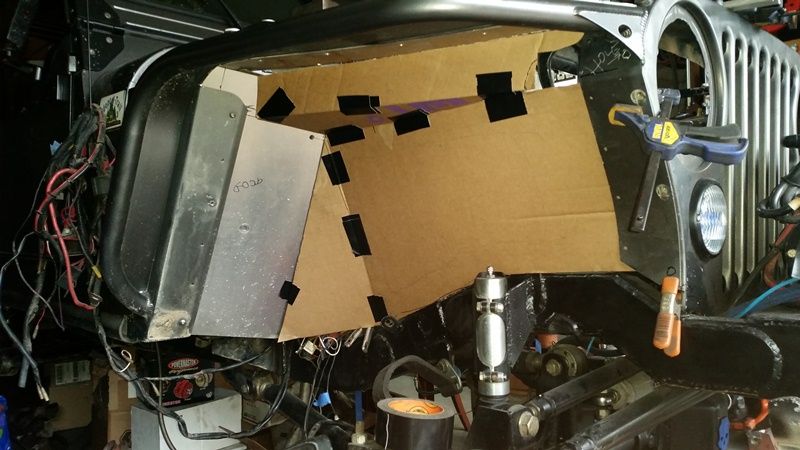
  • Now it's time to work on the fenders. Picked up a spool gun for my welder and I'm going to fab some inner wheel wells for the hi-line fenders. I will also be replacing the weak grill struts with some 3/8" turnbuckles from the grill to the hoop cross bar.This should sturdy things up. These GenWrong fenders have been an issue from day one and need some reinforcing. The drivers side will also have an incorporated cold air intake box.

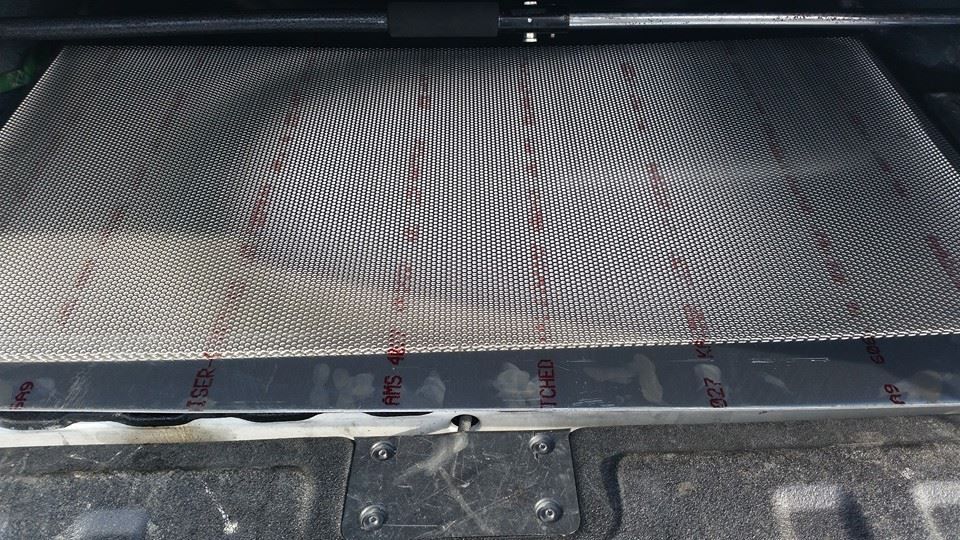
    Ready for fab.
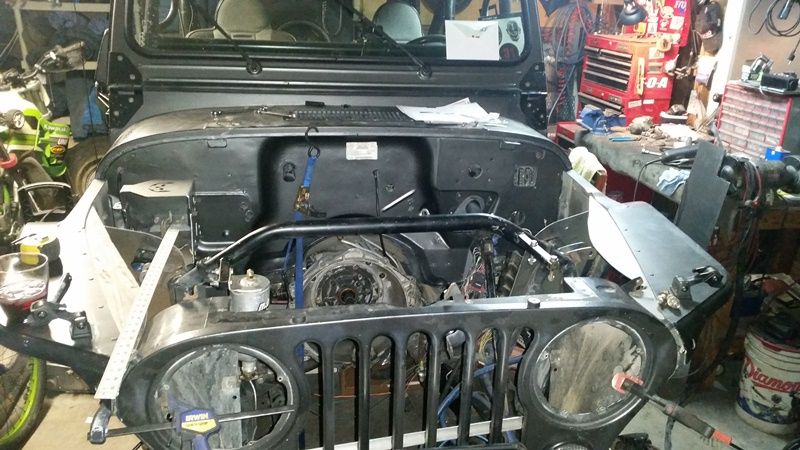

    Some 6061 and perforated aluminum for the inner fenders.

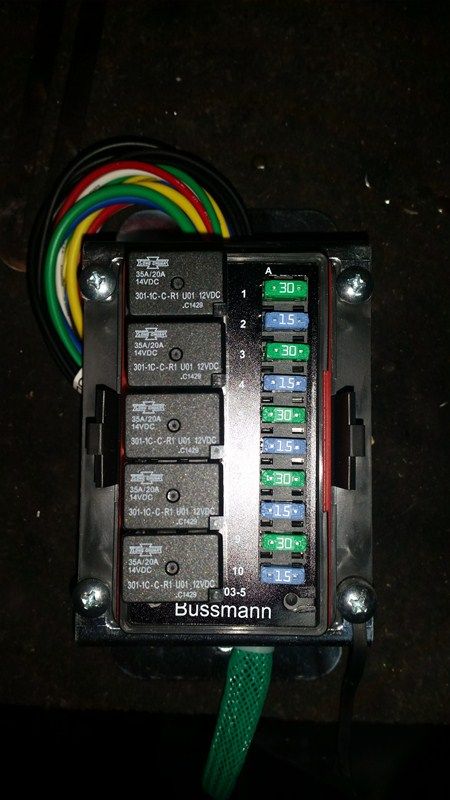
    Also staring to work on the wiring.
    All the crap on the firewall shown here.
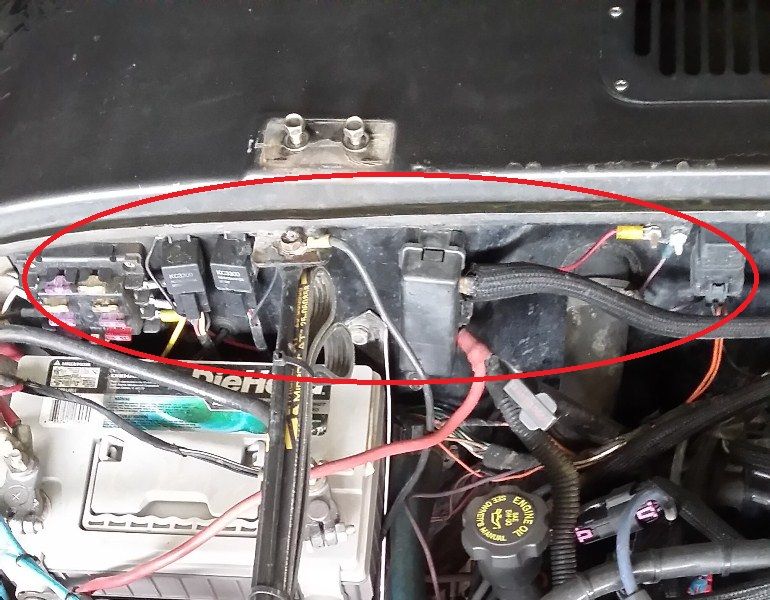

    Will be incorporated in to this small waterproof box.
    Check out .

    Comment


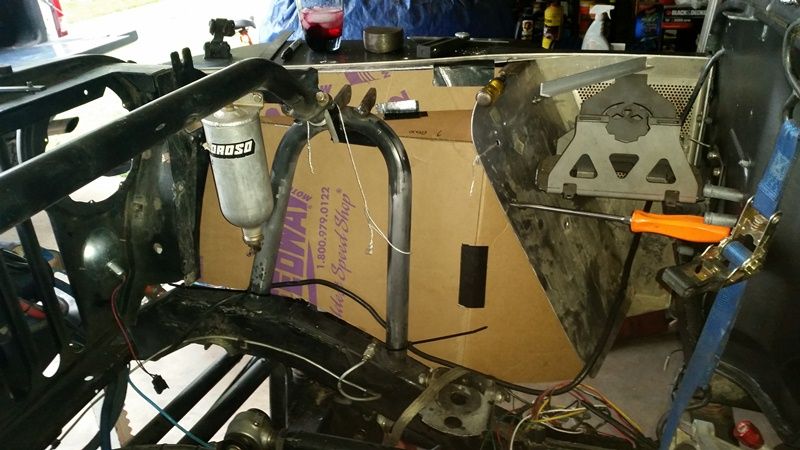
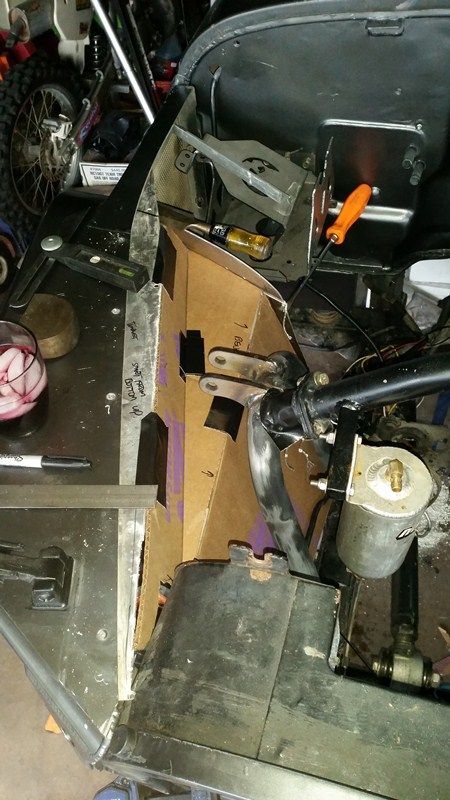
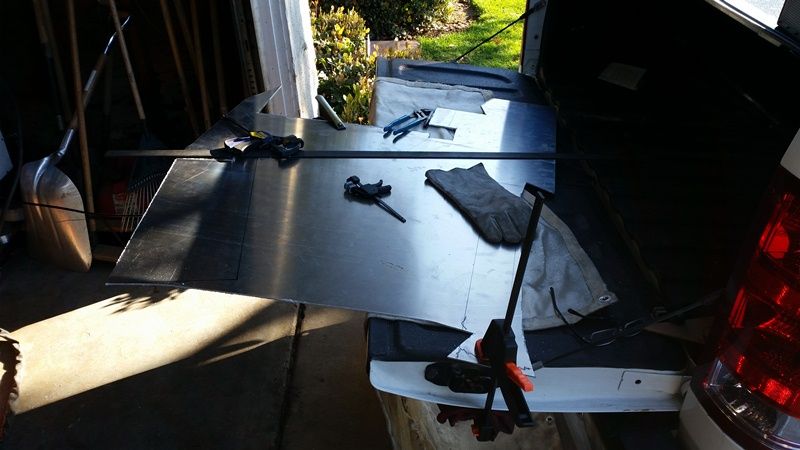
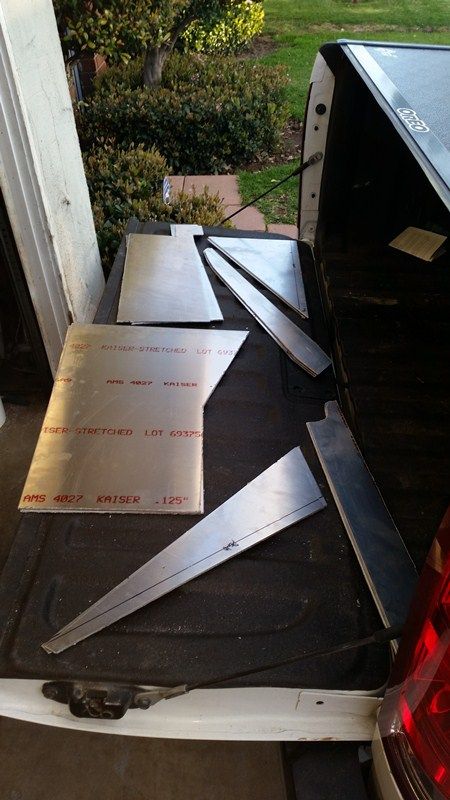
    • Got the inner wheel well mocked, cut and ready for welding. Need to find someone with a brake that can bend a few spots and the rest will be welded.

      Mocked up


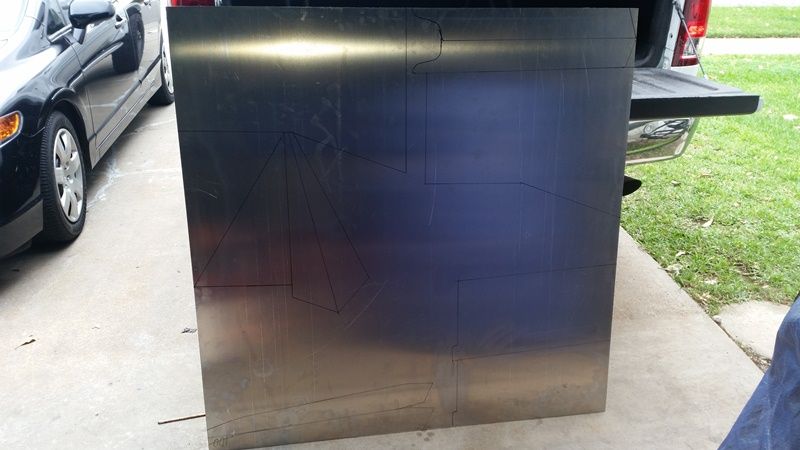
      All laid out.


      My little plasma cutter cut through the .125 6061 like butter. Much easier that using the cut off wheels.


      Need to do a little cleanup of the edges Then we'll be ready for welding.
      Check out .

      Comment


      • Looking good. I am interested to see the spool gun in action.

        How is the motor progressing?

        Comment


        • You and me both. Never welded aluminum before so we'll see.

          Motor is finally under way. Had to work out some final details. Only want to do this once and get it right the first time. We made a few changes. I'll have some photos and info of the progress once it makes since. Nothing to interesting to report yet. I still got a lot to do to the rest of the Jeep so I'm in no rush to get the engine back. This guy is very meticulous and I don't want to rush him.

          New specs:
          .30 over with Hypereutectic pistons
          Custom rings
          250 Crane Cam
          Rocker kit w/ HD springs
          3 angle valve job
          New crank
          Hi flow oil pump
          9:1 compression
          Balanced and blueprinted

          Everything except the block, heads, and balance shaft is being replaced.
          Last edited by dirtman13; 03-09-15, 11:17 AM.
          Check out .

          Comment


          • Now your going to need a wheelie bar!
            [COLOR="YellowGreen"]"You cant fit 2 fingers in my tailpipe"[/COLOR]

            Comment


            • With the new crank are you stroking it to 4.7?
              Rich

              Comment


              • Originally posted by Ol Man View Post
                With the new crank are you stroking it to 4.7?
                Not going to stroke it. I'm not looking to full race this motor. Just trying to get a little more torque while keeping the reliability and within budget.
                Check out .

                Comment


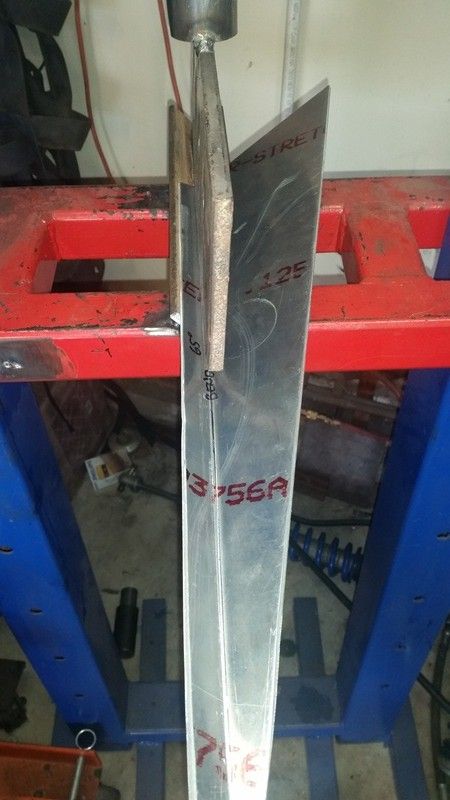
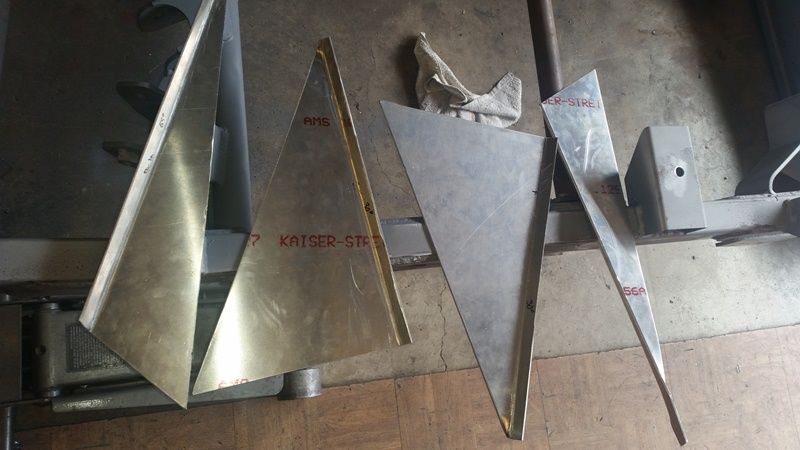
                • Chipping away little by little. Thanks to A-Hole fab for letting me bend some of my inner well pieces. Hopefully start welding them this weekend.


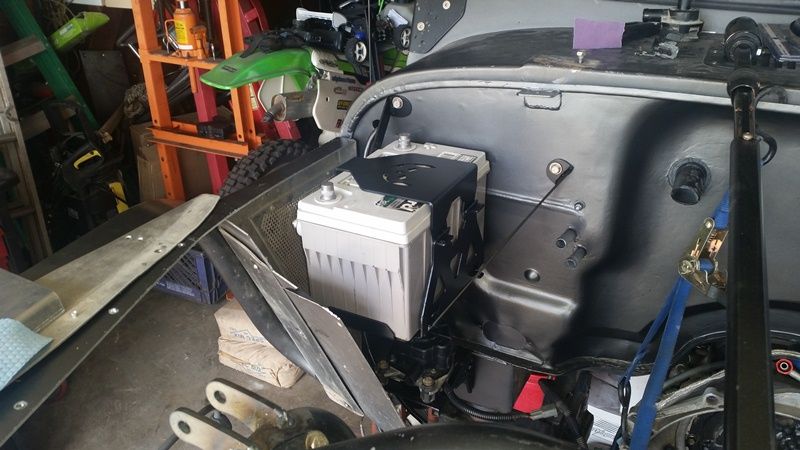
                  Battery holder is complete.


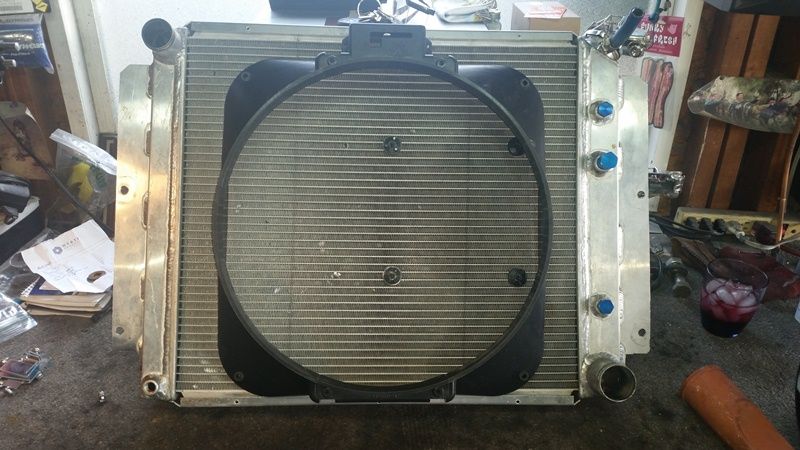
                  For the longest time I've been trying to find a fan shroud that fit my radiator. The Flex-A-Lite I had was the closest I could find with out going full custom.
                  As you can see it didn't cover the entire rad.


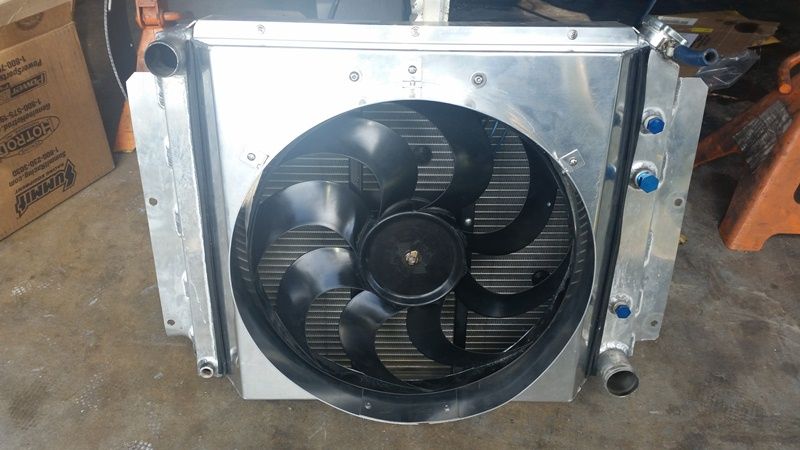
                  I found this one on Speedway Motors. Just had to cut the hole, do a little bit of trimming and modify the brackets from the old one. 100% covered.
                  Check out .

                  Comment


                  • That's coming along right nicely. Can't wait to see the finished product.
                    [CENTER][COLOR=#ff0000]Resistance Off Road
                    [/COLOR]Join the Resistance...
                    http://www.resistanceoffroad.us[/CENTER]

                    Comment


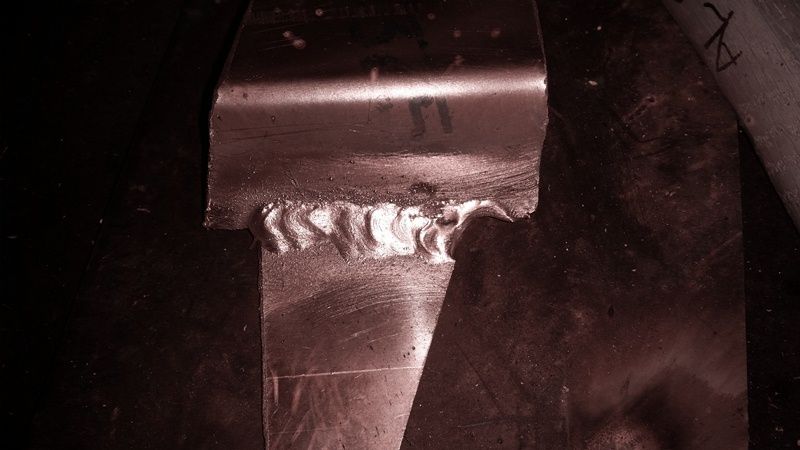
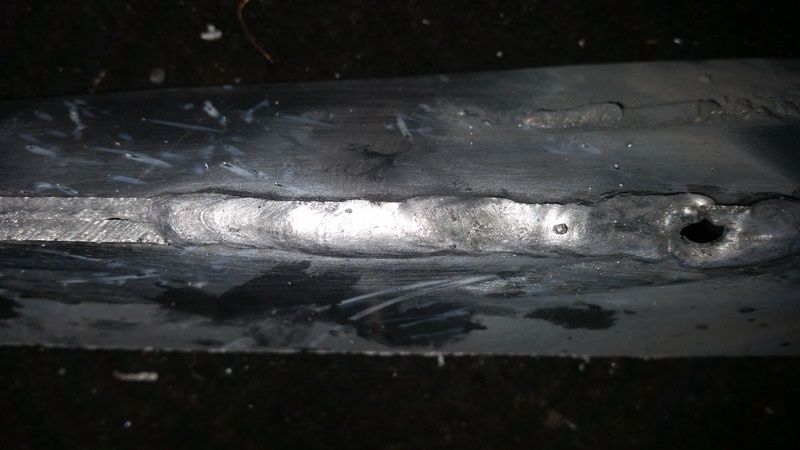
                    • Did some practicing last night with the spool gun. Not to bad for my first time but still need a little more practice before I weld up the inner fender wells. One of the hardest parts was actually seeing the material through the welding helmet. I had to turn the shade all the way down to the lowest setting.


                      The hole is where I stopped and started welds. It's not a hole burned in.


                      Also realized last night that I might want to change the name of the Jeep to Frankenjeep. This is the parts list from several of the parts I have used since I got started building this thing over the years. There's more. This is just the beginning.

                      Rear Disc: 1977 Chevy k20
                      Front axle: 1989 Ford F350
                      Rear axle: 1989 3/4 ton Suburban
                      Drag link ends: 1980 K10 Cheyenne
                      Front drive shaft u-joint: 1985 Toyota truck
                      Master Cylinder: 1985 GMC C3500 w/ hydro boost
                      Alternator: Powermaster 18207
                      Engine: 1999 S-10 4.3L
                      Water Pump: 1969-1996 5.7L/350 small block
                      Throttle cable: 1999 Honda Civic
                      Starter Switch: 1988 Ford Bronco
                      Check out .

                      Comment


                      • Yea, aluminum takes alot of heat compared to steel, and it doesn't glow or really change color when it melts, it just gets shiny, at least with TIG anyway.

                        For TIG, it helps to file down any rough edges, and really make sure the fitup on aluminum is very tight. Probably the same goes for MIG on aluminum too? I'm curious, what gas are you using? Straight Argon?

                        On a small part, aluminum can get real hot real quick. You may have to take a break inbetween welds to let it cool back down a bit, if it's blowing holes through it. I've been tinkering with aluminum as well, I've not actually made anything yet, just practice on scrap. It's neat how light weight aluminum is
                        Last edited by daniel_buck; 03-04-15, 09:01 AM.
                        [COLOR="#FF0000"]R[/COLOR]edneck [COLOR="#FF0000"]D[/COLOR]riveway [COLOR="#FF0000"]F[/COLOR]ab
                        www.DanielBuck.net - www.DNSFAIL.com - www.FurnitureByBuck.com

                        Comment


                        • I'm using 100% argon. I think the biggest thing is making sure your material is clean. Remove the grease and oil with a solvent like acetone. Then use a clean stainless wire brush for the oxide. I have a brush that is used strictly for aluminum and this is done after the grease removal.
                          Check out .

                          Comment


                          • Right on! I have heard that adding a bit of helium to the argon helps penetration, but for sheet aluminum I imagine that would not be needed at all

                            With TIG, I find that I end up with a crater at the end of alot of my aluminum welds, sometimes even on just a tack weld. I guess I don't have the technique down just yet. Do you get a crater at the end on any of your MIG weld? I don't see one in either of the photos you posted.

                            I guess I should pick up a dedicated wire brush for aluminum, rather than using one that I've beat on steel with, eh? I do have a file that is meant for aluminum. It doesn't load up near as much as a regular file does.
                            Last edited by daniel_buck; 03-04-15, 08:00 PM.
                            [COLOR="#FF0000"]R[/COLOR]edneck [COLOR="#FF0000"]D[/COLOR]riveway [COLOR="#FF0000"]F[/COLOR]ab
                            www.DanielBuck.net - www.DNSFAIL.com - www.FurnitureByBuck.com

                            Comment


                            • To clean aluminum I use Alumibrite. Very caustic but man does it get rid of oxidation, which is the worst enemy of good, clean aluminum welds. I have a gallon of it and a little goes a long way. It's available online. This and a very clean SS brush.
                              [CENTER][COLOR=#ff0000]Resistance Off Road
                              [/COLOR]Join the Resistance...
                              http://www.resistanceoffroad.us[/CENTER]

                              Comment


                              • Originally posted by dirtman13 View Post
                                Did

                                The hole is where I stopped and started welds. It's not a hole burned in.


                                This weld looks like the heat is just about right, maybe turn it down a notch and start the weave.
                                [CENTER][COLOR=#ff0000]Resistance Off Road
                                [/COLOR]Join the Resistance...
                                http://www.resistanceoffroad.us[/CENTER]

                                Comment

                                Working...
                                X