Ok, I won the basic REV111 fender set up at FITD this year. But they didn't come with flares, which makes them NOT street legal. After getting pulled over 6 times, I figured it was time to stop being lazy and build the damn flares, since REV don't make 'em no mo.
So here's a step by step (almost) procedure; I have to throw a big thank you to Chris (Duke) for the help he provided. Much appreciated dude.
I installed the REV fenders a couple of months ago. I painted them; that was a mistake. Oh well.

So into the shop for some more surgery.
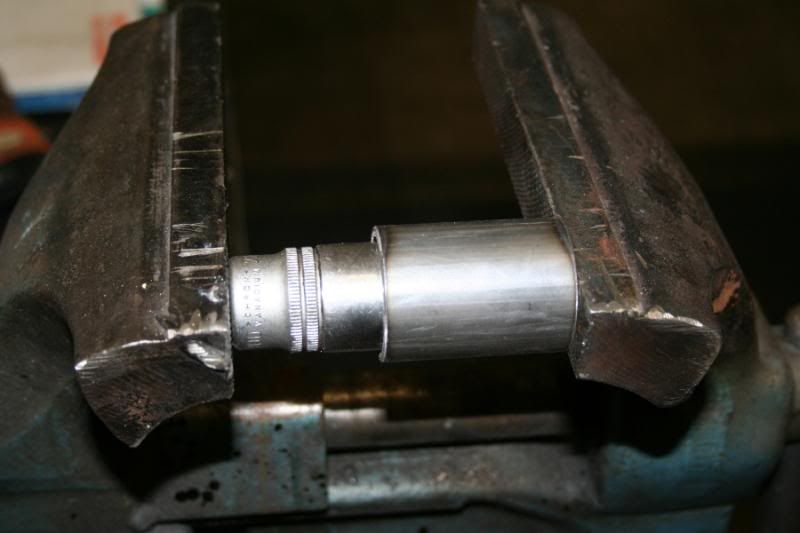
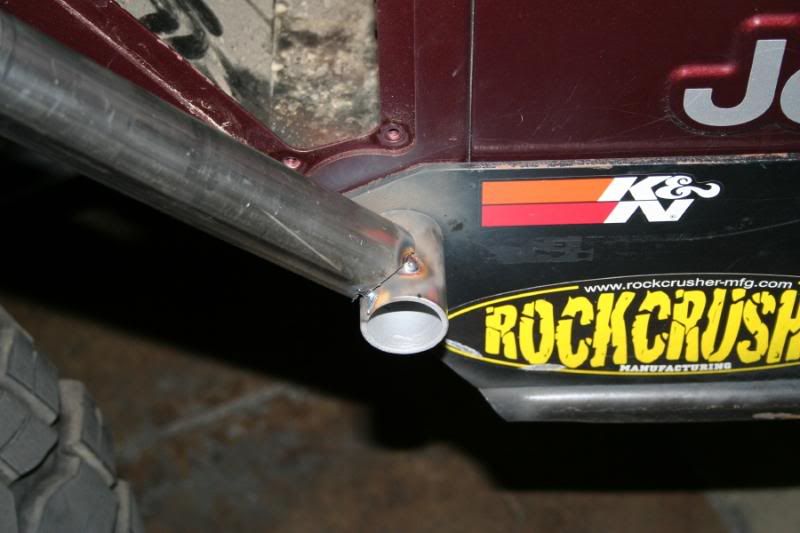
I started by making the attachment points for the tubes; one on each side down by the door. 1 1/2" .120 wall tubing was used, cut 2" long. I pressed heavy duty 1' washers into the tube and tack welded them in like this:

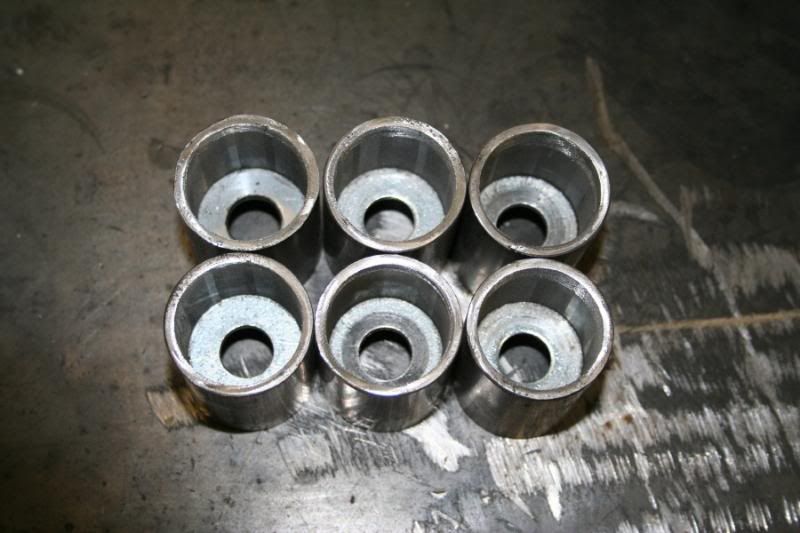

I made enough of these for the rear fenders, which will come later on.
These get attached to the rockers with 5/8" grade 8s.
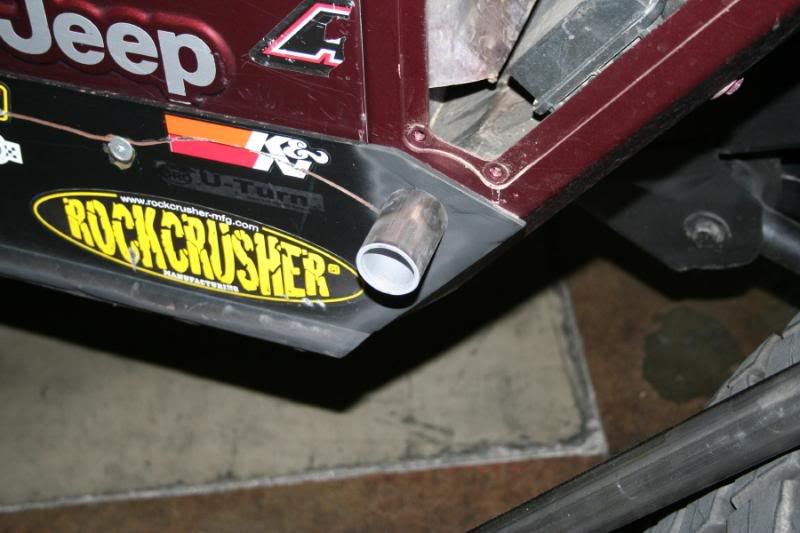
The front upper attachments were kind of tricky because of the angles and the way they mount, but they came out real nice. There are 1 1/2" .120 x 6", with 1 3/4" .120 x 4" sleeve welded together.
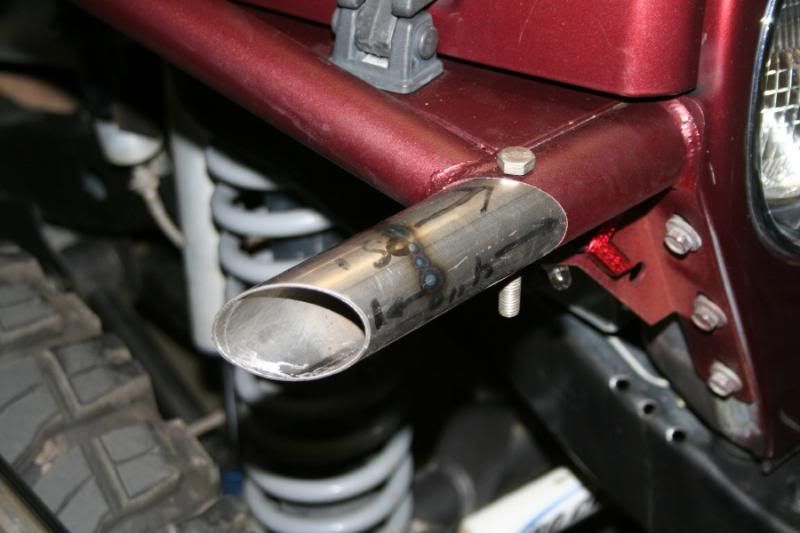
There are also some holes to be drilled in these attachment points. One for the running light wire harness and two for the securing fasteners.
Now it's time to take measurements for the tubing. The angle that the tubing is installed presented a few challenges; the compound angles are a little difficult to manage but the right tools make it easier (thanks again Chris)


I'll get some pics uploaded of the notches being cut tomorrow.
The tubing went together real nice. I'll have pics of the bending procedure tomorrow as well. Without any drawings to go by, I'm just using pictures of Stuart's Jeep (Jeep Virgin). I realized that I don't have any good pics of the sheet metal cloak that completes the fender; Stuart is sending me some next week. I tried to make some templates but they werent' up to snuff. Oh well, live and learn...
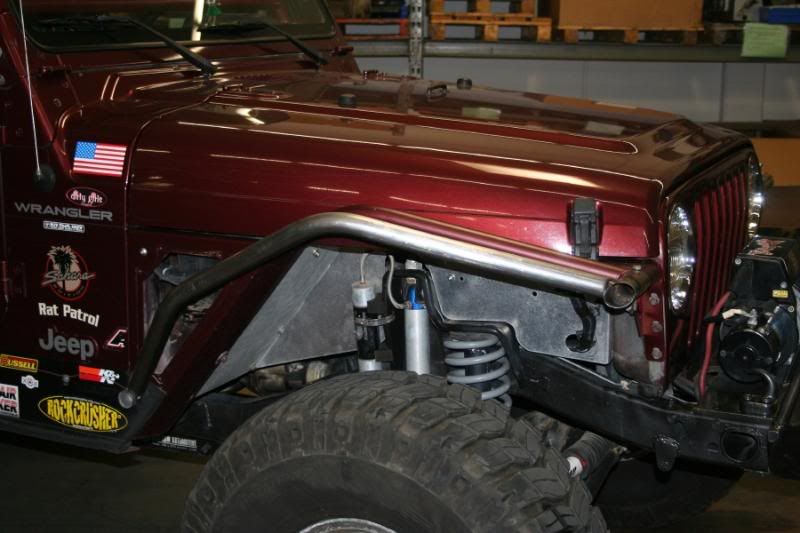

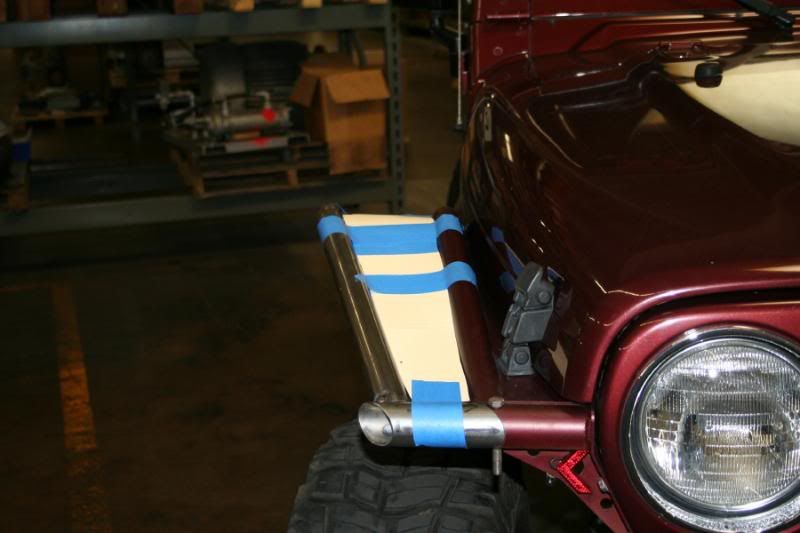

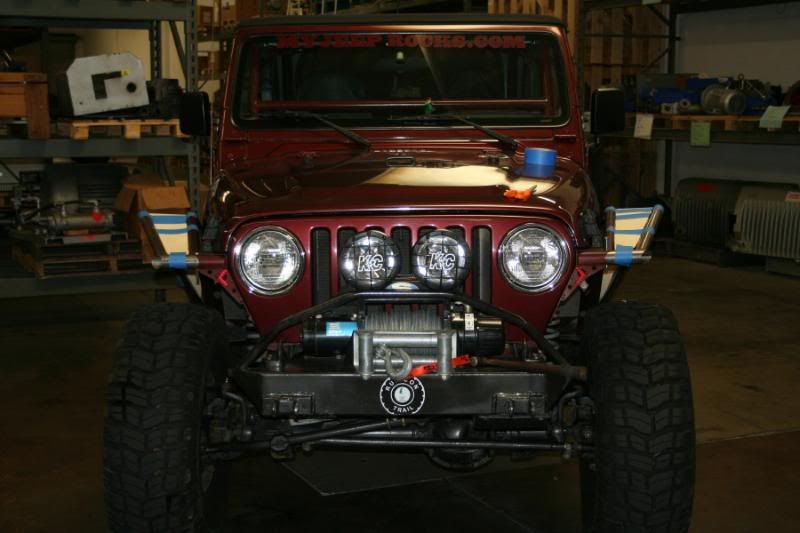
Until I get those pics I'm going to stop. It took too much work to get to this point; don't want to go backwards. So far so good.
Rat
So here's a step by step (almost) procedure; I have to throw a big thank you to Chris (Duke) for the help he provided. Much appreciated dude.
I installed the REV fenders a couple of months ago. I painted them; that was a mistake. Oh well.

So into the shop for some more surgery.
I started by making the attachment points for the tubes; one on each side down by the door. 1 1/2" .120 wall tubing was used, cut 2" long. I pressed heavy duty 1' washers into the tube and tack welded them in like this:


I made enough of these for the rear fenders, which will come later on.
These get attached to the rockers with 5/8" grade 8s.

The front upper attachments were kind of tricky because of the angles and the way they mount, but they came out real nice. There are 1 1/2" .120 x 6", with 1 3/4" .120 x 4" sleeve welded together.

There are also some holes to be drilled in these attachment points. One for the running light wire harness and two for the securing fasteners.
Now it's time to take measurements for the tubing. The angle that the tubing is installed presented a few challenges; the compound angles are a little difficult to manage but the right tools make it easier (thanks again Chris)


I'll get some pics uploaded of the notches being cut tomorrow.
The tubing went together real nice. I'll have pics of the bending procedure tomorrow as well. Without any drawings to go by, I'm just using pictures of Stuart's Jeep (Jeep Virgin). I realized that I don't have any good pics of the sheet metal cloak that completes the fender; Stuart is sending me some next week. I tried to make some templates but they werent' up to snuff. Oh well, live and learn...


Until I get those pics I'm going to stop. It took too much work to get to this point; don't want to go backwards. So far so good.
Rat
 8s, 35 inch MTRs, Warn 9k rock track 4:1, Vanco Big Brake Kit![/COLOR]


Comment