Sweet! Epic trip or what?
Announcement
Collapse
No announcement yet.
turbo diesel Willys!
Collapse
Forum Thread First Post
Collapse
X
-
I made it home! 5761 miles on the odometer for the trip!
Only thing I had to fix along the way was a burned out headlight bulb, and a new signal flasher, both within the first two days of the trip.
Fun trip, I'll post a ton of photos soon.[COLOR="#FF0000"]R[/COLOR]edneck [COLOR="#FF0000"]D[/COLOR]riveway [COLOR="#FF0000"]F[/COLOR]ab
www.DanielBuck.net - www.DNSFAIL.com - www.FurnitureByBuck.com
Comment
-
Here's a gallery of the photos. I've put comments on some of the photos, not sure the best way to share this many photos, about 300+.
https://goo.gl/photos/K1UTdpo8XDEg5LAP8[COLOR="#FF0000"]R[/COLOR]edneck [COLOR="#FF0000"]D[/COLOR]riveway [COLOR="#FF0000"]F[/COLOR]ab
www.DanielBuck.net - www.DNSFAIL.com - www.FurnitureByBuck.com
Comment
-
30mpg, give or take.[COLOR="#FF0000"]R[/COLOR]edneck [COLOR="#FF0000"]D[/COLOR]riveway [COLOR="#FF0000"]F[/COLOR]ab
www.DanielBuck.net - www.DNSFAIL.com - www.FurnitureByBuck.com
Comment
-

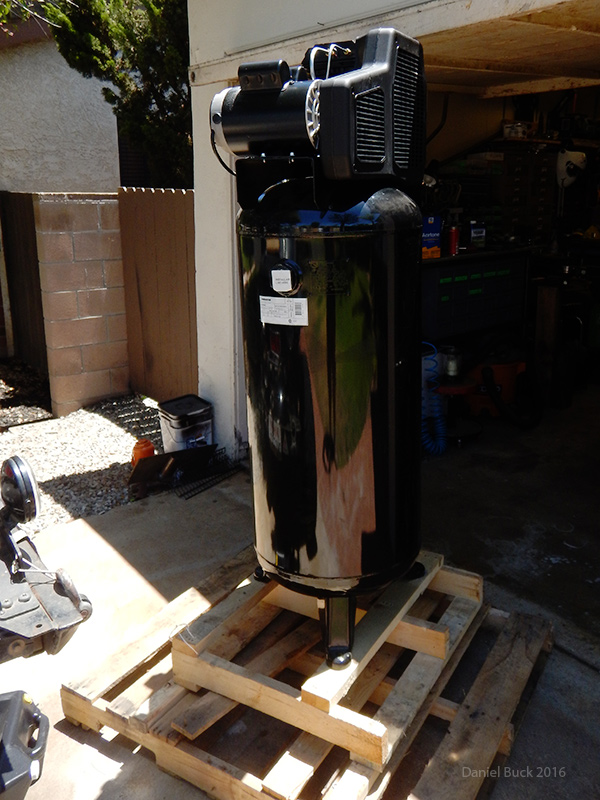
60 gallon tank and compressor from Industrial Air. 155psi tank, and 11.5 cfm at 90 psi on the compressor. Can't wait to start using this
 [COLOR="#FF0000"]R[/COLOR]edneck [COLOR="#FF0000"]D[/COLOR]riveway [COLOR="#FF0000"]F[/COLOR]ab
www.DanielBuck.net - www.DNSFAIL.com - www.FurnitureByBuck.com
Comment
-
[COLOR="#FF0000"]R[/COLOR]edneck [COLOR="#FF0000"]D[/COLOR]riveway [COLOR="#FF0000"]F[/COLOR]ab
www.DanielBuck.net - www.DNSFAIL.com - www.FurnitureByBuck.com
Comment
-
a friend of mine grabbed these photos the willys in BB
Front tires hit the fenders quite often, but doesn't seem to affect the performance at all. I could minimize that with some slightly longer bumpstops.
It's not a flex monster, but it gets the job done!
Last edited by daniel_buck; 07-26-16, 11:10 AM.[COLOR="#FF0000"]R[/COLOR]edneck [COLOR="#FF0000"]D[/COLOR]riveway [COLOR="#FF0000"]F[/COLOR]ab
www.DanielBuck.net - www.DNSFAIL.com - www.FurnitureByBuck.com
Comment
-
[COLOR="#FF0000"]R[/COLOR]edneck [COLOR="#FF0000"]D[/COLOR]riveway [COLOR="#FF0000"]F[/COLOR]ab
www.DanielBuck.net - www.DNSFAIL.com - www.FurnitureByBuck.com
Comment
-
Finally getting around to installing a harness.
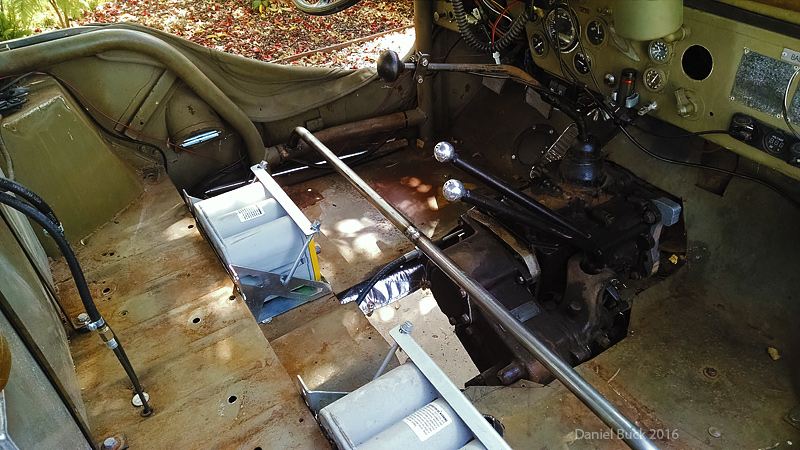
After thinking for a while, and knowing that getting to the bolts on the rear seat mounts SUCKS, I decided to not use the rear mounts on the underside, just use the front underside mounts, and then add some rear mounts on the back of the seat, it'll bolt directly to the harness bar. And then for the lower mount, I have a bar bent up to span the cage, so everything will be mounted to the cage. I kept the same design of bar that Kurt made, I like that setup, I just made it to the cage instead of the floor.
Kurt, I think if I would have had better forethought, your work on the cage/seats years ago might have been a bit easier, sorry! :-D I'm glad I'm doing this though, I'm getting more time with the bender, and just generally getting more comfortable working with tubing.
Hoops for the harness mounts, and the hoop for the front seat mount bent up out of 1" OD .120 wall.
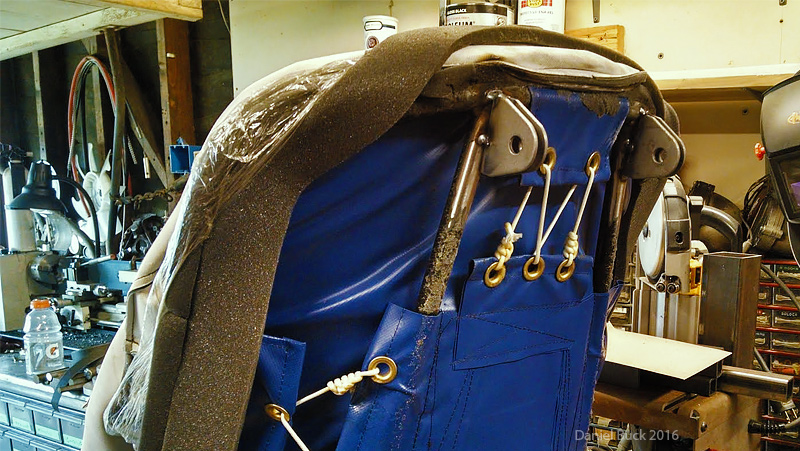
While tacking, I put a threaded rod through both mounts to keep them aligned. Removed it, welded it up. After it all cooled down, the rod still slides through wooo!!


 [COLOR="#FF0000"]R[/COLOR]edneck [COLOR="#FF0000"]D[/COLOR]riveway [COLOR="#FF0000"]F[/COLOR]ab
www.DanielBuck.net - www.DNSFAIL.com - www.FurnitureByBuck.com
Comment
-
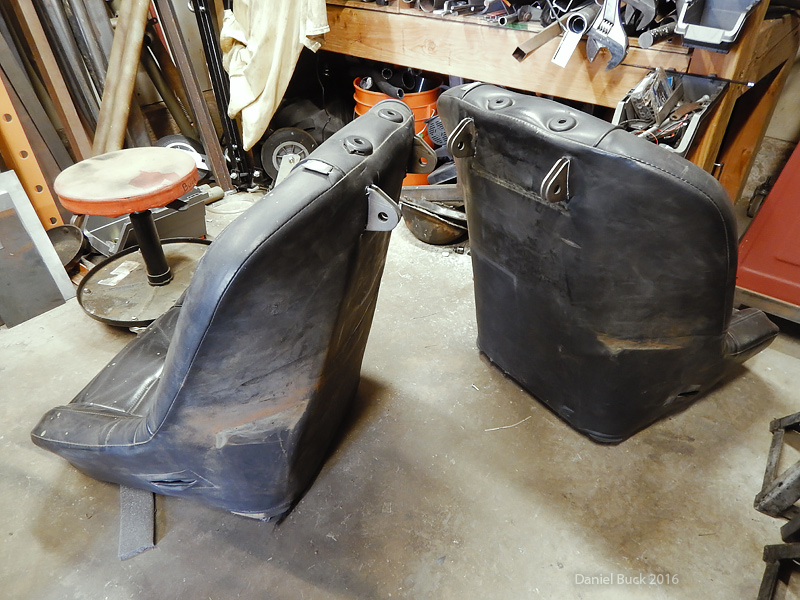
got the seats buttoned back up, the hog ring pliers and hogrings were actually alot easier to work with than I thought.
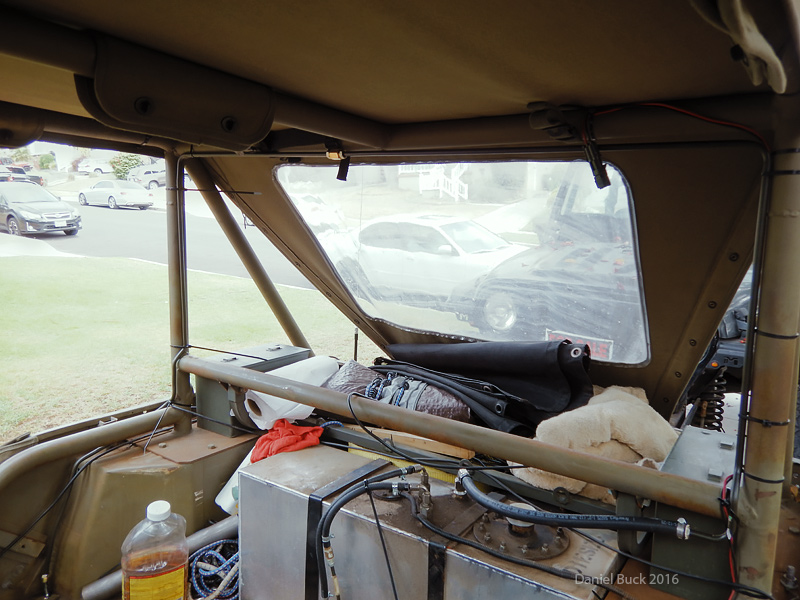
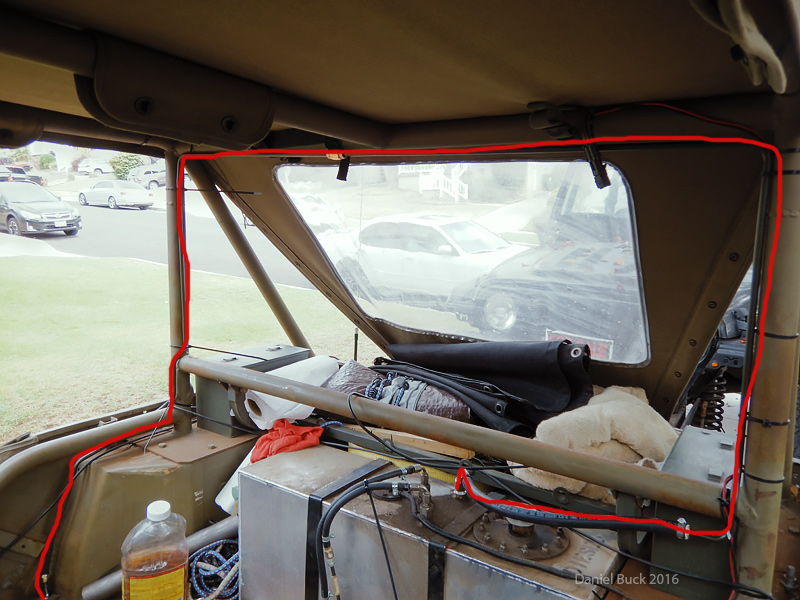
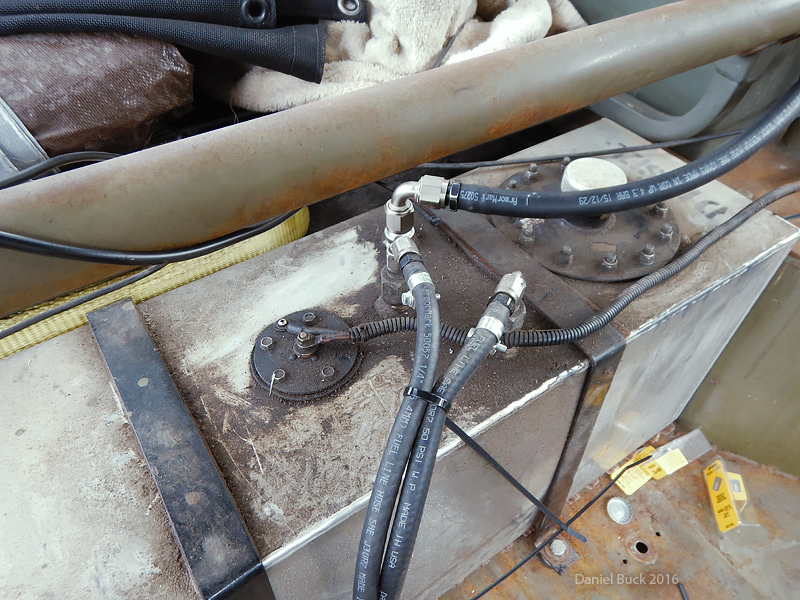
Also ran a better vent for the fuel cell. I noticed that my little valve cover style vent was producing alot of residu all over the tank, so I'm finally going to clean that up, and I just ran some brake line up and around the driver B pillar, across the roof, down the passenger B pillar, and then down and out the bottom where I'll put a fuel filter as a catch can/breather.
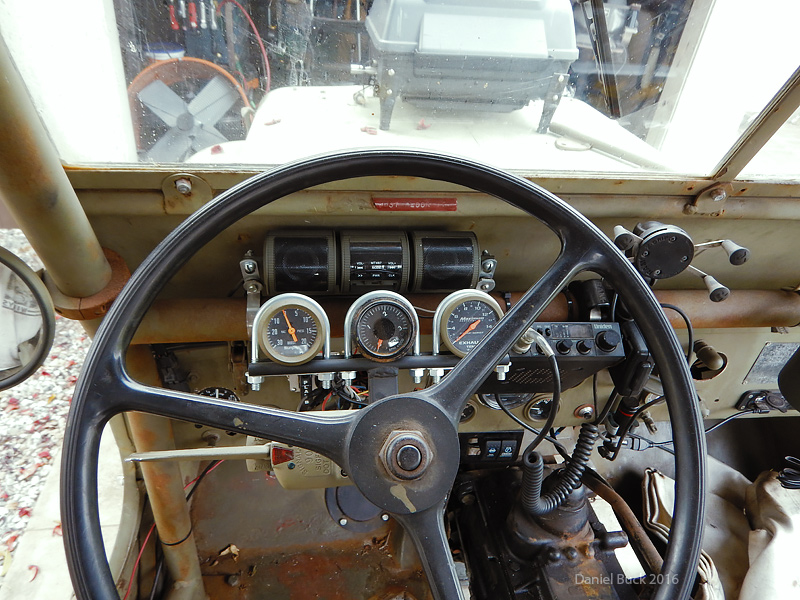
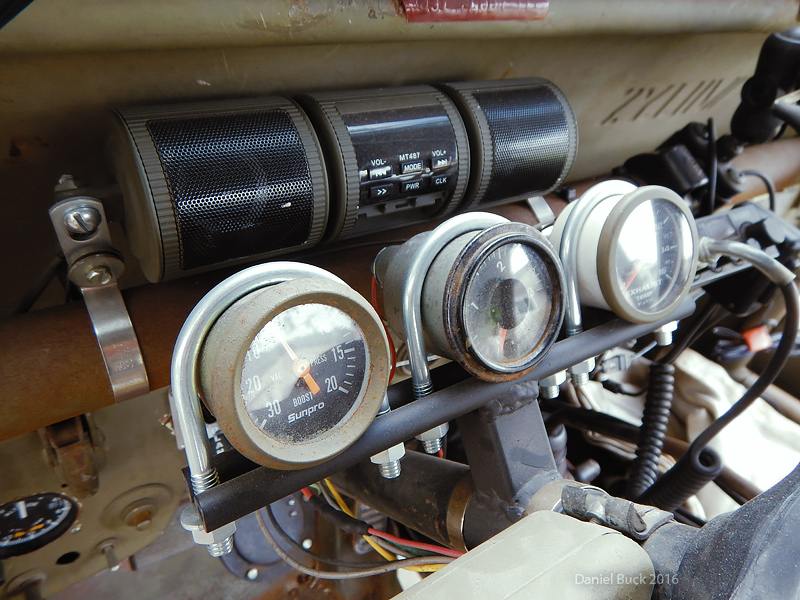
And the dash gauges and speaker. Not finished yet.
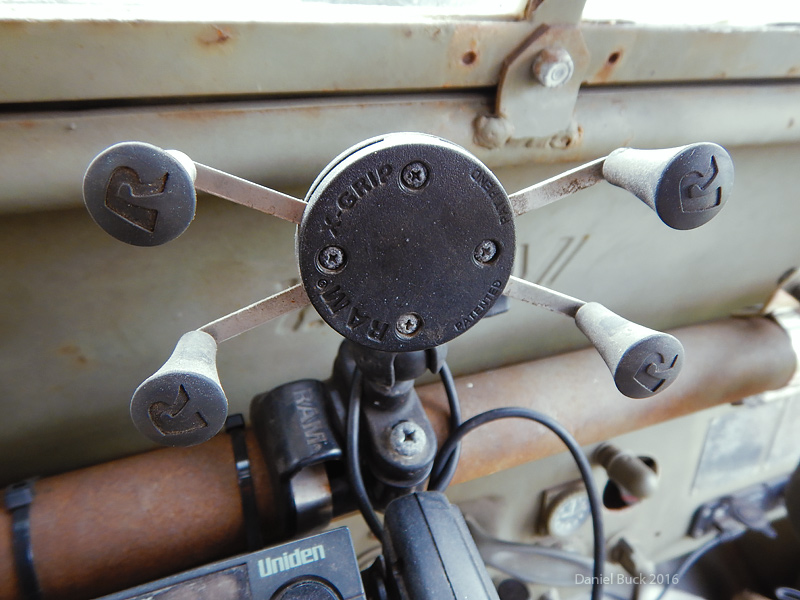
And THE BEST phone holder ever. I absolutely love it.
 [COLOR="#FF0000"]R[/COLOR]edneck [COLOR="#FF0000"]D[/COLOR]riveway [COLOR="#FF0000"]F[/COLOR]ab
www.DanielBuck.net - www.DNSFAIL.com - www.FurnitureByBuck.com
Comment
-
I do seem to remember that they also came with some sort of rubber strap that held the phone in even more securely, but I've never needed it. I bet on a dirt bike that would come in handy![COLOR="#FF0000"]R[/COLOR]edneck [COLOR="#FF0000"]D[/COLOR]riveway [COLOR="#FF0000"]F[/COLOR]ab
www.DanielBuck.net - www.DNSFAIL.com - www.FurnitureByBuck.com
Comment
-
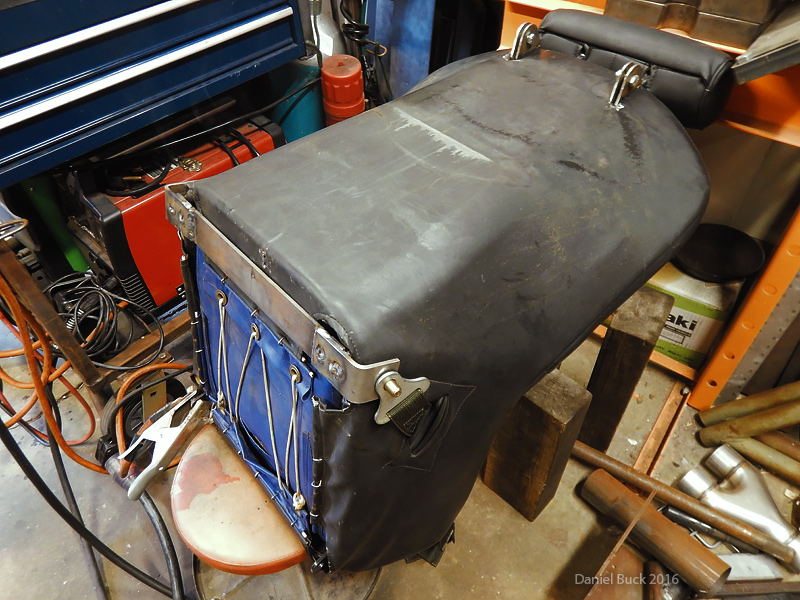
After thinking for a while on how to mount the harness side straps to the cage, I decided it was easiest to just mount them to the seat frame. So I made a bracket for that. That will also be nice when I ever need to flip the seat forward, or remove it. I will only have to unbolt the shoulder harness, not the lap belts.
The seat and harness are now completely detached from the body, and mounted only to the cage Now I'll just replicate what I did for the passenger seat.
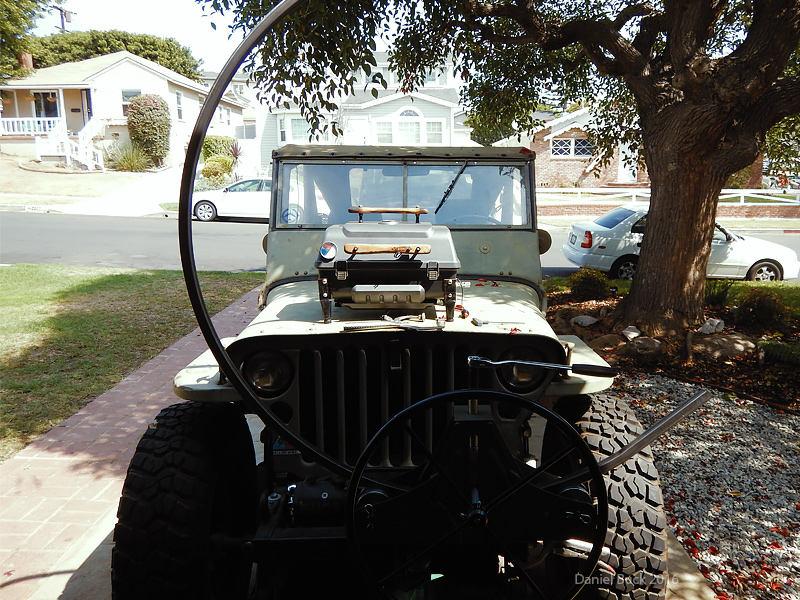
Also picked up a tubing roller (horrible freight) and welded on some SWAG extensions on it. It's very easy to use, I think I'm going to have fun playing with furniture designs with rolled tube.
 [COLOR="#FF0000"]R[/COLOR]edneck [COLOR="#FF0000"]D[/COLOR]riveway [COLOR="#FF0000"]F[/COLOR]ab
www.DanielBuck.net - www.DNSFAIL.com - www.FurnitureByBuck.com
Comment


Comment