Announcement

Collapse
No announcement yet.

Trail Cage Write Up

Collapse

Forum Thread First Post

Collapse
X
 
  • Filter
  • Time
  • Show
Clear All
new posts

  • Trail Cage Write Up

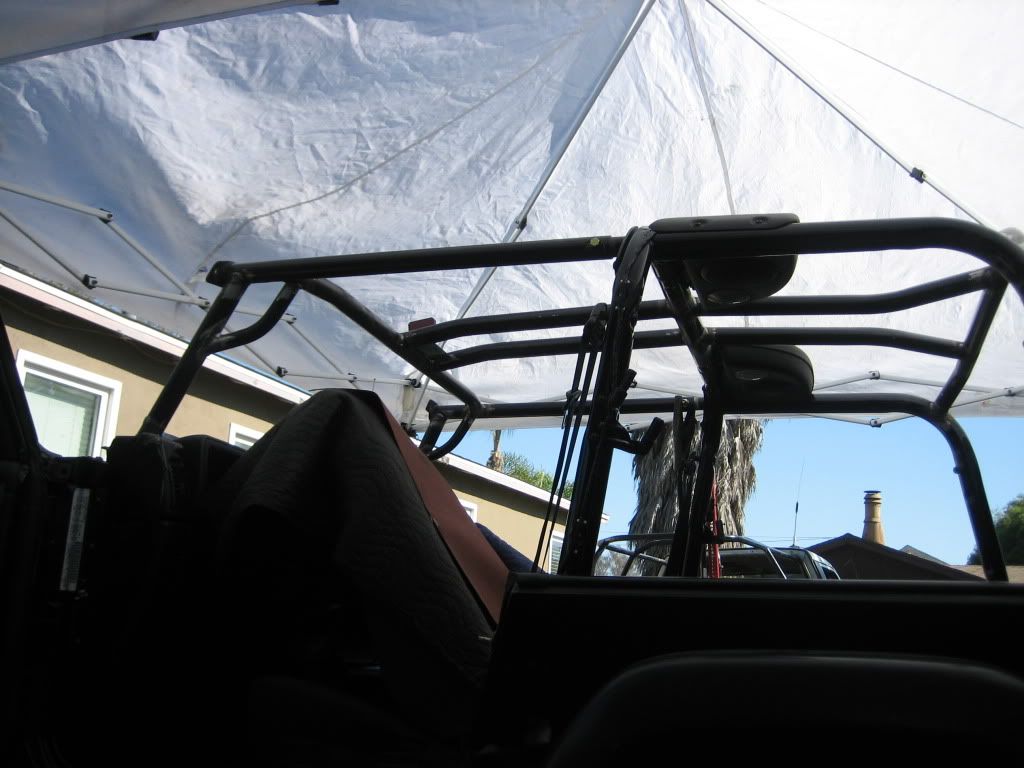
    Well, my Jeep is built up pretty good, now. I've decided that, since I'm gonna be hitting some harder trails. I better upgrade the safety aspect. I did some research, and chose to install the Poison Spyder Trail Cage and Heavy Duty Header Bars. The weld-in kit appealed to me more then the Rock Hard bolt-in. I chose an add-on kit over a full replacement kit, because I'm still gonna use my soft top and door surrounds, and this is a lot easier with the trail kit.

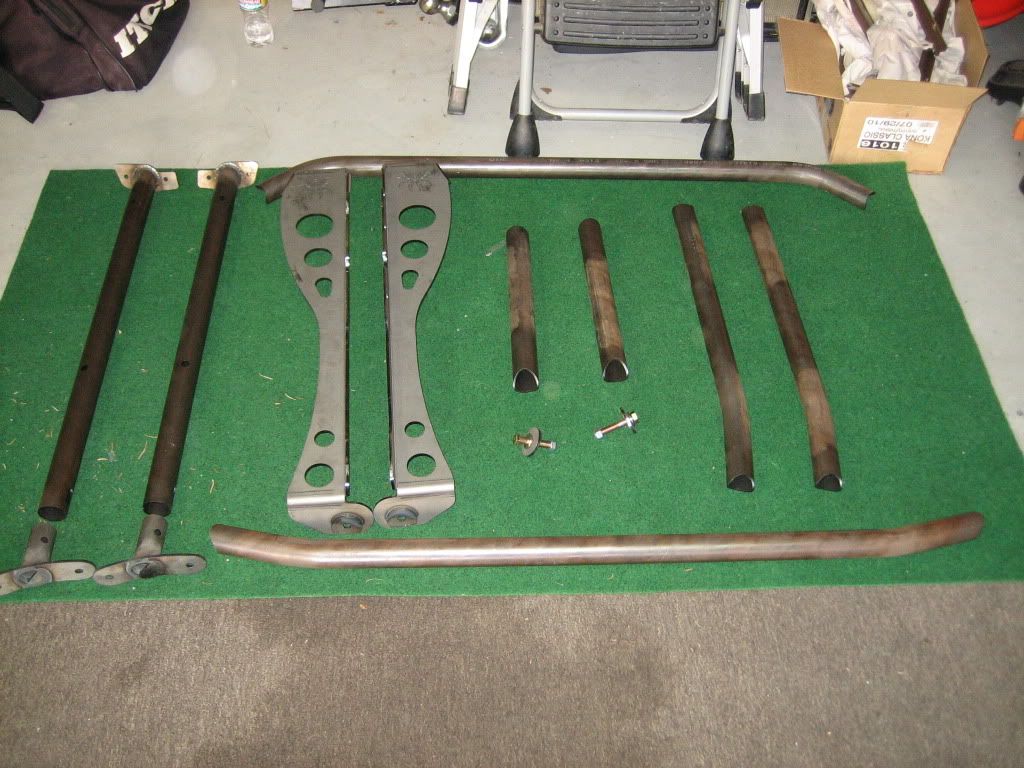
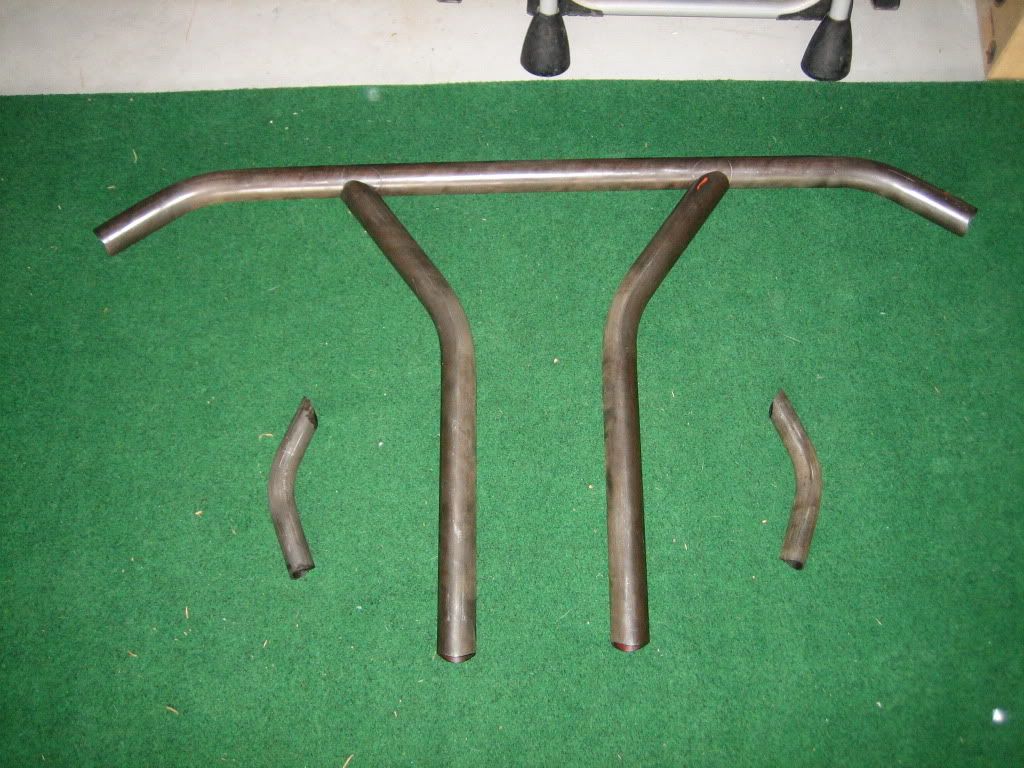
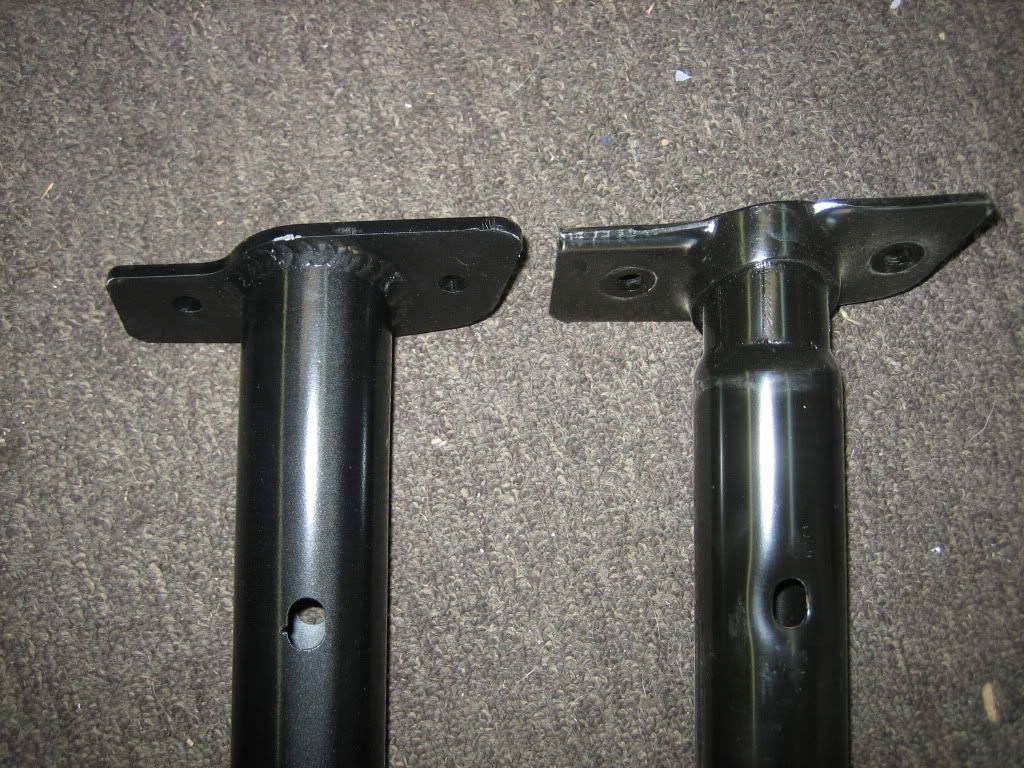
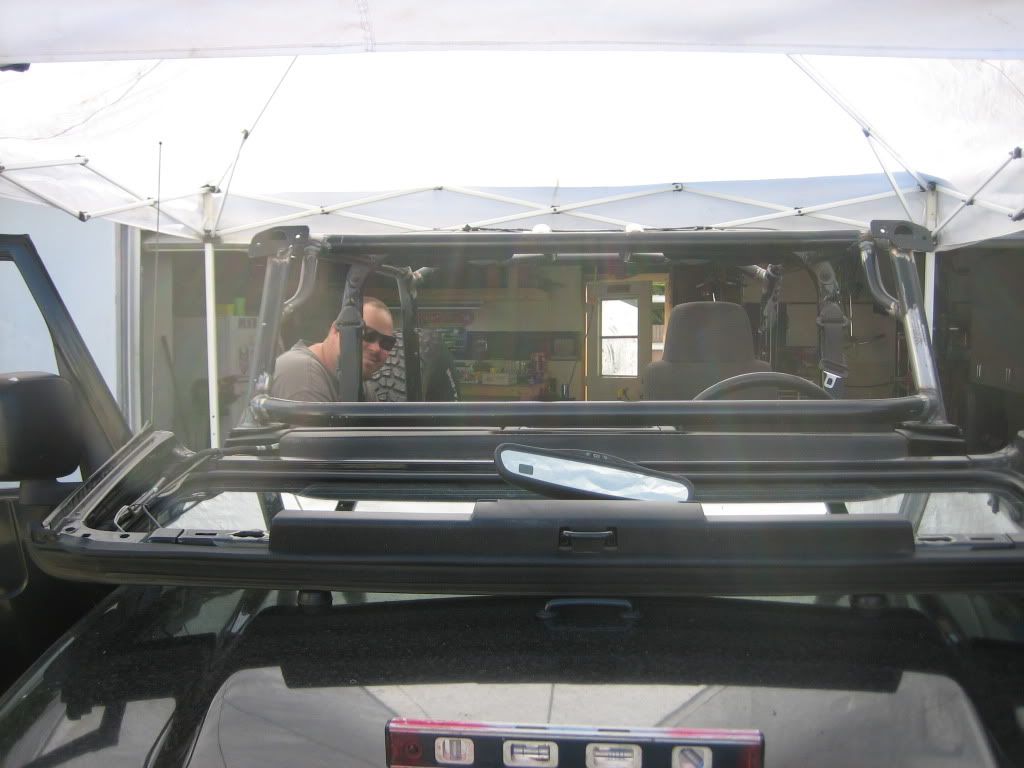
    The 2 bars on the left, are the HD header bars. These are designed to replace the factory bars, Hoop to windshield. These are 100% bolt-in, and can be used on there own. To the right , is the trail cage kit. This is from the main hoop fwd.


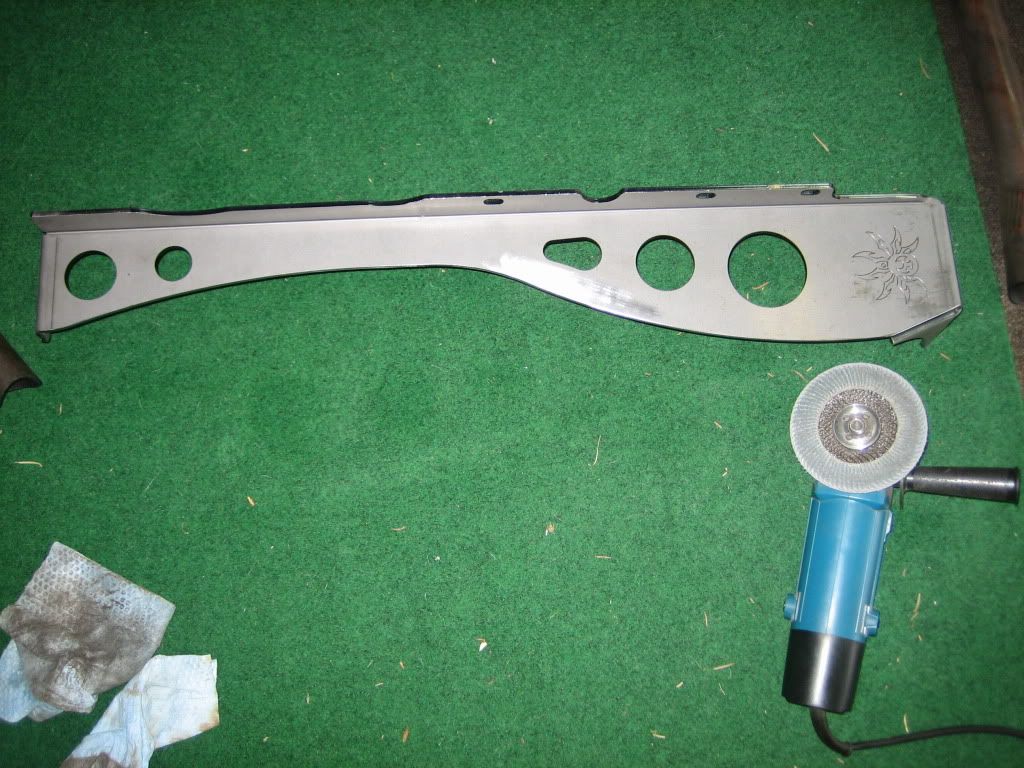
    The kit is nice. But, I recommend going over the edges of the lower A-pillars with a flap disc. The edges are a bit sharp. I also took the wheel to the welded ends of the Headers. There was a bit of slag, that I wanted to remove.


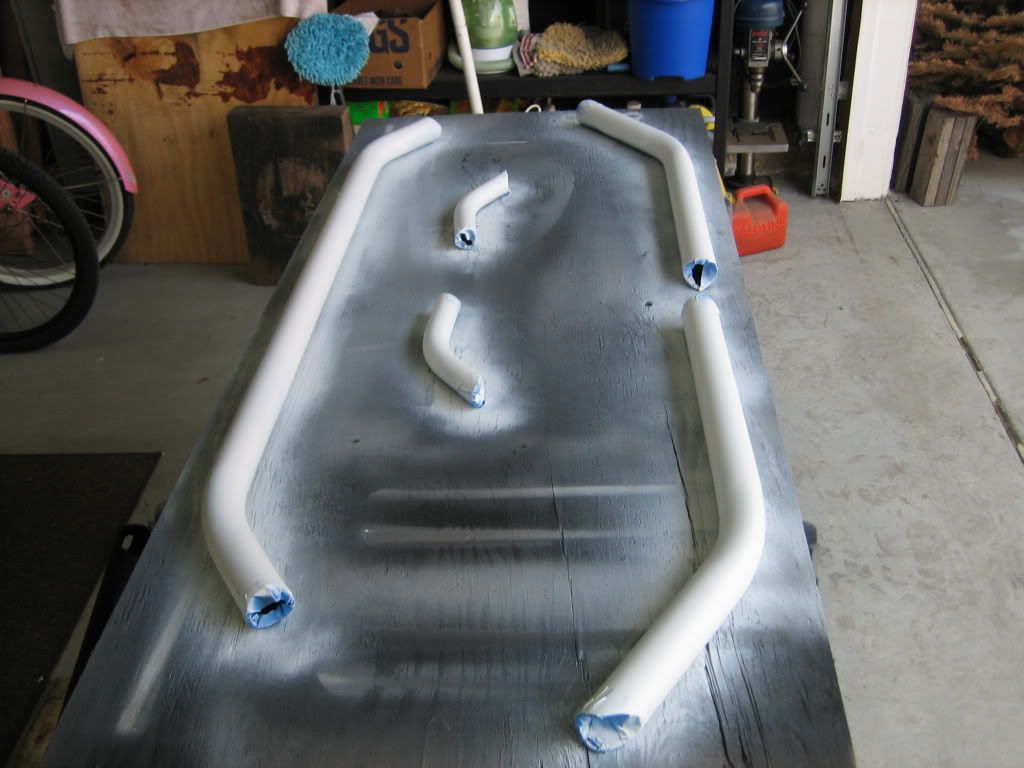
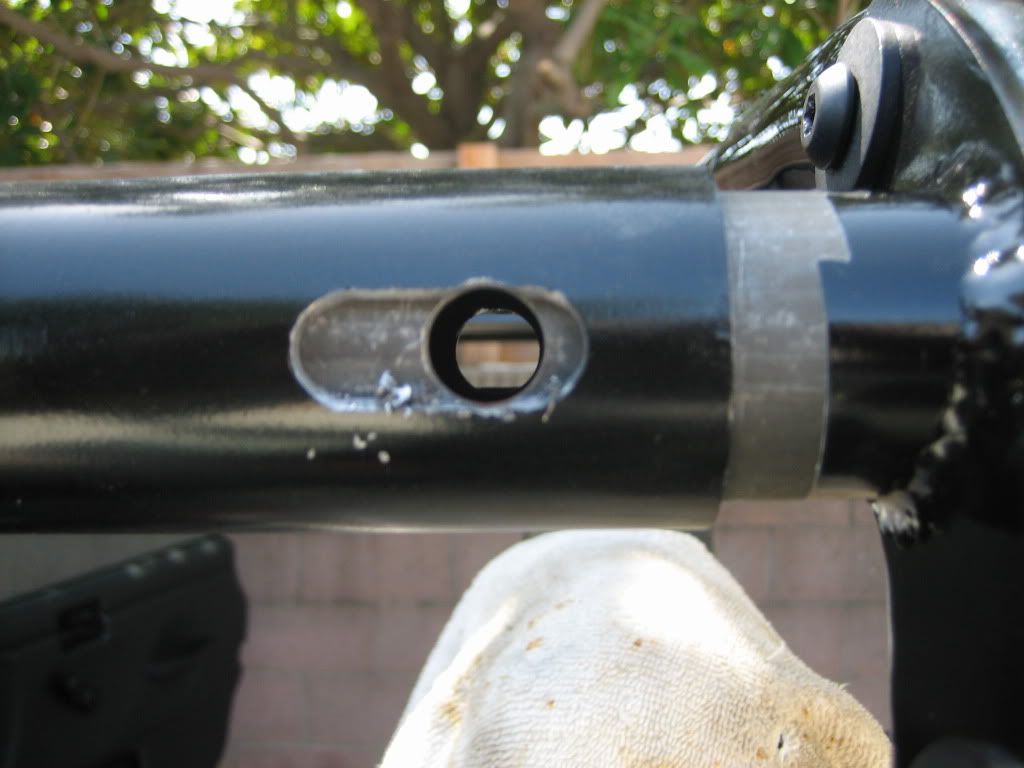
    The instructions say to, weld the kit in. Then remove the entire cage as 1 piece, to paint. The kit ships, bare steel. I didn't want to do that. I decided to put blue tape, everywhere, there was gonna be a weld, and paint all the pieces. This way I only have to touch up a few areas, with the cage still in.


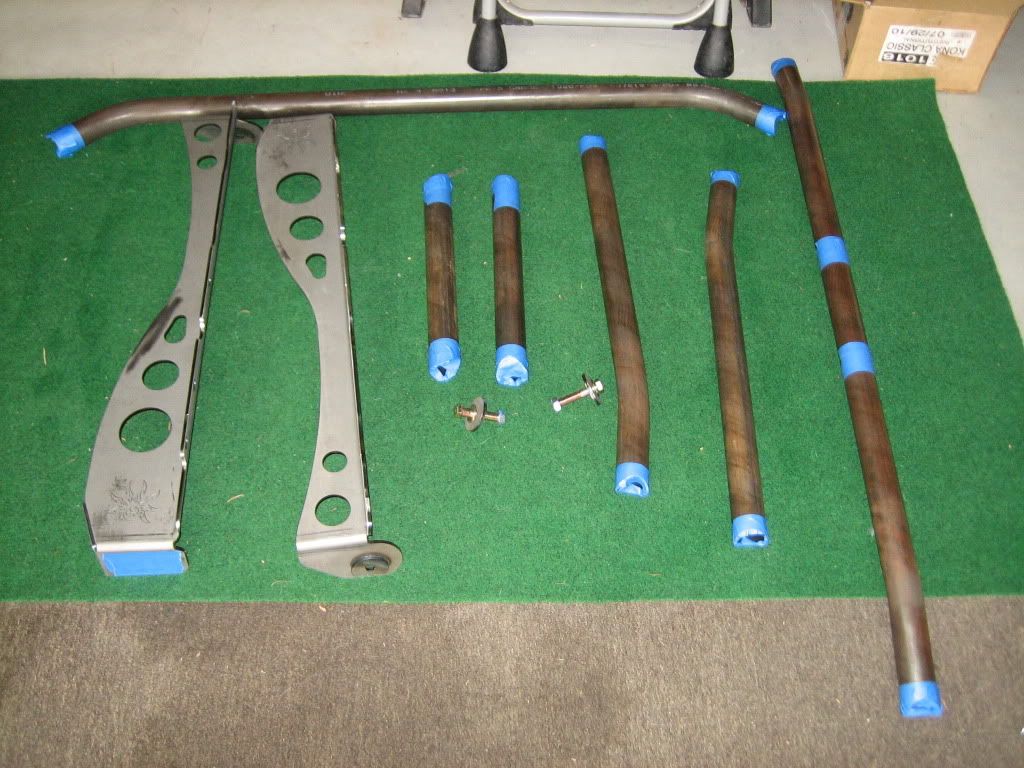
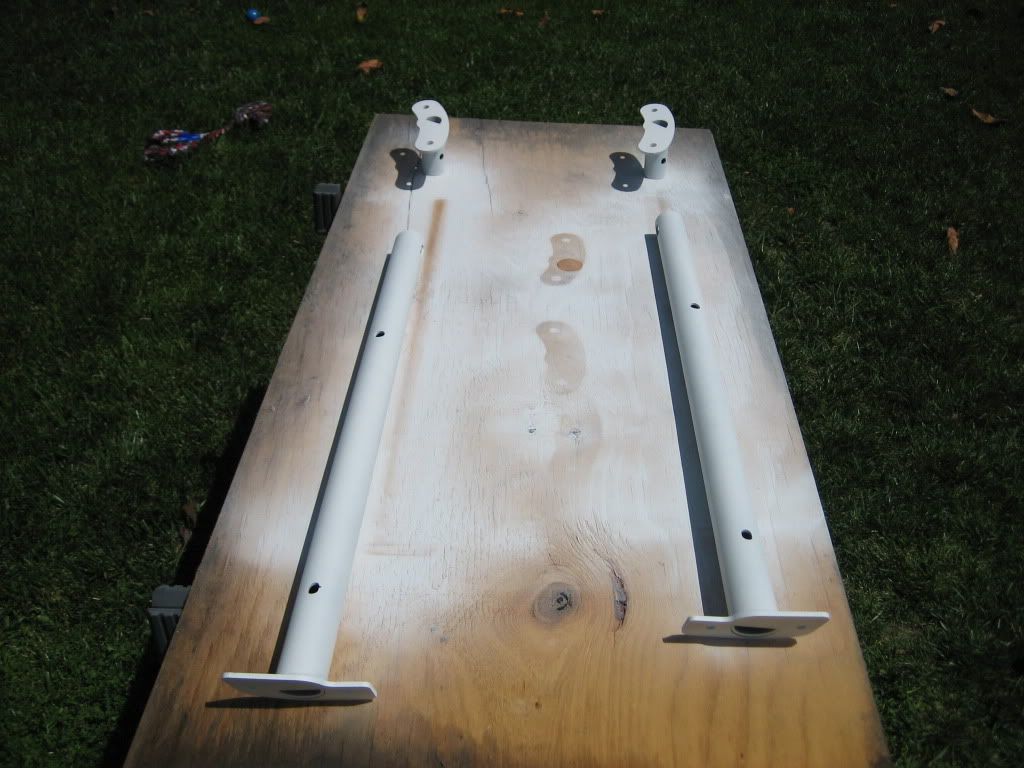
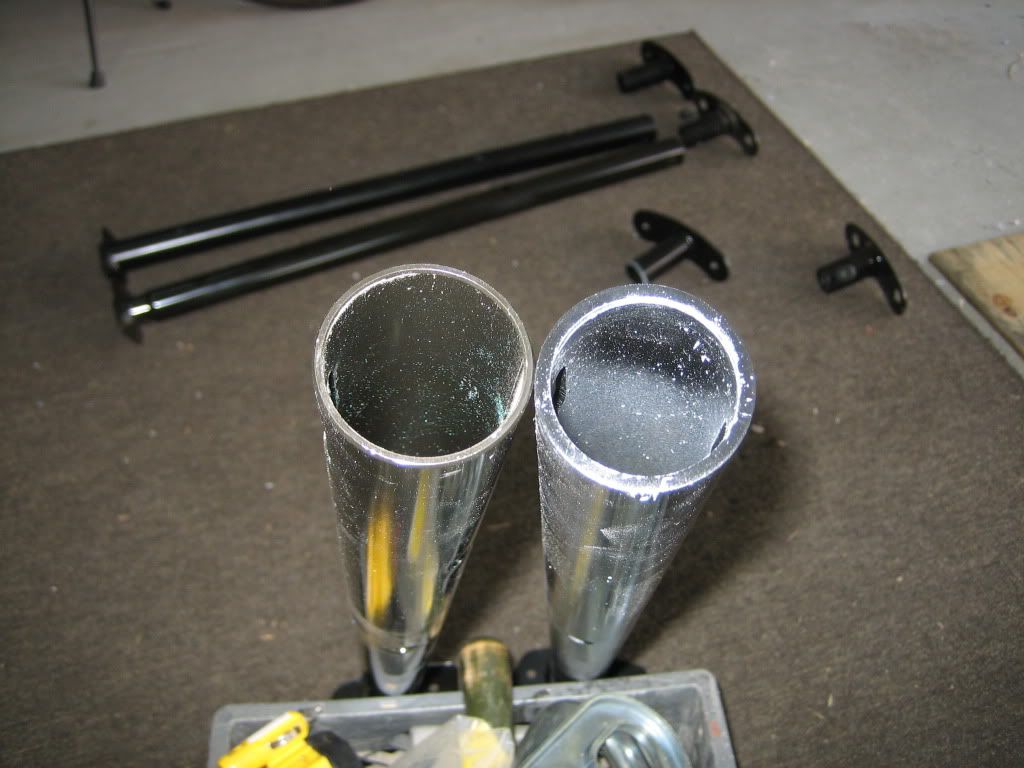
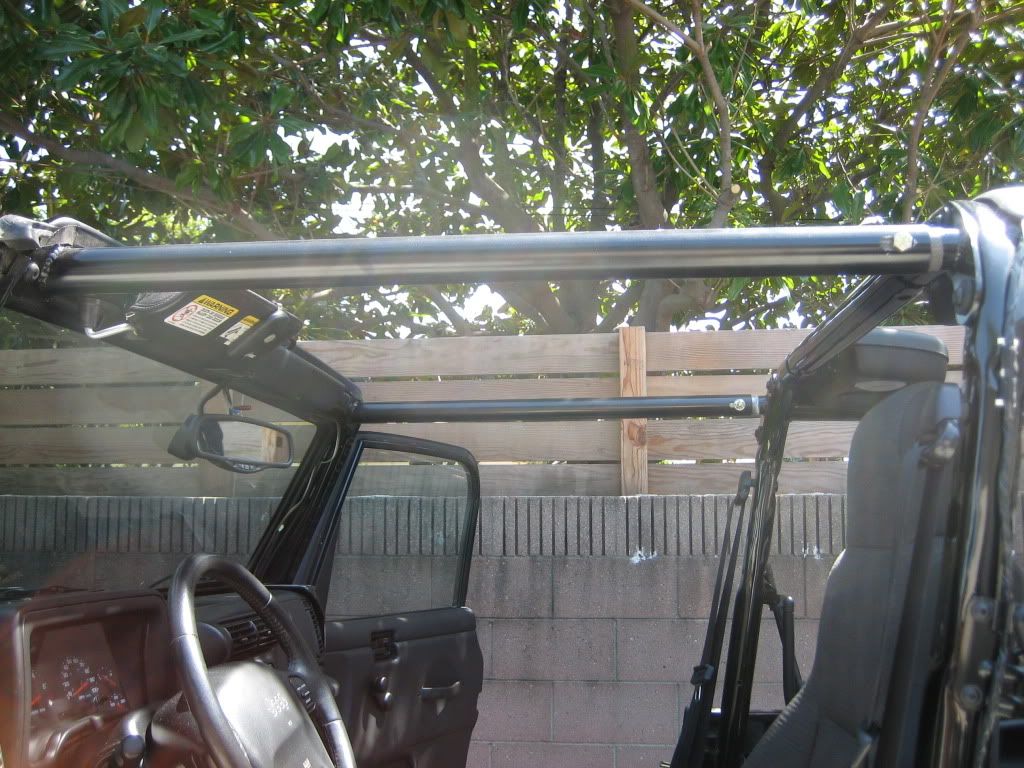
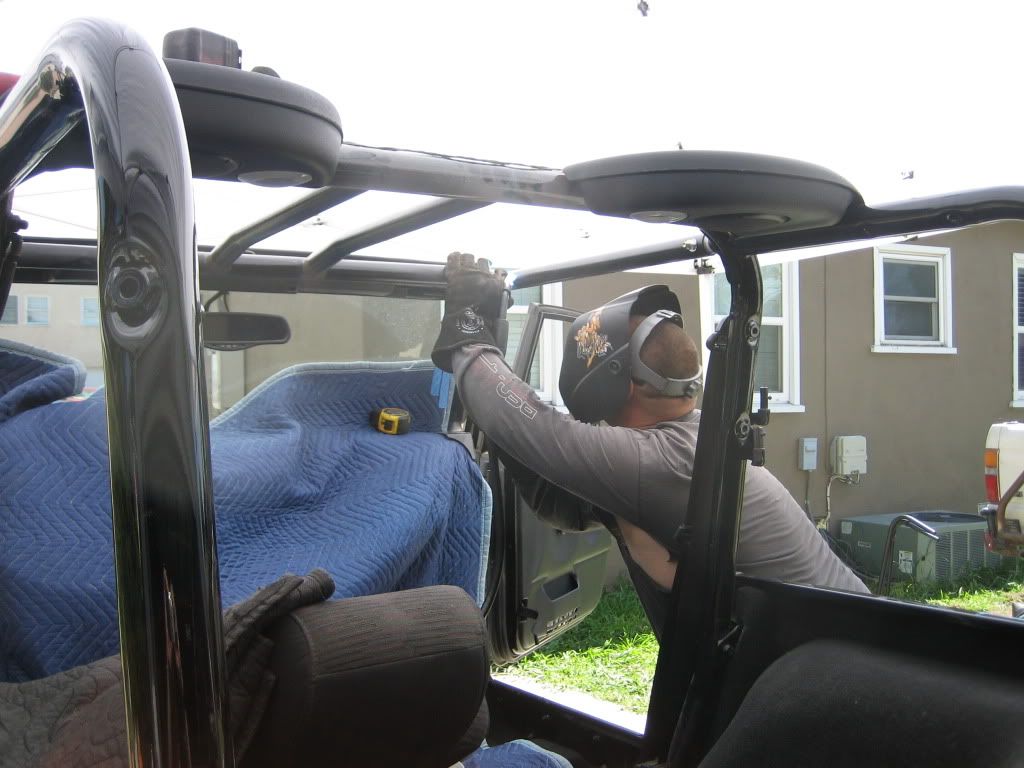
    I've started painting the headers 1st, so they are installed, and ready to go, when I take everything to my buddies place, for welding.


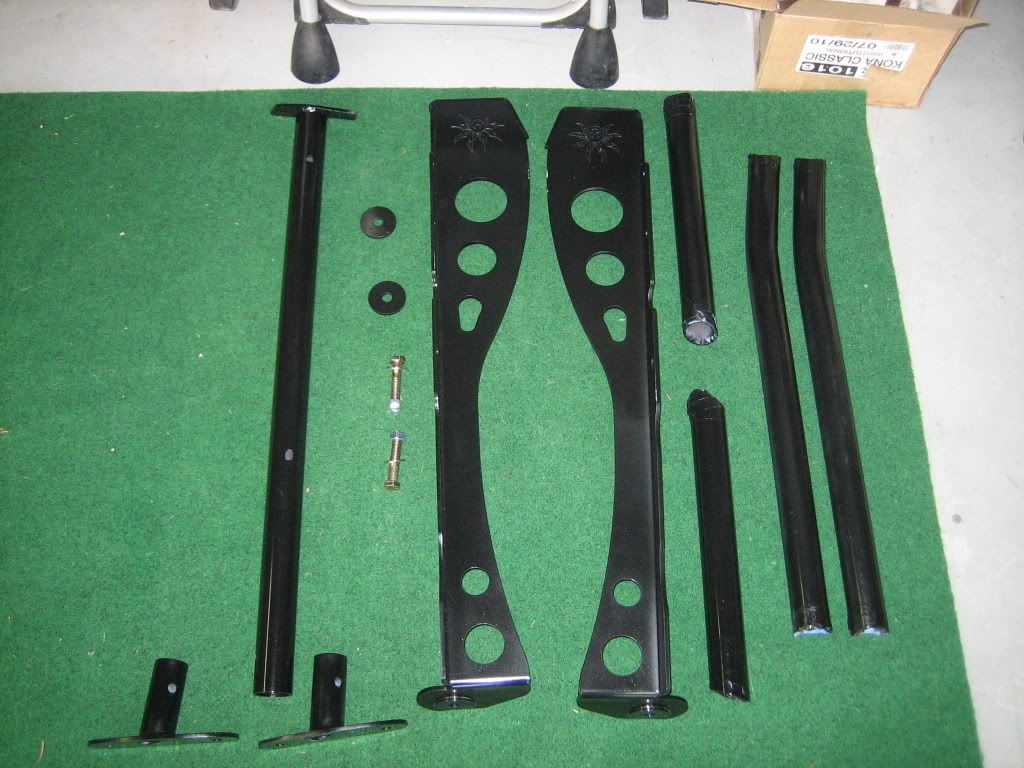
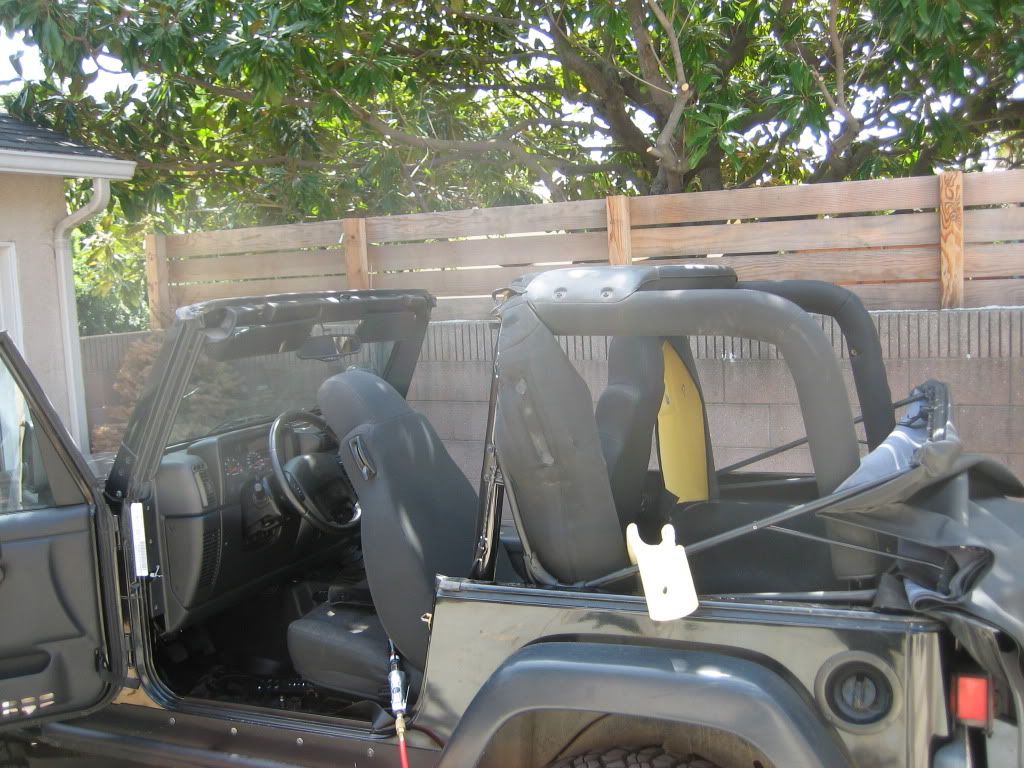
    After a couple days, I decided to get the Rear Spreader Bar Kit and the Grab Handles too.


    I have put some color and a few pieces. The install will take place next week.
    It was like that when I got here.

  • #2
    just thinking, your welds are gonna get pretty freaking hot. Might mess up your paint. I kept mine in and painted it afterwards. If I really was to do it right, I'd hit it with real paint at a shop so it lasts. Rattle can isnt to durable.
    1st batch TJ bought August of 96. Locked and Loaded!

    Comment


    • #3
      Originally posted by brokenujoint View Post
      just thinking, your welds are gonna get pretty freaking hot. Might mess up your paint. I kept mine in and painted it afterwards. If I really was to do it right, I'd hit it with real paint at a shop so it lasts. Rattle can isnt to durable.
      I'm not too concerned with the quality of the paint job. I'll sand and fix anything thats too bad. As long as it doesn't rust, I'm good with that.
      It was like that when I got here.

      Comment


      • #4
        Got some color on most of it. Its touch to paint on a breezy day.


        Started painting the 2nd batch of parts.
        It was like that when I got here.

        Comment


        • #5
          Now, you are going to have to grind of the paint where you have to weld. Welding comes out better on clean metal.

          Comment


          • #6
            i think thats why he blue taped the weld areas. looks like a solid kit. are u going to weld it urself? i wish cjerokee cages were that easy

            Comment


            • #7
              Originally posted by bails85 View Post
              i think thats why he blue taped the weld areas. looks like a solid kit. are u going to weld it urself? i wish cjerokee cages were that easy
              10-4 on the blue tape. A friend of mine is welding it for me. His price is right. A 12er of cold ones and a spool of weld wire.
              It was like that when I got here.

              Comment


              • #8
                cant beat that at all. good luck post up how it all goes.

                Comment


                • #9
                  Wrap a damp(NOT dripping wet)towel a couple of inches above the weld areas and you will save more of your paint.
                  Make sure you clean all points to be welded as a wire feed welder doesn't like ANY DIRT.
                  Disconnect(both clamps)your Jeep battery before welding starts.....
                  Cheers,
                  LG
                  Hav'n you along, is like loose'n 2 good men....

                  Comment


                  • #10
                    Where do we stand on this? Is it done yet? I have the same cage going in my miata... ; )

                    Comment


                    • #11
                      Originally posted by Aferrara View Post
                      Where do we stand on this? Is it done yet? I have the same cage going in my miata... ; )
                      Friday is install day. I'm sure you look cool in your Miata. Do the boys in west hollywood miss you?
                      It was like that when I got here.

                      Comment


                      • #12
                        Cage

                        Where are all the zip ties in the pictures? Looks good. You gonna test the cage at sledge?
                        Last edited by Aferrara; 04-12-11, 07:59 PM.

                        Comment


                        • #13
                          Originally posted by Aferrara View Post
                          Where are all the zip ties in the pictures? Looks good. You gonna test the cage at sledge?
                          I read somewhere that zip ties aren't good for tying cages together. I'll be do'n sledge in a couple weeks. Hopefully I wont be testing out the cage anytime soon.
                          It was like that when I got here.

                          Comment


                          • #14
                            Thursday I installed the HD Header Bars, and stripped the interior a bit for the install today.

                            Note the difference in thickness of the 2 bars. The factory's are mild steel, and PS's are dom.


                            The ends are alot stronger too.


                            The Header bars are suppose to be 100% bolt in. But I had to clearance the oval slots for the hardware.


                            Header Bars are in.


                            Interior Stripped for install


                            Friday morning time for the install.


                            All bars are in, and we added a thin plate between the fwd spreaders for my CB mount.


                            Big thanks to Toyota Rick for burning it in for me.:beer:


                            Tomorrow it time to clean up all the slag and paint all the welds.
                            It was like that when I got here.

                            Comment


                            • #15
                              looks good. I've always like all black jeeps. and your hood certainly looks level...
                              1st batch TJ bought August of 96. Locked and Loaded!

                              Comment

                              Working...
                              X