Announcement

Collapse
No announcement yet.

Jeep Trailer Build

Collapse

Forum Thread First Post

Collapse
X
 
  • Filter
  • Time
  • Show
Clear All
new posts

  • Jeep Trailer Build

    I usually don't get around to posting in the Fabrication section of MJR since I really don't have time to do much work, nor do I have a high caliber of skill to build a custom jeep. Now that my 3 year old son has started pre school, and my one year old naps regularly, I have found time to embark on a project.

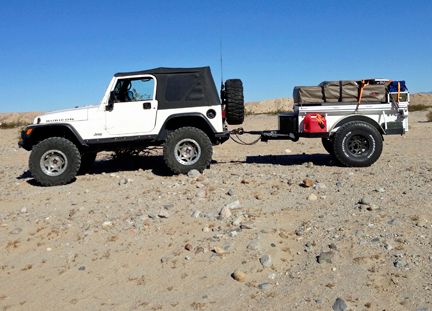
    After running the Dusy this past August with my 3 year old son, I came to a realization that I will need a jeep trailer to get the entire family of 4 out on long jeep trips (Like the Rubicon, Dusy...etc) with all our camping gear we have. I have so much money invested in my TJ, I can't see selling it to build up a JK. So I am attempting to build a Jeep Trailer from scratch.

    I have searched local listing for military jeep trailers and find with a little time, effort, and about the same amount of money for an old beat up trailer I could build my own.

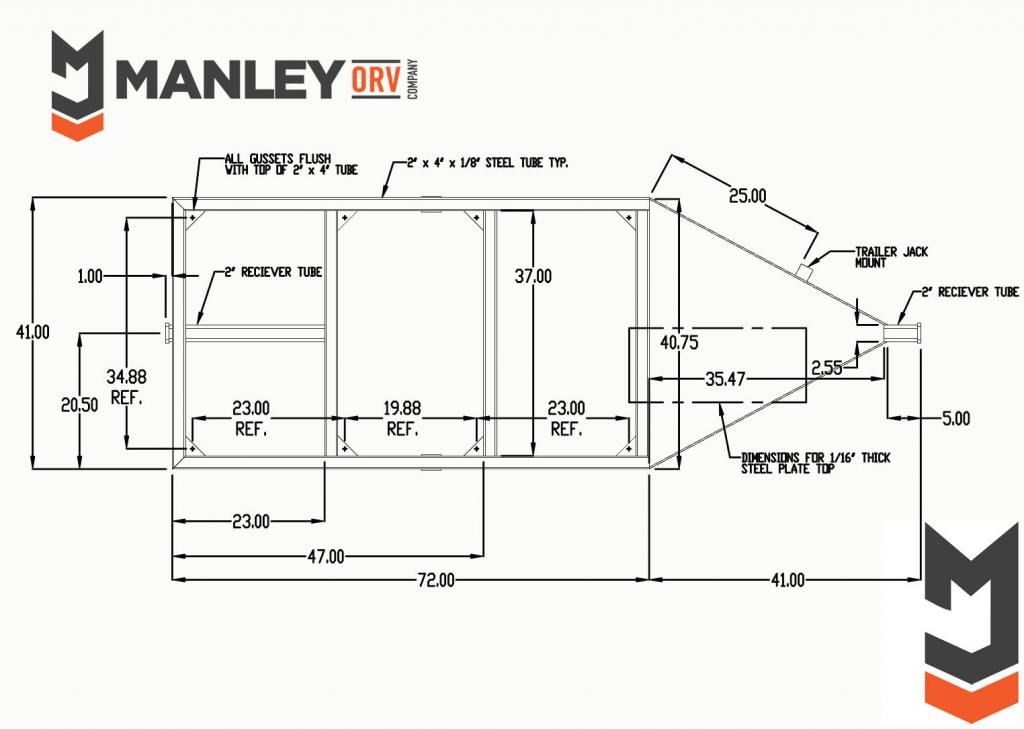
    I search the internet and found a company that pretty much builds replica jeep trailers. Digging around some more I found a spec sheet and photos of what I have been pretty much building in my mind over the last month.

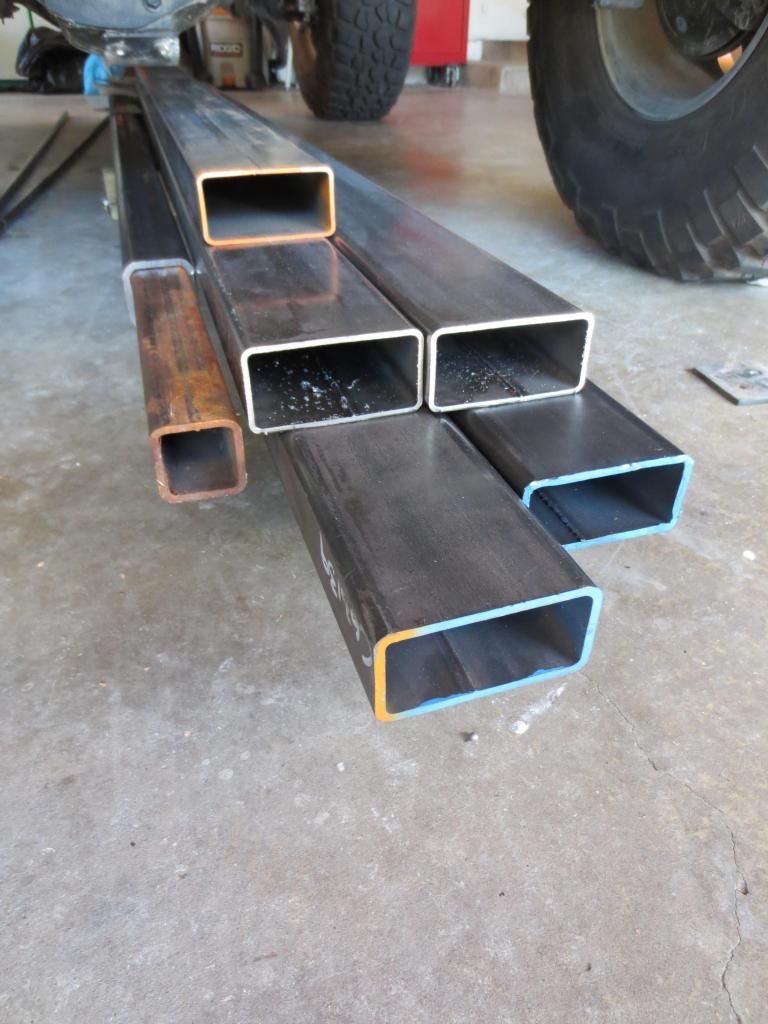
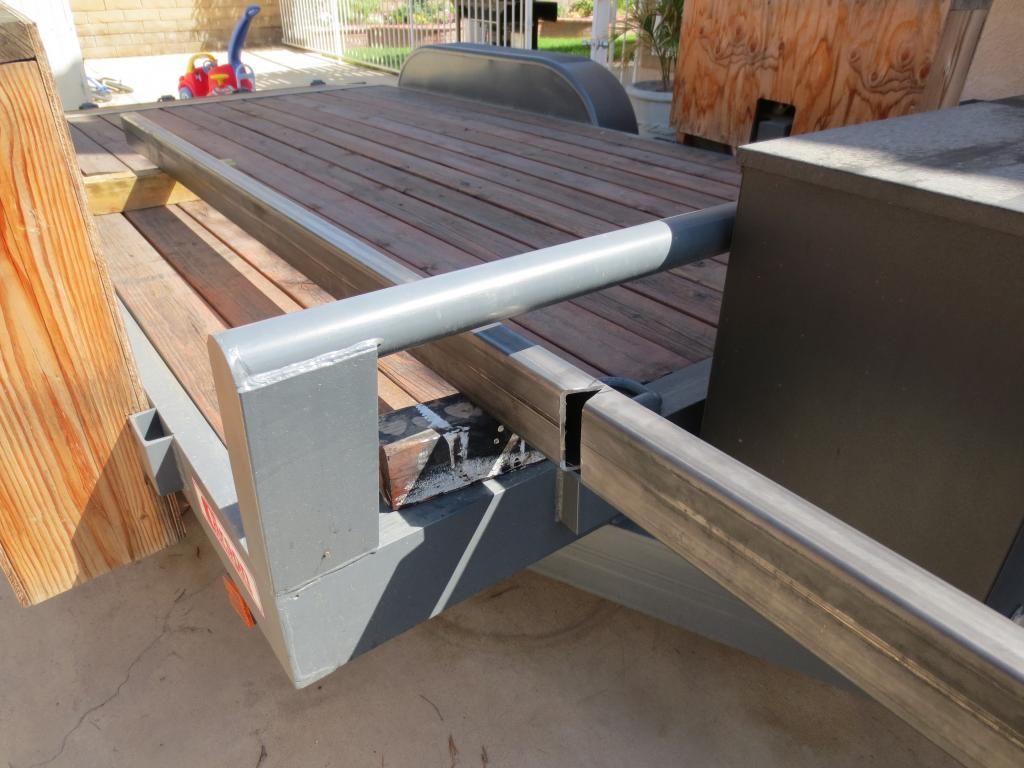
    I plan on building the frame out of 2"x4" x 1/8" (possibly upgraded the side rail to 3/16" and cross members staying at 1/8"). The frame dimension is gonna be pretty much similar to the spec sheet.

    I will be running 35" tires, with a 2200lbs rated axle

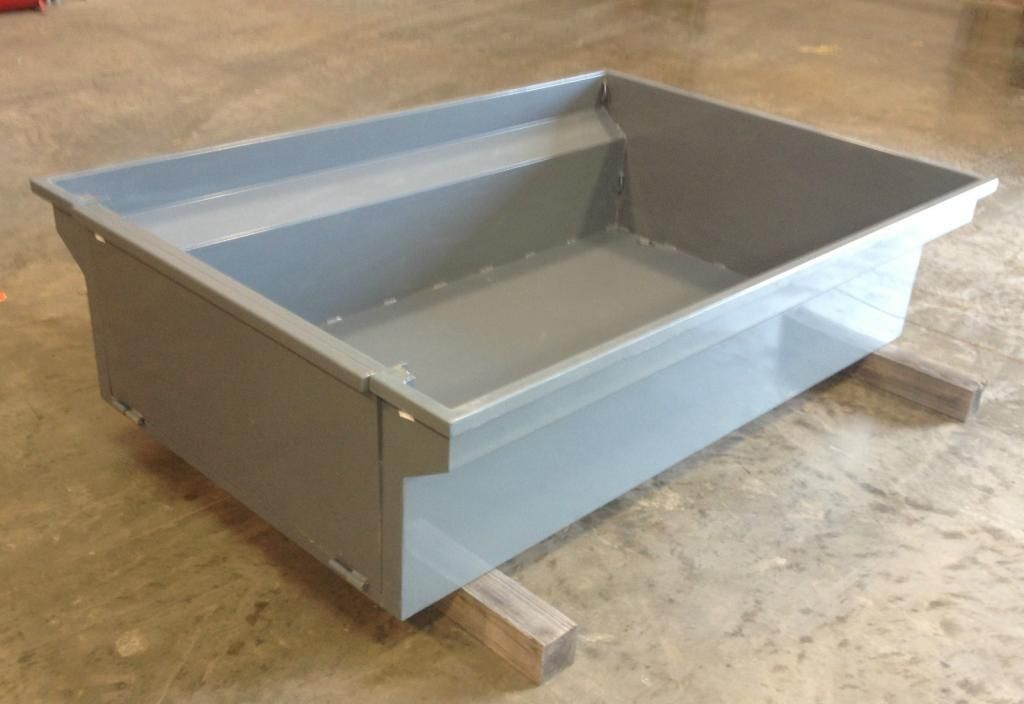
    I am not sure about the bed/tub construction yet

    Any suggestions from you all out there would be appreciated.


  • #2
    I spent a long time researching before I built mine. Most of the ones I saw were heavier than I wanted and too big. I kicked around building an independent suspension with air bags but the leaf springs im running have been flawless so I doubt I will change. In the last two years I have been camping with other people who have trailers. I kinda went over board in the "gadget" category based on what I saw that worked. Ive spent as long as 8 days comfortably and pulled it down some black diamond trails without difficulty.
    Some things I found necessary are
    1. Brakes
    3500# axle was what I ended up with to get these in the size I wanted and I can add a park brake later. It was bout $350. Trailer axles have a little bit of camber bent into the tube. To do it over I will ask them to keep it straight. My axle is too short to flatten out with the weight and my tires are going to wear the outside edge.
    My springs are not trailer springs. My opinion is those are too short if you go with leafs, try to go as long as you can or coils and trailing arms. It took me quite a while to get my spring rate to where I was happy.

    2. 3 axis hitch.
    Pintals will drive you nuts and ball mounts can come off if twisted too far. I have a design for one I built. There's a guy out there who has the plans posted for it and I changed them slightly after realizing a small flaw in the ones everyone uses.

    3. Shocks.
    Im running a gas shock from an early cj5 (short). make sure you run the mount in double shear. I wish I had a go-pro mounted on the back of my jeep to show you before and after. don't let anyone tell you there not necessary. I can disconnect one side and have you follow me down a dirt road.

    I have looked at or helped set up most of the roof top tents out there and if they weren't so expensive would have went to a different style. There's nothing wrong with mine I just want another feature.

    If you wanted to meet up sometime I could show you a few things. I keep kicking around building another one and going to a square box but I love the look of the military trailer. As it is Im still changing and improving.
    Fully loaded I weigh in at a little over 1000. That includes a 15 gallon water tank, 15 gallons of fuel, steel half doors strapped on the top, a huge easy up and some fire wood.

    Come to the dark side.....
    We have Cookies!

    Comment


    • #3
      I got around to purchasing the metal from IMS in Irvine about a week ago. Spent about $450 on metal. I got a bit more than what I needed for other possible projects in the future.


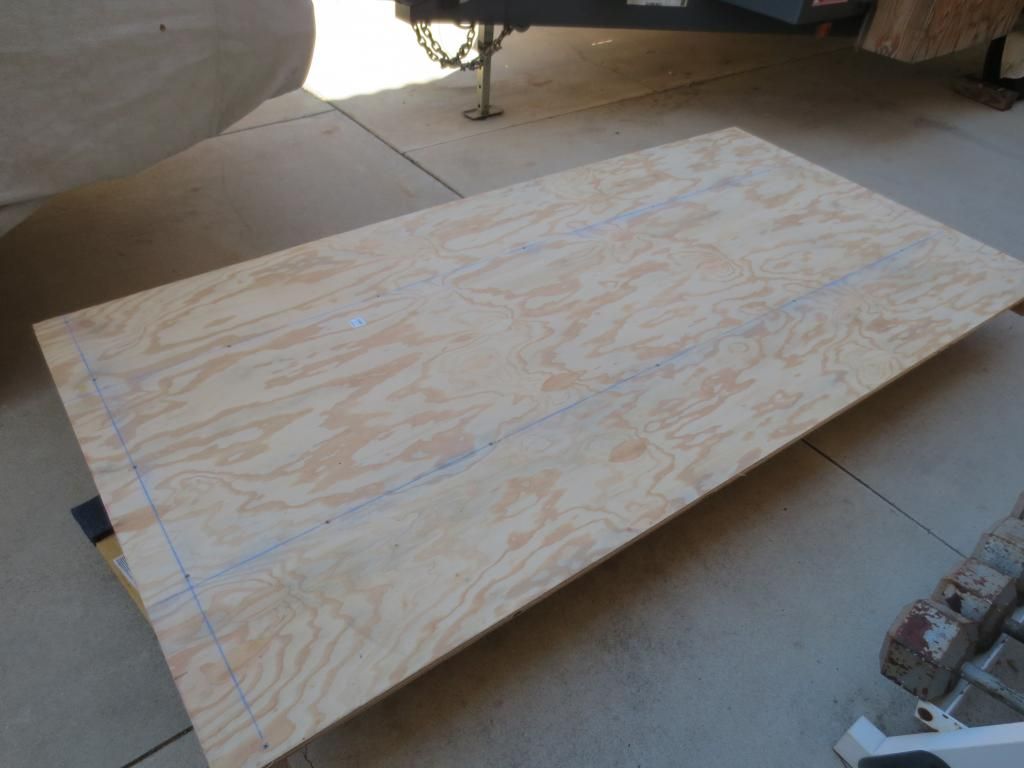
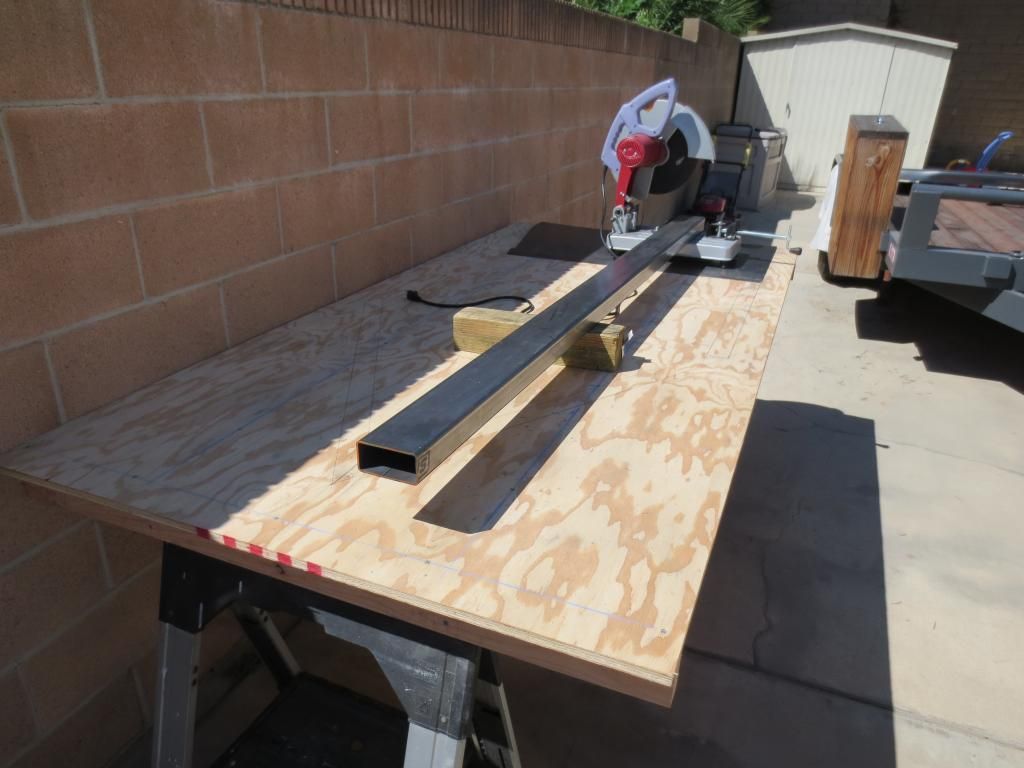
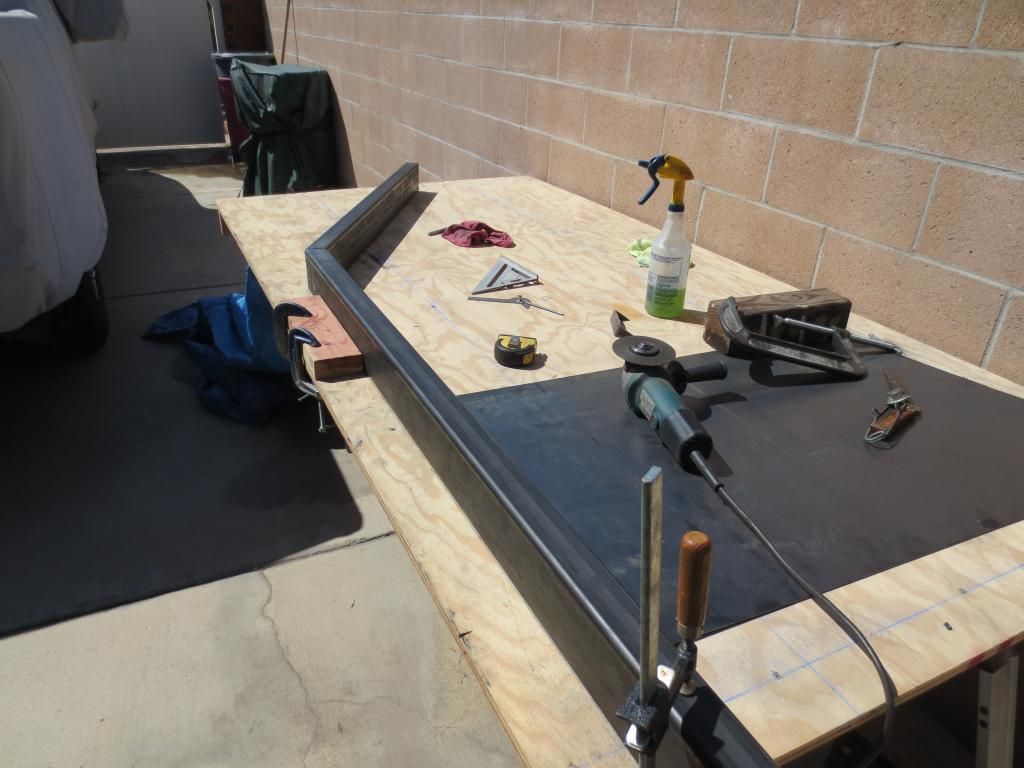
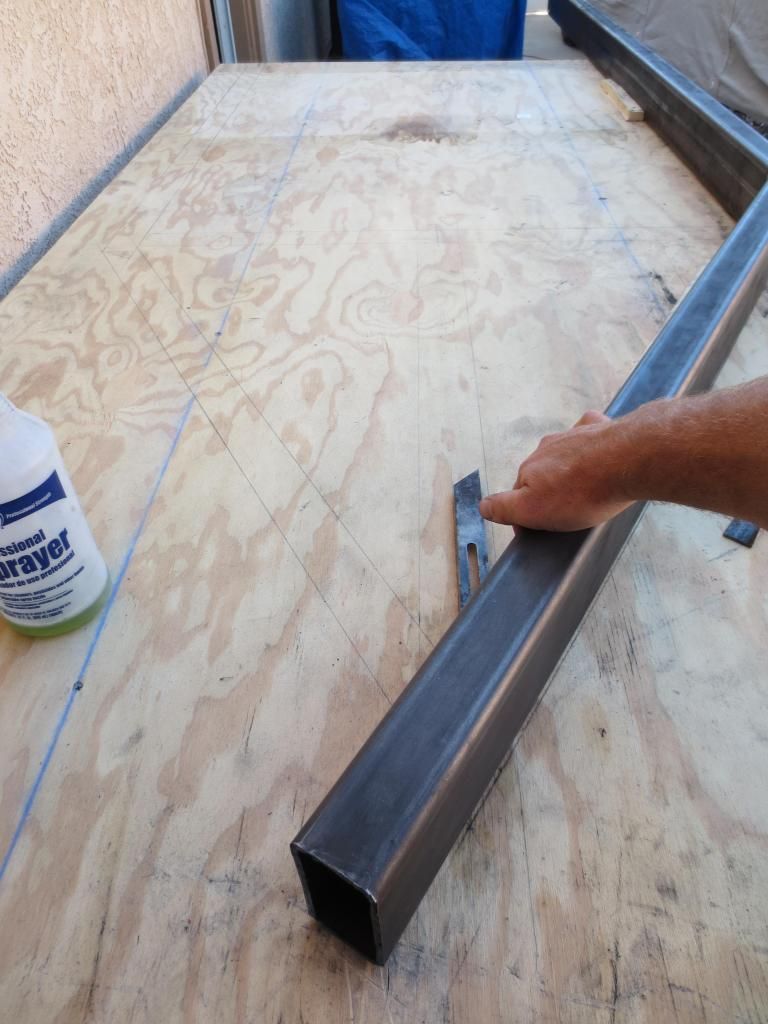
      I spent some time building a table top from plywood. Not nearly as good as a metal table but it will work to draw up a chassis layout on and double as a work surface. Gonna set it on some saw horses.


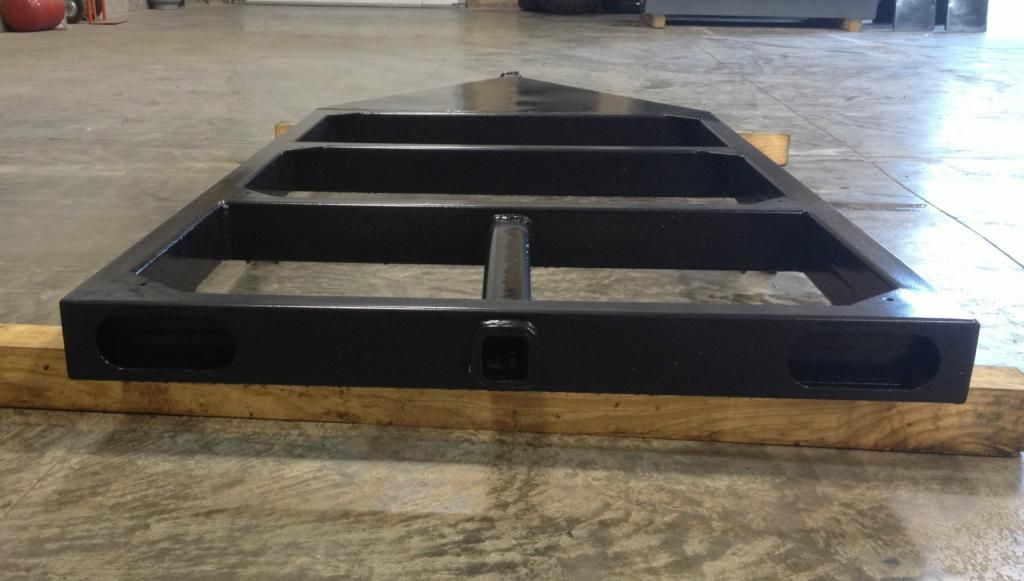
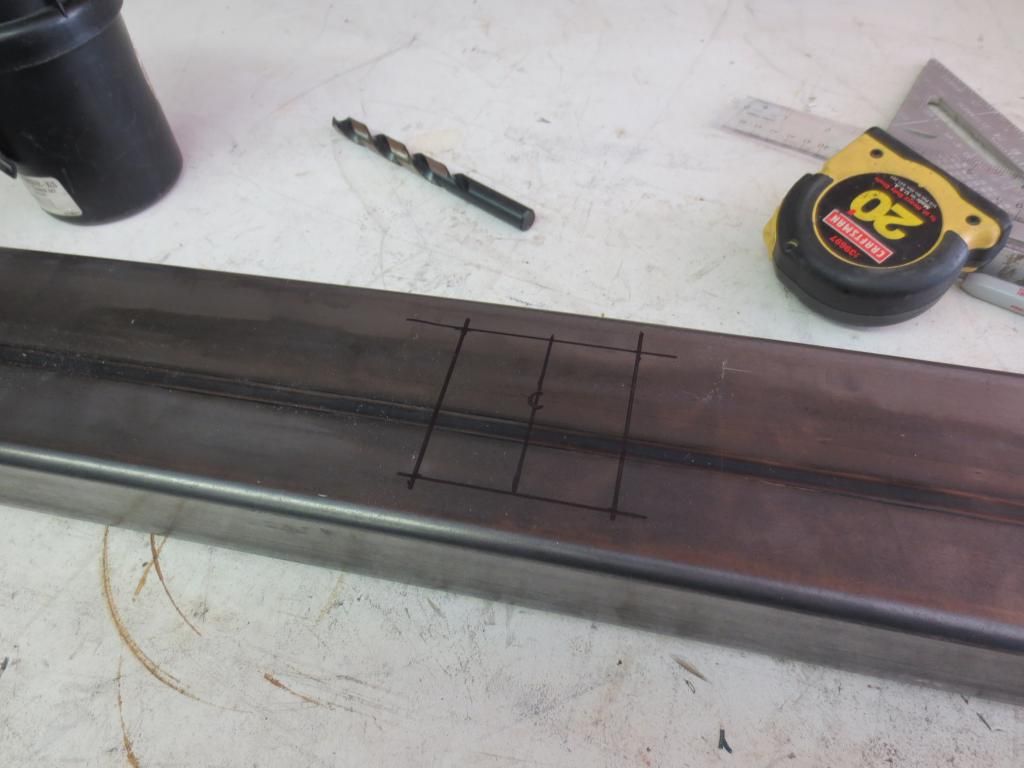
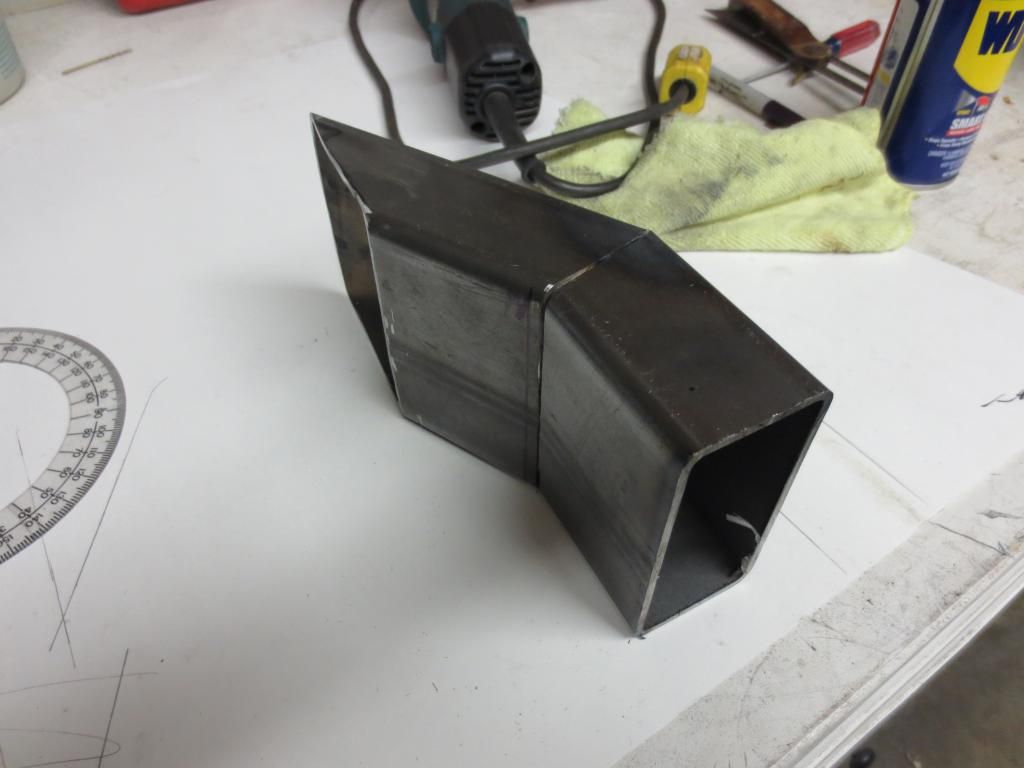
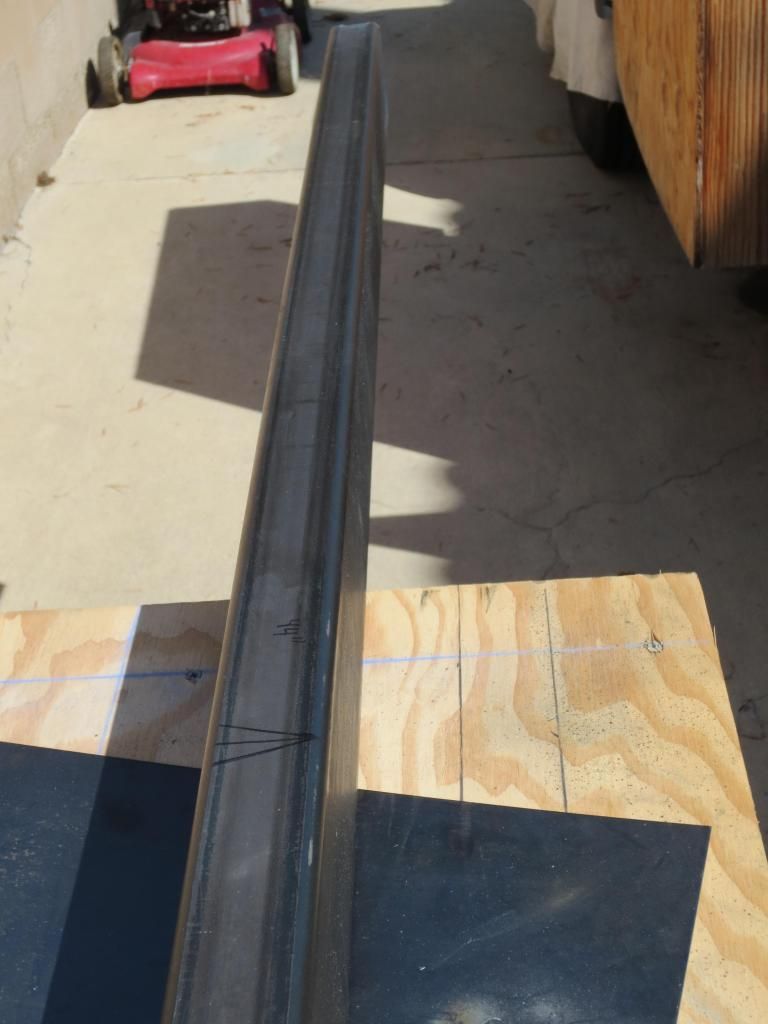
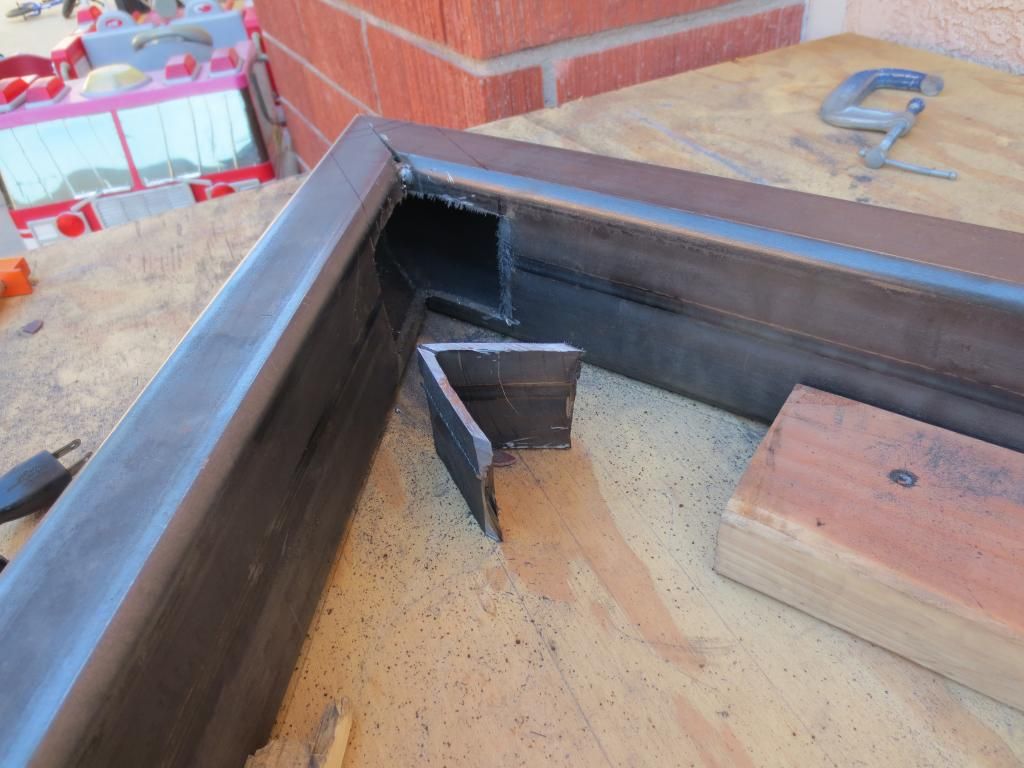
      My first piece to cut is the front cross member. After cutting down to size I cut a hole for the towing receiver tube


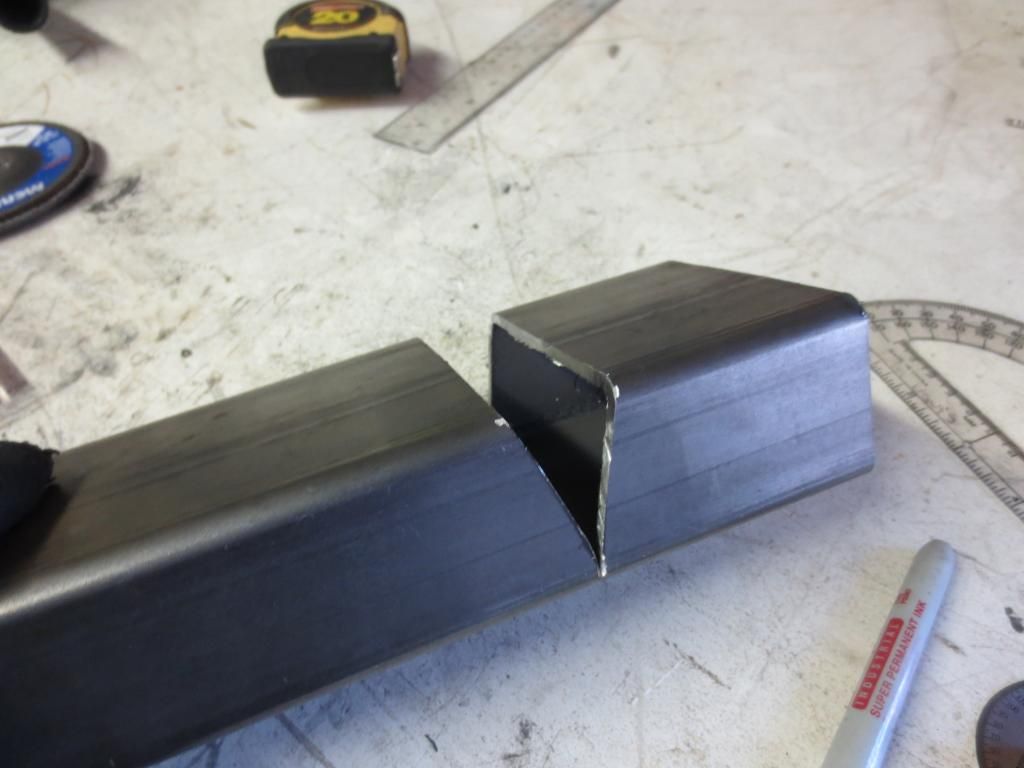
      Using the extra, I decided to made test my angle measurements and make a mock up piece of the side rails. I needed to make a 30 degree notch to get my 60 degree inside angle for the front triangle of the trailer tongue. So far so good

      to be continued

      Comment


      • #4
        Nice! I'll be watching this, if/when I move to a place that has more space, I'll definitely be building a small trailer too.

        I do the same thing when I go get metal, I get a good bit more than I need, so that I have more 'scrap' to make other things that come up, without having to drive all the way to the metal place. I usually make most of my furniture and stuff out of the same size tubing, so that help!

        I get mine from M&K in Gardena, that's probably about the same far away as irvine from you. I've heard there's a place in east LA that has even better prices, but I can't remember the name of the place.
        [COLOR="#FF0000"]R[/COLOR]edneck [COLOR="#FF0000"]D[/COLOR]riveway [COLOR="#FF0000"]F[/COLOR]ab
        www.DanielBuck.net - www.DNSFAIL.com - www.FurnitureByBuck.com

        Comment


        • #5
          Metal Depot in La Mirada. COme on Ryan... Pictures!
          [CENTER][COLOR=#ff0000]Resistance Off Road
          [/COLOR]Join the Resistance...
          http://www.resistanceoffroad.us[/CENTER]

          Comment


          • #6
            I got some more time doing some fab work

            I made a template for side rails...mostly wanted to make sure my cuts were at correct angles. Thank god I took geometry!!


            This is my mock up piece....all the angles lined up. The interior angles will be 60degrees, 60 degrees, and 60 degrees, making the interior triangle angles a total of 180 degrees.

            Comment


            • #7
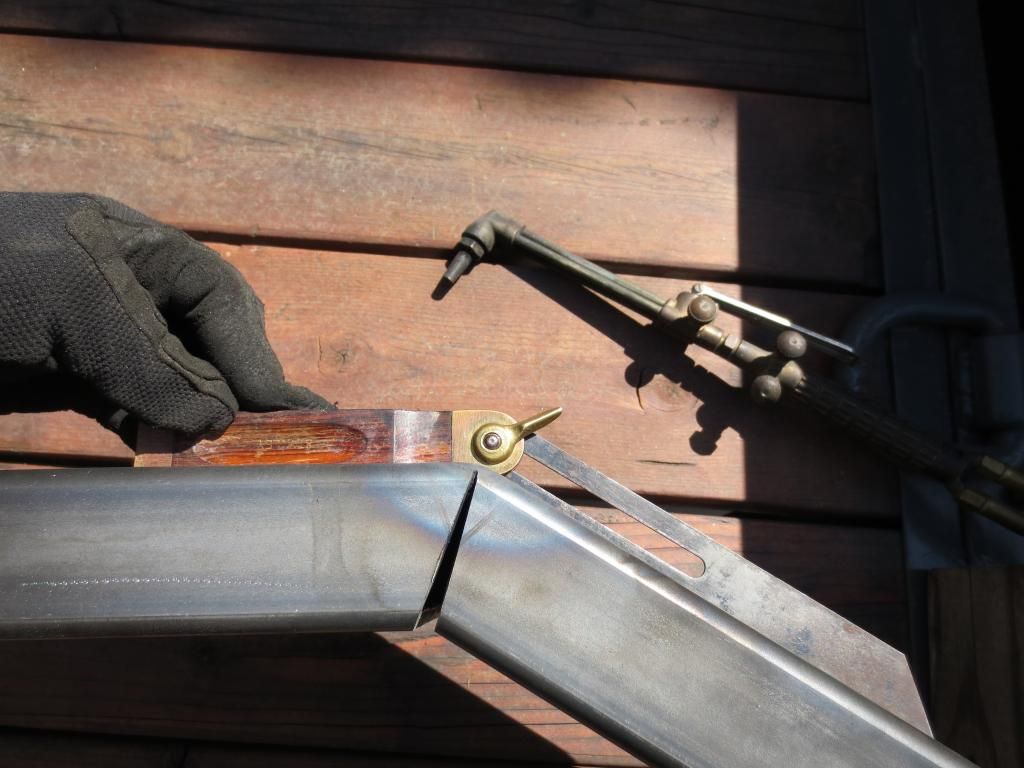
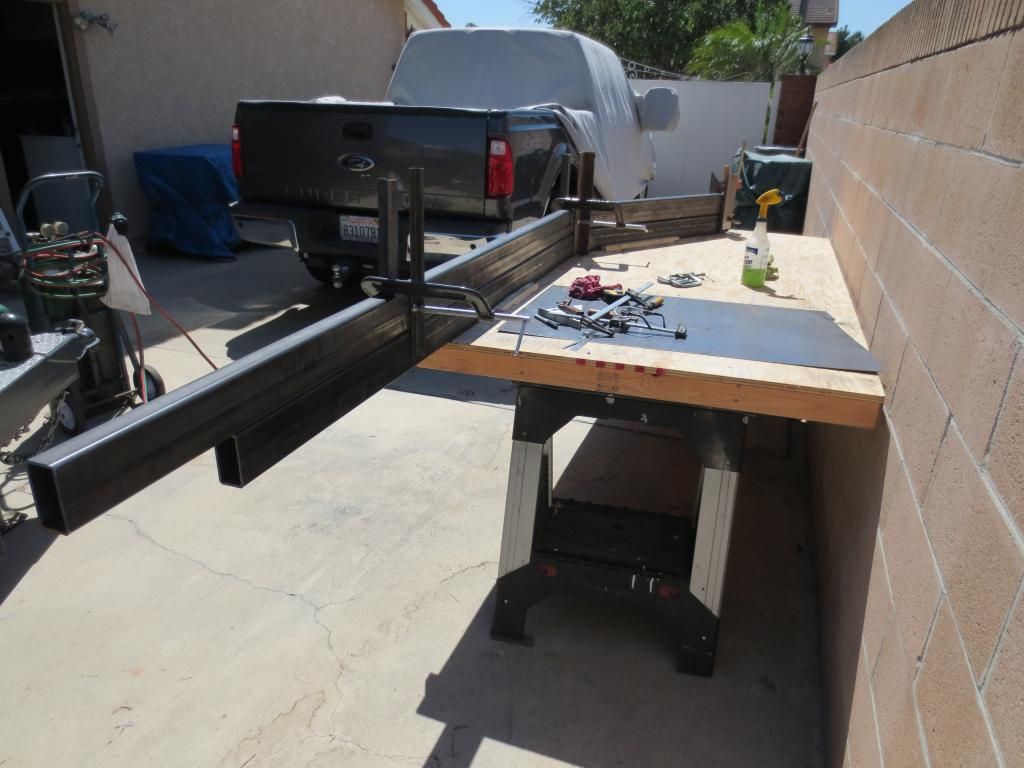
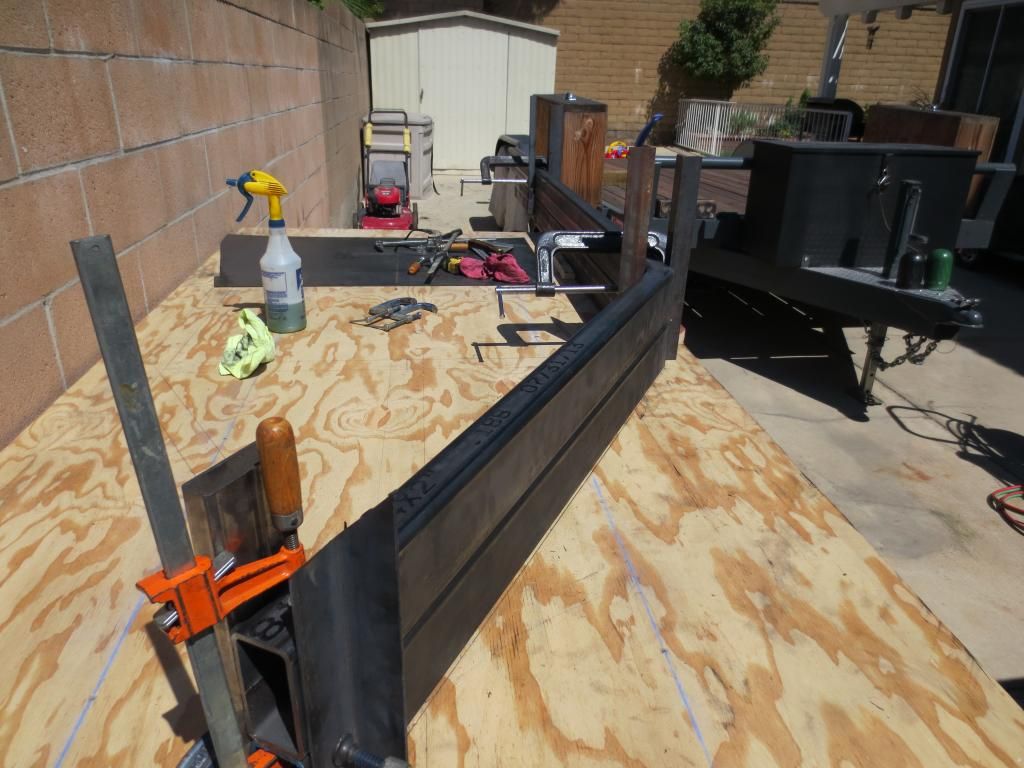
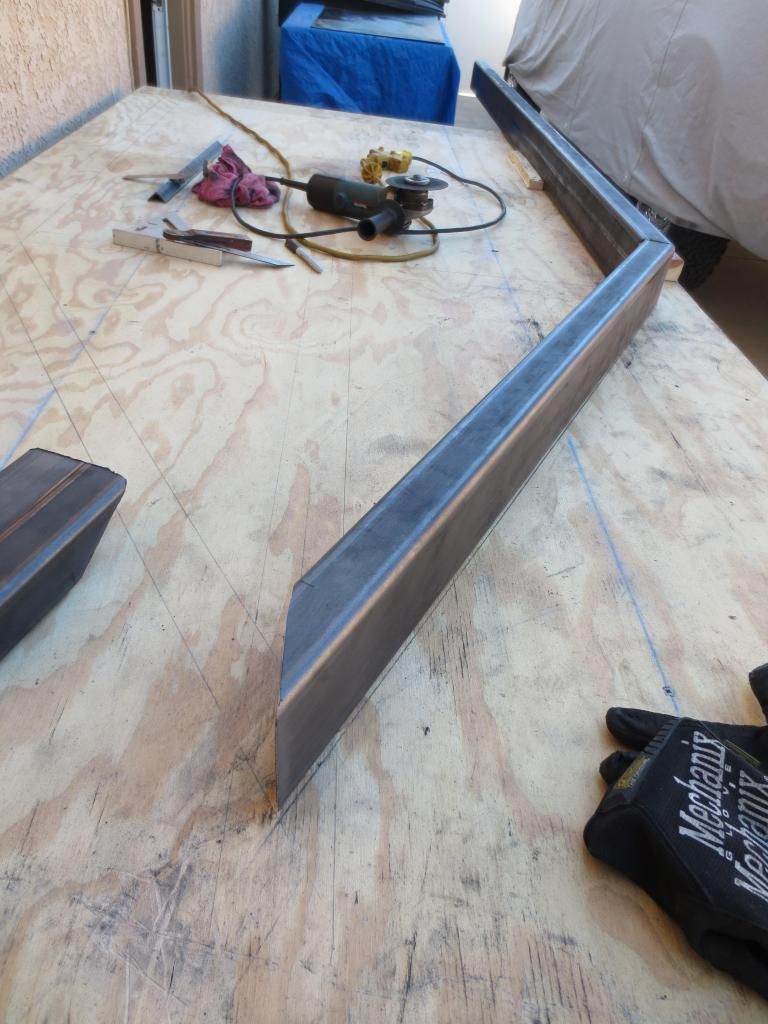
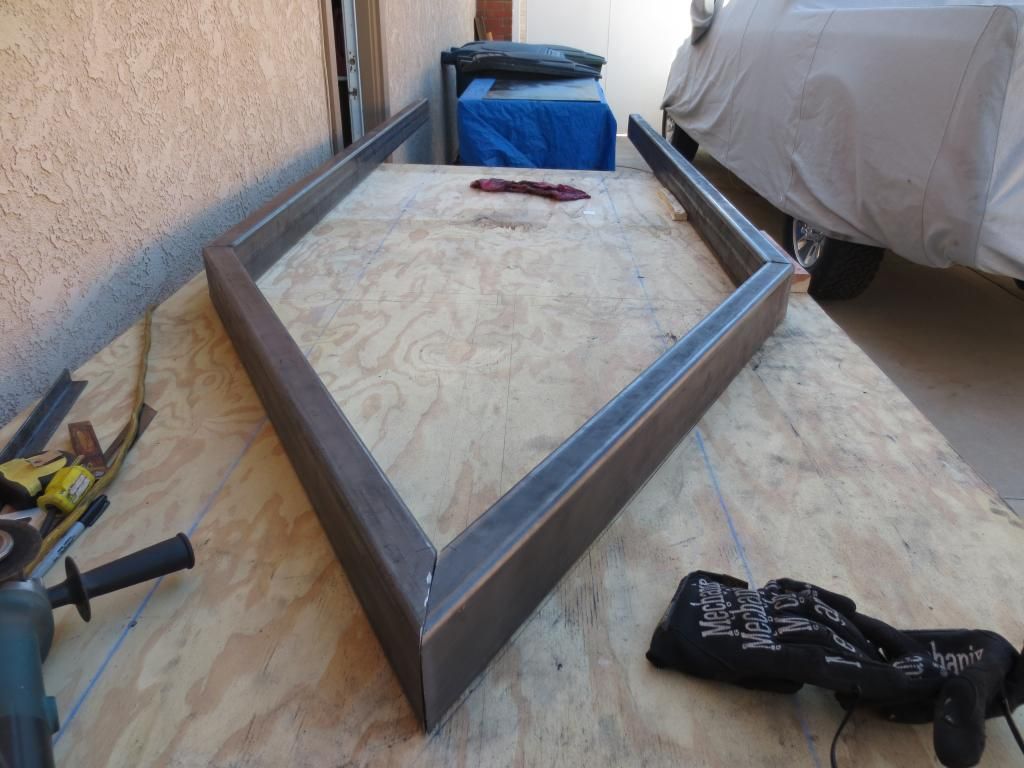
              My boy Reed napped for about 3 hours, so I make good progress on the side rails. I measured about 44" for the length needed for the tongue portion of the trailer. At that mark I made my 30 degree angle to notch out. The cutting and bending was relatively easy, maneuvering the long heavy tube was a challenge. I will eventually cut the side tube rails down to correct size.


              I used the oxy acetylene torch to heat the metal to make a nice bend. I was a little off on my angle when notching. No biggie. I will use some good filler weld and will eventually put some fish plates on the inside out of 1/8" steel flat


              I put the metal tube on my work bench that has a mock up drawing of the chassis on it. The angles matched up pretty close with a bit of fine tuning all looked good


              After successfully making one side rail of the chassis, I decided to use it as a template for the other side. I notched the second rail and bent it much like the first. I then laid the second rail atop the first, and tweaked it to match up.


              So I feel pretty good about the bends in the side rails. The next part is to cut the relief angles where the to rails will come together up at the front tongue portion of the trail. These will have to be pretty dead nuts on with the angles, as they will need to be butt welded together.

              So for so good, I was pretty nervous about the angles in the side rails, nothing like screwing up at 11ft piece of metal that costs nearly $110 each
              Last edited by HookandLadder; 09-12-14, 12:40 PM.

              Comment


              • #8
                I don't know how your son napped through that! I heard you 5 miles south. That is looking real nice Ryan.

                Comment


                • #9
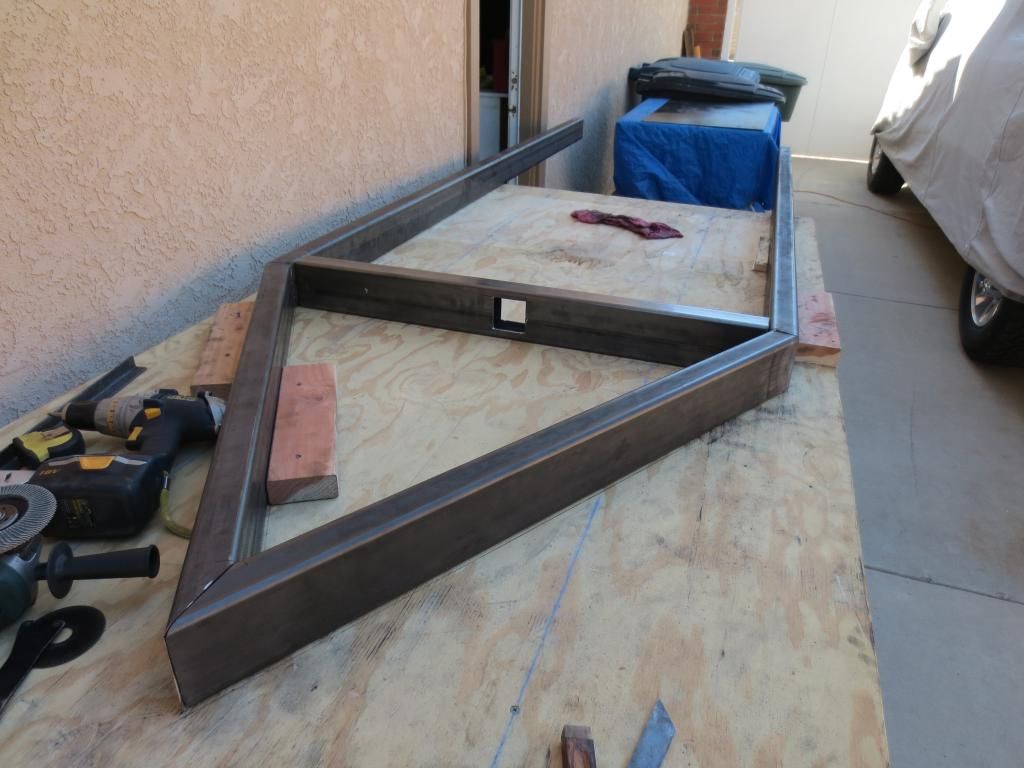
                  More progress made today. Cut the angles to side rails where they interest at the tongue. I am really glad a drew up a full scale template on the plywood. It gave me a chance to really find my angles and secure the metal in place while position all the rails and cross members.

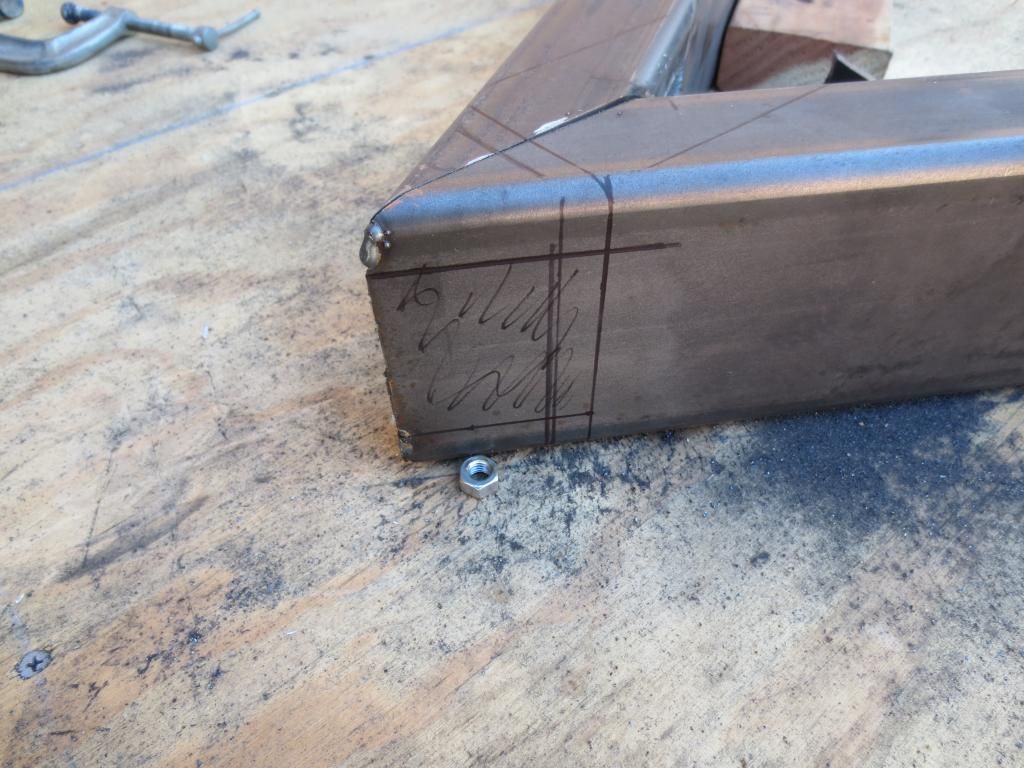
                  Finding my angle - a 30 degree relief cut. All my cut so far are with a metal cut off blade on an angle grinder. My chop saw wont do some of the angles, plus the metal is so dam heavy to move. It became much easier to just cut in place with the cut off blade


                  My angles butted up pretty well, I just had to use the flap disk to clean up the cuts for a clean fitment


                  The cross member slid right into place and was dead on with the plywood template. I made sure it was square the tacked it into place. The tongue was also tacked into place. So far it is square!


                  Cut down the side rails with a 45 degree angle cut at the back end of the frame. Next task is to tack in the back cross member.


                  I need to find a "Pick Your Part yard" local to me (Cerritos area). I plan on putting a spare tire (35" tire on a skinny rim) under the trailer and tucked into the frame. I need to find a cable lifting mechanism typically found on the back of pick up trucks that raise and lower the spare tire. Any one have suggestions on a pick your part?

                  Comment


                  • #10
                    Ryan, my spare tire is tucked under the front part of the trailer for a little extra tongue weight when it's empty. It's also held in place with a chain lifting mechanism I got off of a cut up Toyota bed I found on the side of the road. I think a cable might not last as long as a chain would. I lost a spare from a Chevy work truck once, it had a cable system.

                    I did the 2" receiver/tongue because I use a 2" ball for light duty towing or the ring & pintle for the trails, and yes it does bang around a bit but, it's also secure.

                    Steve
                    All slow and no show

                    Comment


                    • #11
                      How did you cut that square hole on the front cross member?
                      [COLOR="#FF0000"]R[/COLOR]edneck [COLOR="#FF0000"]D[/COLOR]riveway [COLOR="#FF0000"]F[/COLOR]ab
                      www.DanielBuck.net - www.DNSFAIL.com - www.FurnitureByBuck.com

                      Comment


                      • #12
                        Cut off blade on a angle grinder

                        Comment


                        • #13
                          ah, nice! That looks pretty clean. I'm sure if I tried that it would be hacked up
                          [COLOR="#FF0000"]R[/COLOR]edneck [COLOR="#FF0000"]D[/COLOR]riveway [COLOR="#FF0000"]F[/COLOR]ab
                          www.DanielBuck.net - www.DNSFAIL.com - www.FurnitureByBuck.com

                          Comment


                          • #14
                            After 15 days near Lake Tahoe deployed for the brush fire, I finally got back home and had some time to throw toward the trailer build here are some pictures

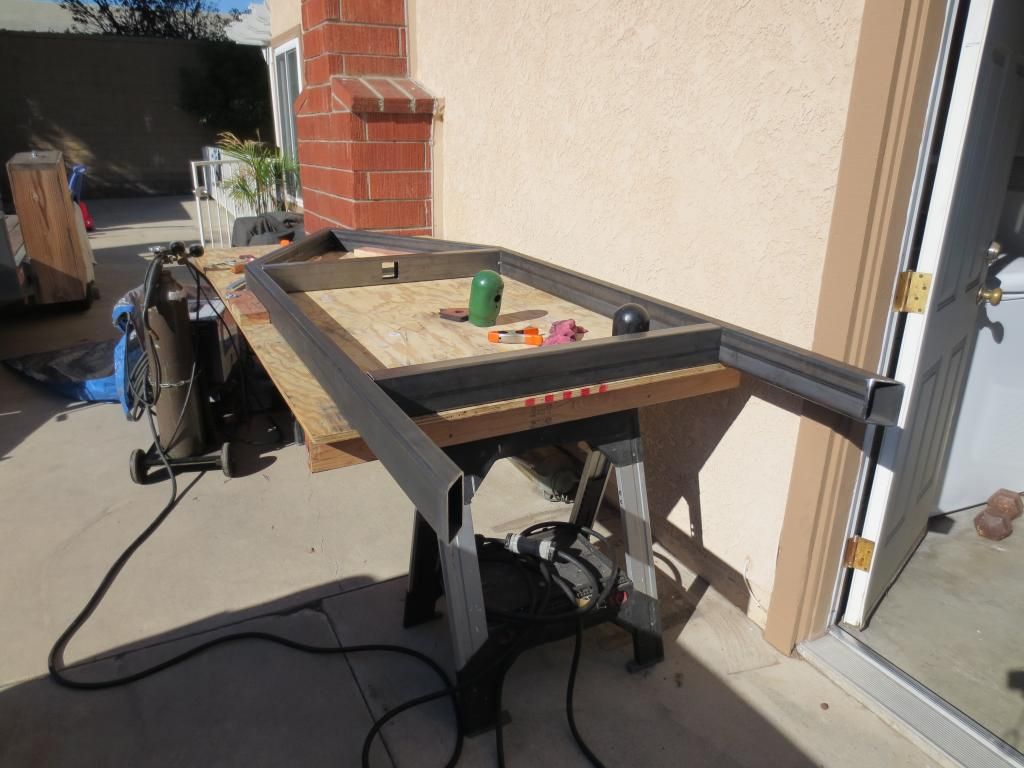
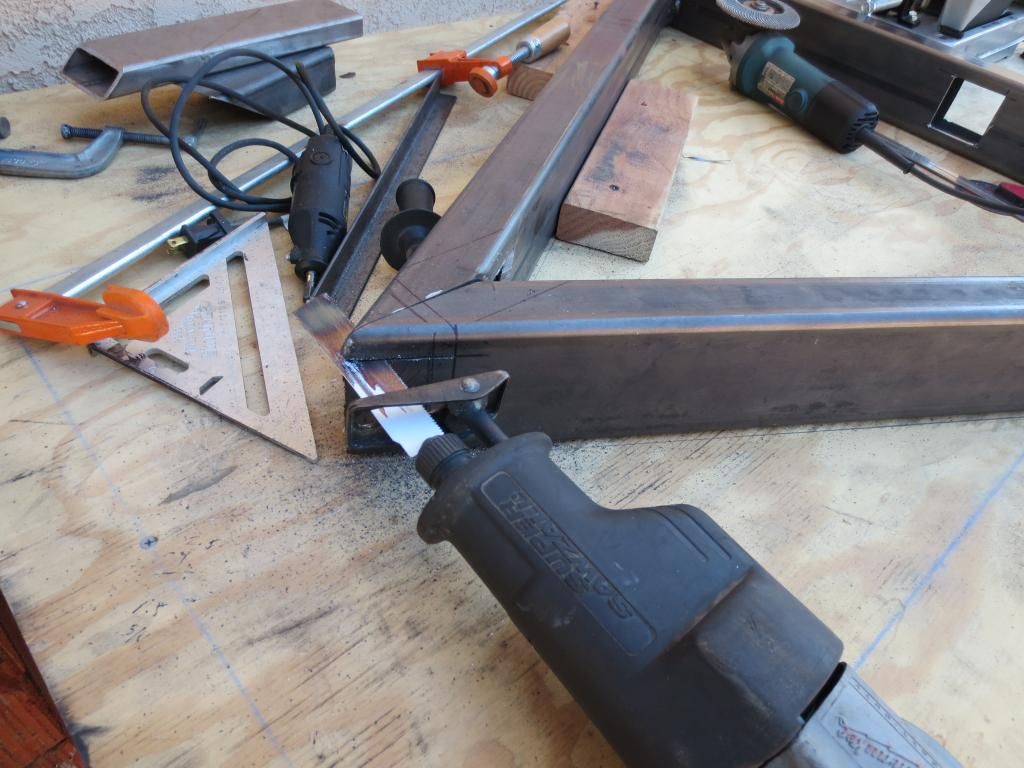
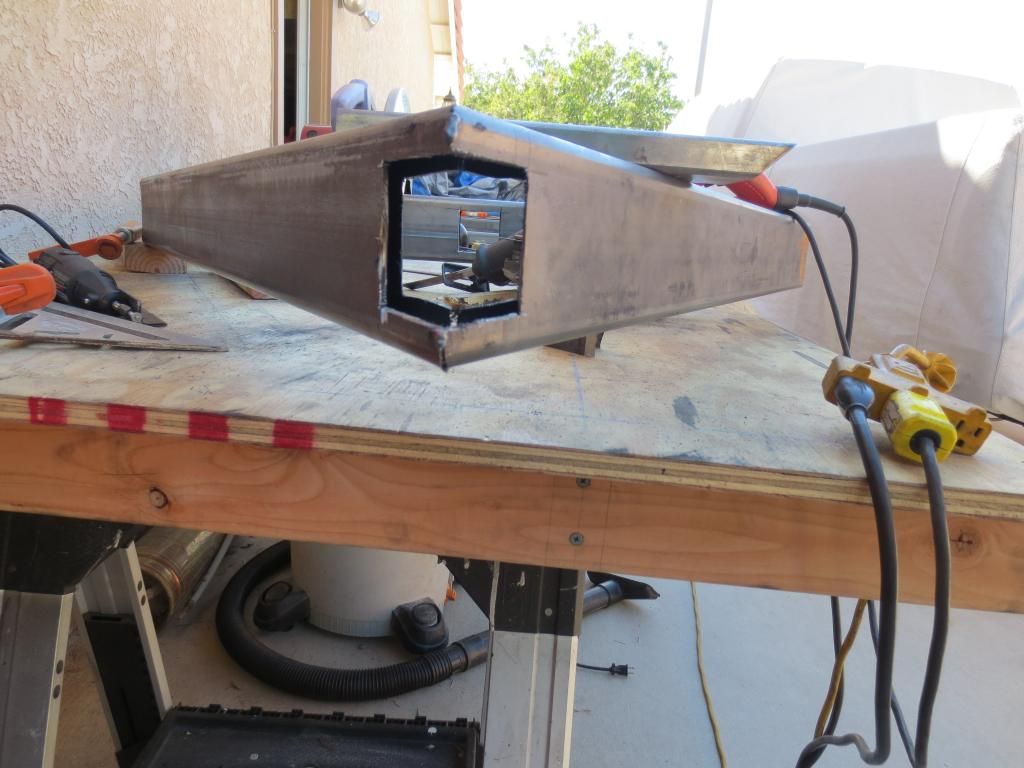
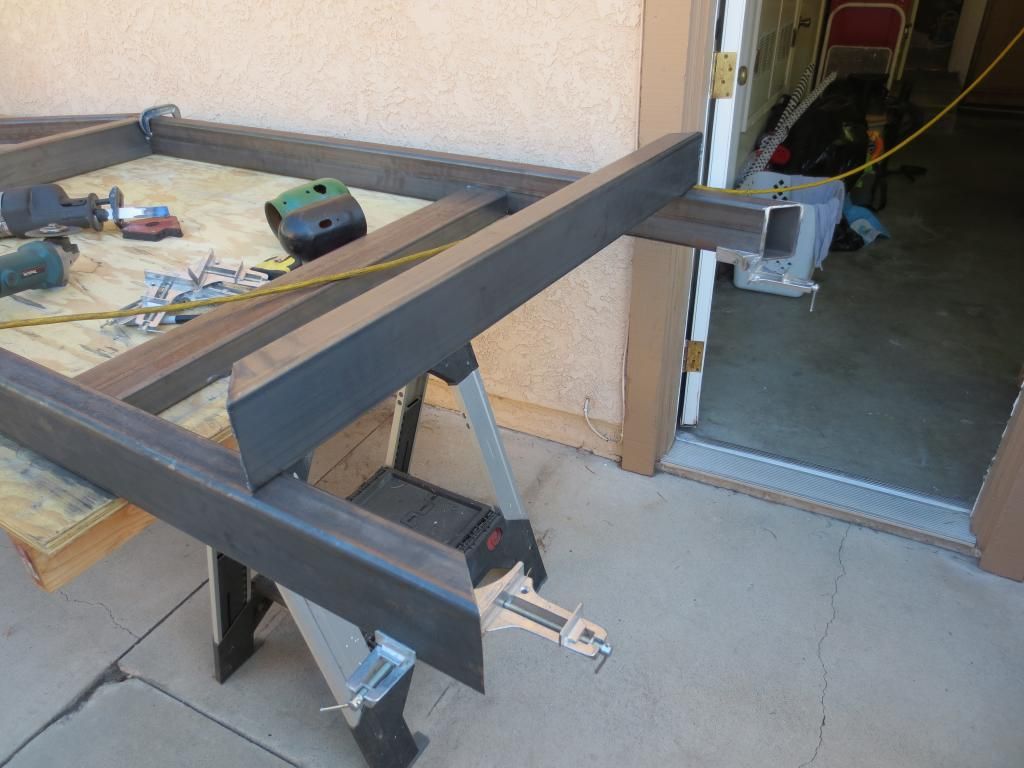
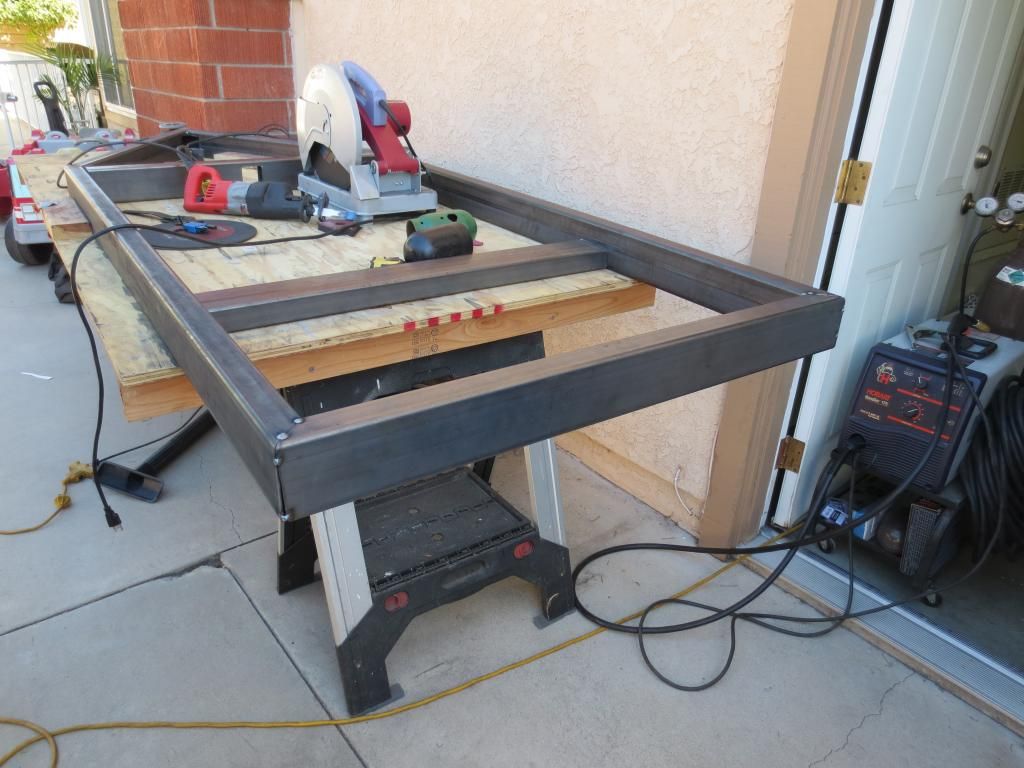
                            I used a dremel tool to cut the back side of the tongue. Once the dremel cut through the metal I used a reciprocating saw to finish up the cuts


                            Notching the front portion


                            Cut the back cross member then tacked it into place


                            Comment


                            • #15
                              I bet it wasn't fun cutting that thick metal with a dremel
                              [COLOR="#FF0000"]R[/COLOR]edneck [COLOR="#FF0000"]D[/COLOR]riveway [COLOR="#FF0000"]F[/COLOR]ab
                              www.DanielBuck.net - www.DNSFAIL.com - www.FurnitureByBuck.com

                              Comment

                              Working...
                              X