 Tweet
Tweet
Are you sick and tired of having to R&R your windshield glass and frame every time you roll? I know I am! That's why I developed the
:bolt::bolt:Windshield Frame of Doom:bolt::bolt:
It's a lightweight affair, actually--weighs less than a 4.0L engine block. Witness the development of a revolution in idiot-resistant Jeep technology.
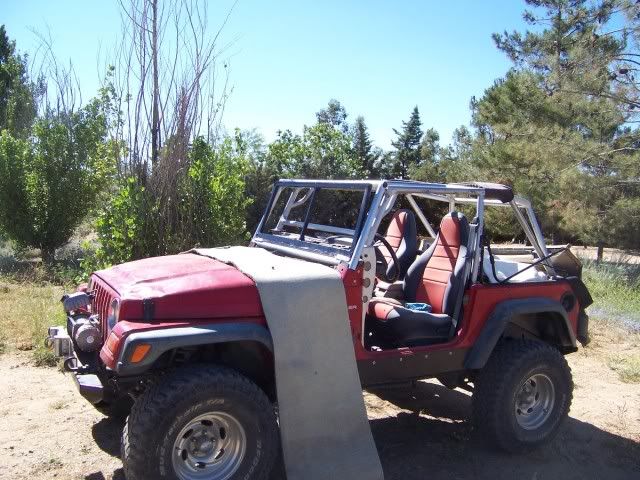
Motivation:
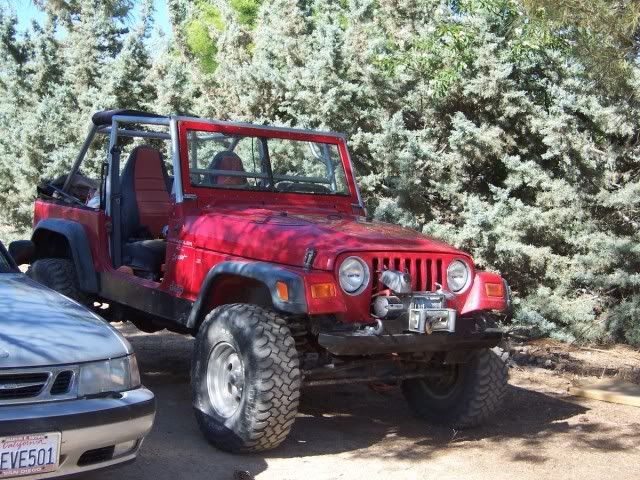
My current piece of crap held up much better then the first one did--thanks to the cage (and a merciful God)--but if I rear ended someone that cracked glass would likely come flying right out. I'd be forced to drive with goggles again...

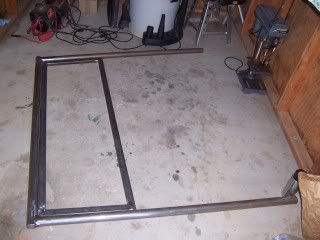
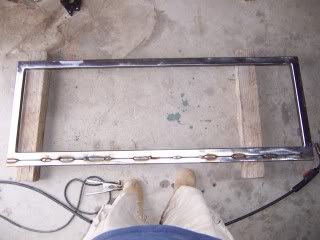
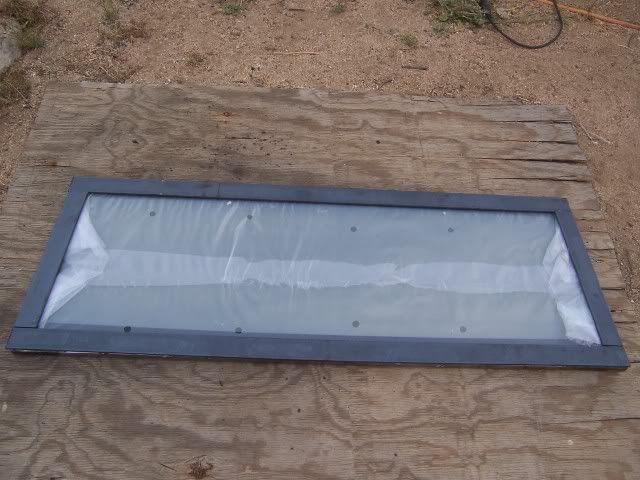
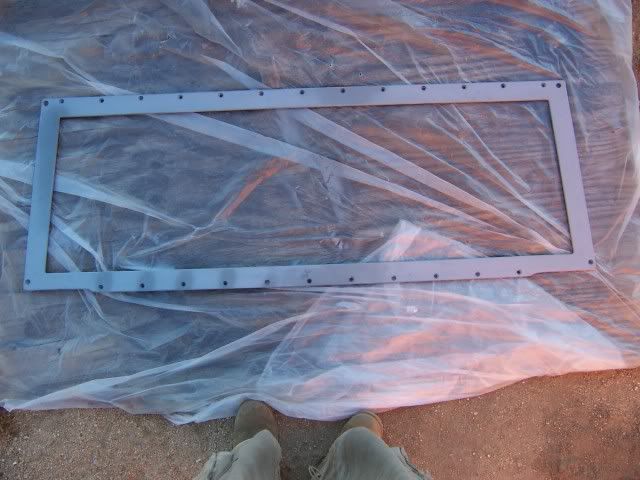
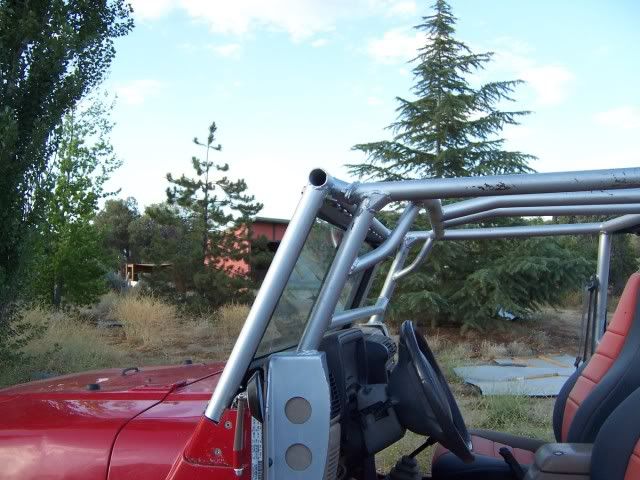
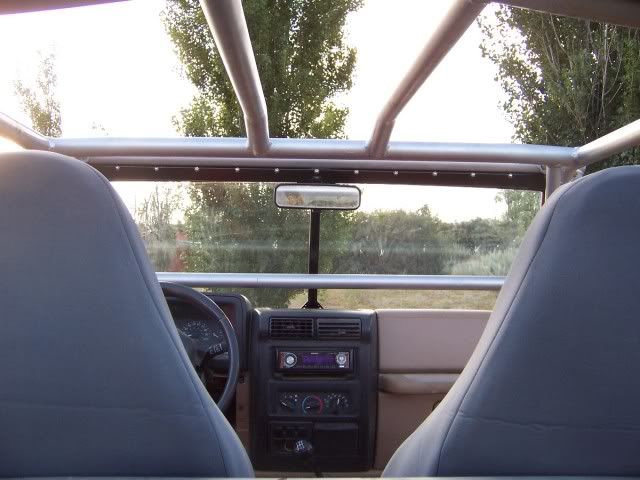
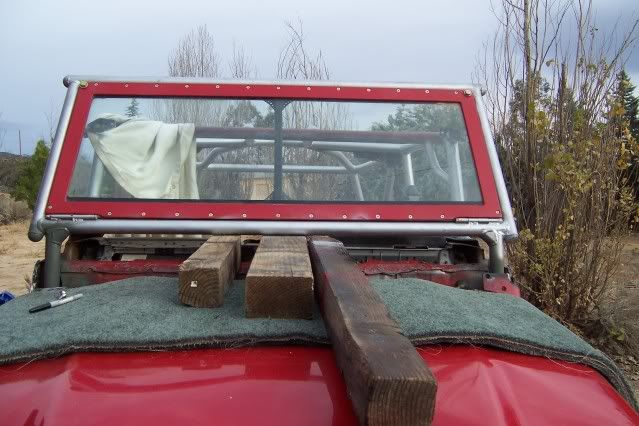
Rough Mockup:
With some basic stuff tacked up, I can double check that it's going to fit the Jeep the way I want it to. The shape is built around the glass, so the angles at the base are 85*, and the angles at the top are 95*. Just add or subtract 5* to all your miters and it works out easily enough. I found the angles by placing a straight edge against the sides of the glass (which is radiused at the corners) and tracing lines onto the lid of the windshield glass box. Where the lines intersected, I used a carpenters' square to find the angle. Once you've found one angle, you know all of them, but I still checked each corner to quadruple check. One thing that made this a little trickier was the top edge of the glass: it's got a crown in it.
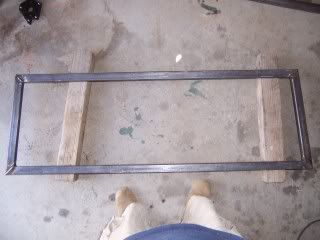
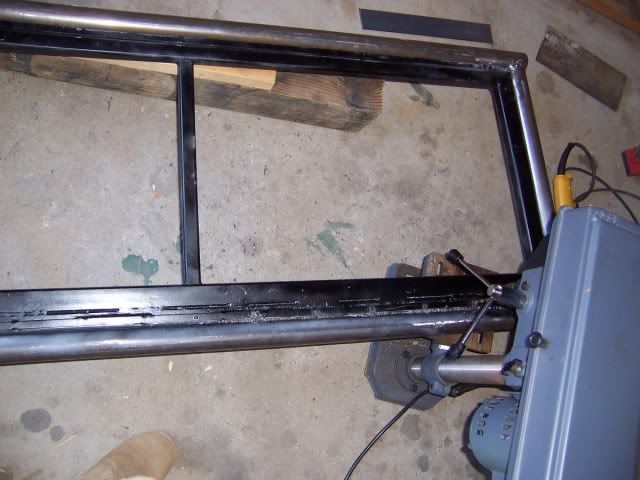
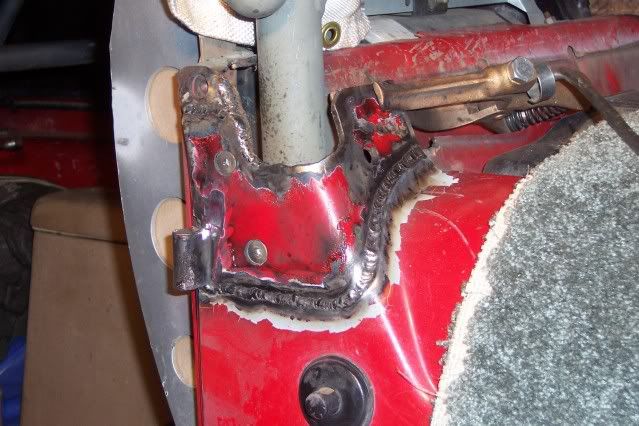
Inner Frame Core Welded
More geometry trivia: all the angles of a polygon (shape made up of 3 or more straight sides) always add up to 360*. That also works out for miters. in a 4-sided polygon there would be 8 miters. For example, 8 x 45* = 360* In this case I used a combination of angles to achieve the shape I needed. The bottom 85* angles were achieved with (2) 40* miters on the bottom piece, and 45* miters on the bottoms ends of the two legs (40 + 45 = 85). The top 95* angles were achieved with (2) 50* miters on the top piece, and 45* miters on the top ends of the two legs. (45 + 50 = 95). Finally, 85 + 85 + 95 + 95 = 360, and that means you have an enclosed shape.
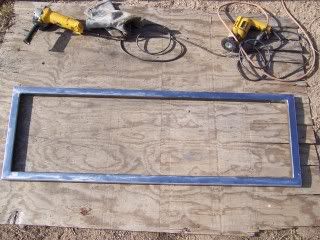
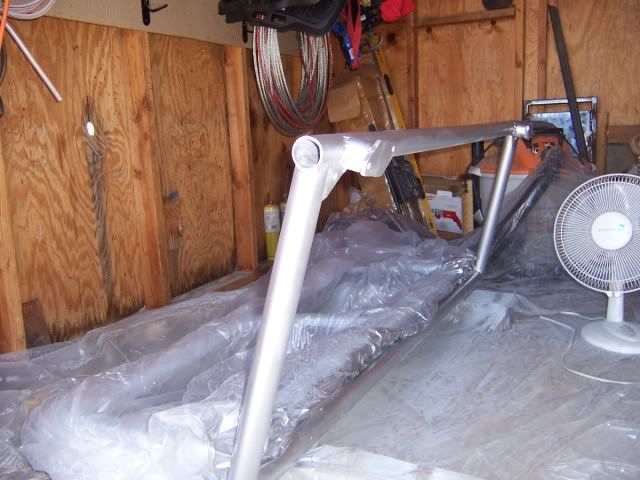
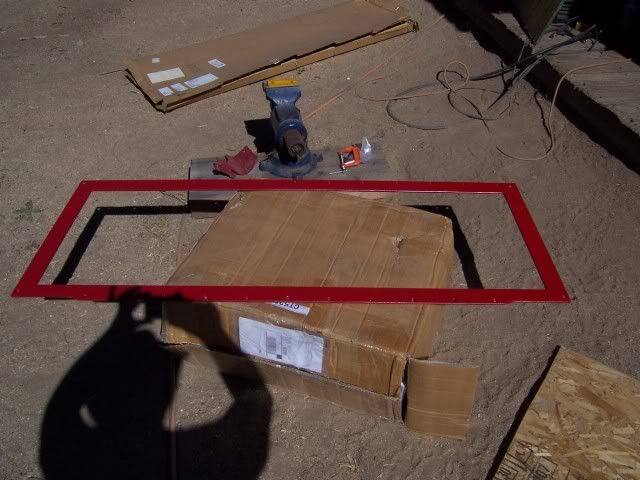
Prepping Inner Frame Core
Prep work is one of the most important parts of welding stuff like this, and I'm kinda anal about it. I ground the welds out of the way on the glass side, and took the finish down to the shiny metal. Before welding I wiped it down with acetone to remove any loose stuff or oil. I use brake cleaner too.
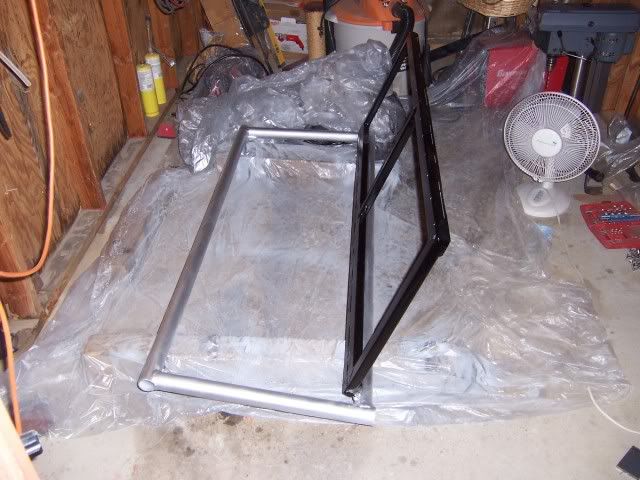
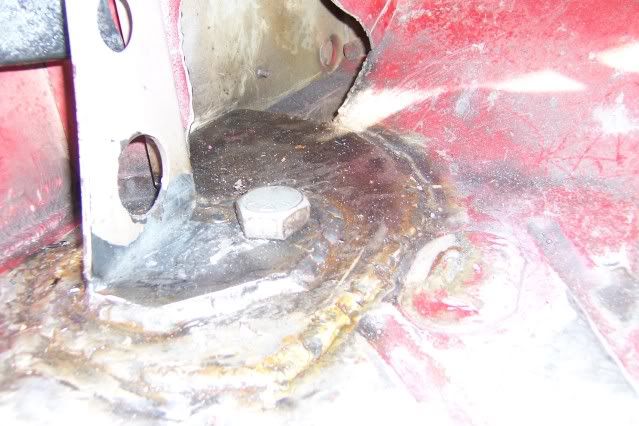
Positioning Inner Frame Base
Adding a 1" x 1" piece to the bottom makes the design a little more forgiving for tolerances; it will be easier to fit the glass, my retaining mechanisms, hinges, etc. You'll see...
Inner Frame Base Stitch Welded
Welding creates stresses within the welded piece; those stresses can distort your work. Stitch welding can mitigate that problem. I was a little jiggly here, and some of my beads ended up a little wormy.
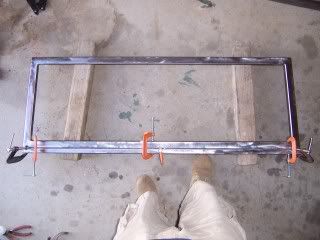
Positioning Lower Retainer Spacer
This 1/4" x 1/2" stuff is straighter than puby hairs. I had to repeatedly move, clamp, and tack weld until I straightened it out to my satisfaction.
Upper and Lower Retainer Spacers Tacked Welded
Those are some deep, sturdy little tacks, but I added stitch welds anyway (not shown). There is no room or need for retainer spacers on the sides. Silicon and friction should hold the glass firmly in place (more shall be revealed below). Just for good measure, however, I'm going to weld some little triangles into the corners so that the retainer spacers wrap around the sides a little; the radiused corners of the glass make this possible. The next step was to grind all the welds smooth and flat to accommodate the glass.
Retainer Mockup Showing Spacer
Retainer spaces are 1/2" wide, and 1/4" thick, which not coincidentally, is the same thickness as the windshield glass. :thumbs_up The retainer is made of 1/4" x 2" hot rolled flat stock. There is enough clearance between the glass and the retainer spacer for a bead of silicon to act as a cushion. The welds on the inside of the retainer spacer had to be ground down; otherwise one would surely hit the edge of the glass and break it.
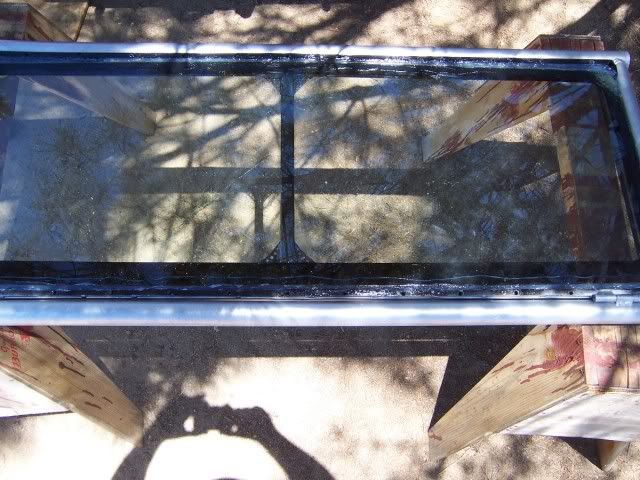
Retainer Mockup
Since I don't have to worry about the ends of a tube to plug up, I went with a different, more forgiving miter for the flatstock retainer. If I had needed a square shape, I could have just cut the pieces straight across (90*). Instead, I cut all the miters at 85*. For the top and bottom, the angles point inward, towards the top. For the sides, this means the miter angles are parallel for each leg.
That's my progress so far. Today I had to go to town to refill my MIG bottle, get sugar, coffee, salt, and hard tack. I'll post up more as I go...
:bolt::bolt:Windshield Frame of Doom:bolt::bolt:
It's a lightweight affair, actually--weighs less than a 4.0L engine block. Witness the development of a revolution in idiot-resistant Jeep technology.
Motivation:
My current piece of crap held up much better then the first one did--thanks to the cage (and a merciful God)--but if I rear ended someone that cracked glass would likely come flying right out. I'd be forced to drive with goggles again...
Rough Mockup:
With some basic stuff tacked up, I can double check that it's going to fit the Jeep the way I want it to. The shape is built around the glass, so the angles at the base are 85*, and the angles at the top are 95*. Just add or subtract 5* to all your miters and it works out easily enough. I found the angles by placing a straight edge against the sides of the glass (which is radiused at the corners) and tracing lines onto the lid of the windshield glass box. Where the lines intersected, I used a carpenters' square to find the angle. Once you've found one angle, you know all of them, but I still checked each corner to quadruple check. One thing that made this a little trickier was the top edge of the glass: it's got a crown in it.
Inner Frame Core Welded
More geometry trivia: all the angles of a polygon (shape made up of 3 or more straight sides) always add up to 360*. That also works out for miters. in a 4-sided polygon there would be 8 miters. For example, 8 x 45* = 360* In this case I used a combination of angles to achieve the shape I needed. The bottom 85* angles were achieved with (2) 40* miters on the bottom piece, and 45* miters on the bottoms ends of the two legs (40 + 45 = 85). The top 95* angles were achieved with (2) 50* miters on the top piece, and 45* miters on the top ends of the two legs. (45 + 50 = 95). Finally, 85 + 85 + 95 + 95 = 360, and that means you have an enclosed shape.
Prepping Inner Frame Core
Prep work is one of the most important parts of welding stuff like this, and I'm kinda anal about it. I ground the welds out of the way on the glass side, and took the finish down to the shiny metal. Before welding I wiped it down with acetone to remove any loose stuff or oil. I use brake cleaner too.
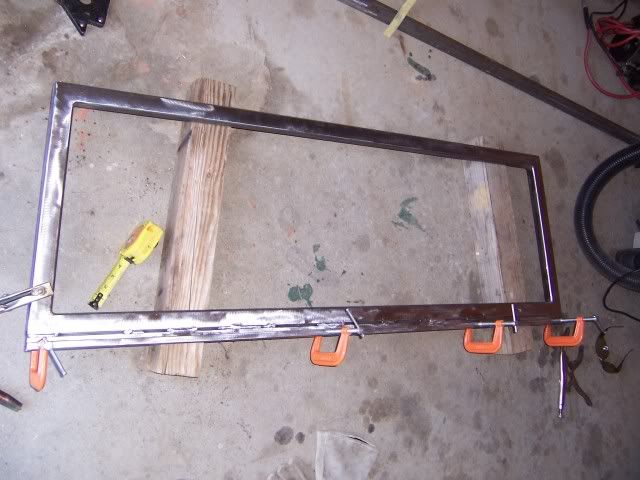
Positioning Inner Frame Base
Adding a 1" x 1" piece to the bottom makes the design a little more forgiving for tolerances; it will be easier to fit the glass, my retaining mechanisms, hinges, etc. You'll see...
Inner Frame Base Stitch Welded
Welding creates stresses within the welded piece; those stresses can distort your work. Stitch welding can mitigate that problem. I was a little jiggly here, and some of my beads ended up a little wormy.
Positioning Lower Retainer Spacer
This 1/4" x 1/2" stuff is straighter than puby hairs. I had to repeatedly move, clamp, and tack weld until I straightened it out to my satisfaction.
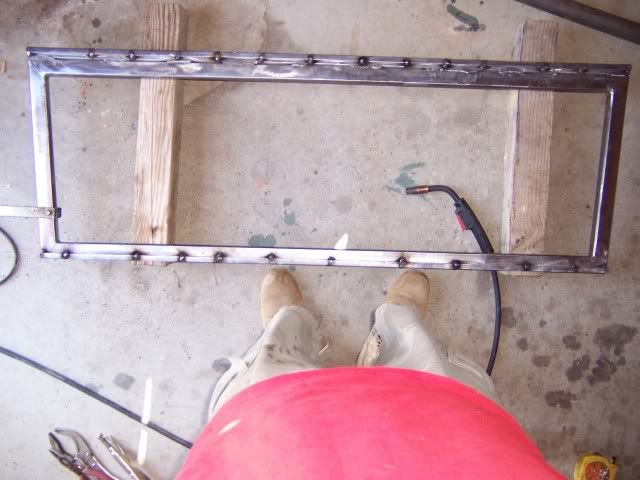
Upper and Lower Retainer Spacers Tacked Welded
Those are some deep, sturdy little tacks, but I added stitch welds anyway (not shown). There is no room or need for retainer spacers on the sides. Silicon and friction should hold the glass firmly in place (more shall be revealed below). Just for good measure, however, I'm going to weld some little triangles into the corners so that the retainer spacers wrap around the sides a little; the radiused corners of the glass make this possible. The next step was to grind all the welds smooth and flat to accommodate the glass.
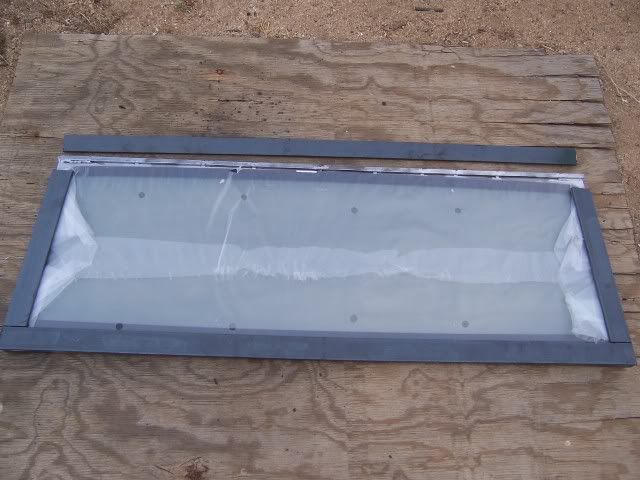
Retainer Mockup Showing Spacer
Retainer spaces are 1/2" wide, and 1/4" thick, which not coincidentally, is the same thickness as the windshield glass. :thumbs_up The retainer is made of 1/4" x 2" hot rolled flat stock. There is enough clearance between the glass and the retainer spacer for a bead of silicon to act as a cushion. The welds on the inside of the retainer spacer had to be ground down; otherwise one would surely hit the edge of the glass and break it.
Retainer Mockup
Since I don't have to worry about the ends of a tube to plug up, I went with a different, more forgiving miter for the flatstock retainer. If I had needed a square shape, I could have just cut the pieces straight across (90*). Instead, I cut all the miters at 85*. For the top and bottom, the angles point inward, towards the top. For the sides, this means the miter angles are parallel for each leg.
That's my progress so far. Today I had to go to town to refill my MIG bottle, get sugar, coffee, salt, and hard tack. I'll post up more as I go...

 . So does this mean you're ready to start cutting on your Jeep?

Comment