 Tweet
Tweet
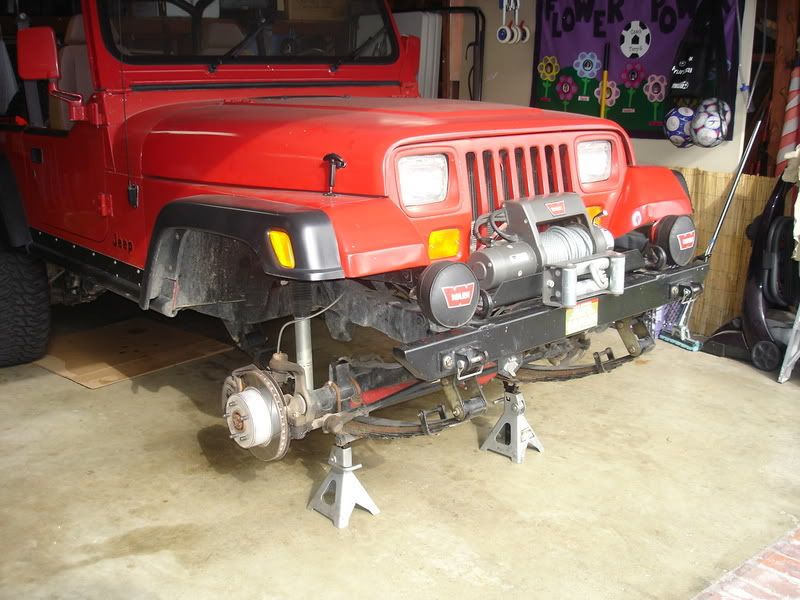
After moving to 33" tires the YJ just didn't stop like it used to. This is my daily driver and knowing that the brakes were marginal I always kept a larger than usual following distance. Even with the extra distance there were quite a few situations where I almost didn't get stopped in time. After the last near miss, in which a classic car pulled out right in front of me and then slammed on his brakes, I decided that something had to be done. I don't have the time (or patience) to rummage through junk yards for questionable bolt-on's. After researching my options I decided that a couple products from Vanco would be my best bet. I decided to address a known problem first with the Jeep Disk Brake Upgrade. The cast iron sliders on my knuckles were in pretty bad shape. One issue discribed on Vanco's web site was divots that tend to wear on the sliders. Mine had them. Really big divots. I've seen smaller divots on the golf course. Although my brakes pads were still wearing evenly, the huge divots couldn't be helping braking performance and were likely impeding pad movement. The damaged knuckles needed to be dealt with. Replacing them with factory knuckles for $400 wasn't a good long term solution. The Vanco kit it totally bolt-on with the exception of needing to grind about 1/32" off the journal bearing (which took about ten minutes). Here's the Cliffs Notes of the installion:
1. Properly support front end.
2. Remove front tires.
3. Remove stock calipers & rotors.
4. Remove axles (3 bolts for each side).
5. Remove knuckles.
6. Install reinforced knuckles.
7. Install axles.
8. Grind 1/32" off of journal bearings (depending on application).
9. Install new rotors.
10. Bleed brakes.
11. Install tires.
12. Remove jack stands.
If you take your time it should take about 4 hours.
Here are some pictures of the install:
Getting ready to get busy:
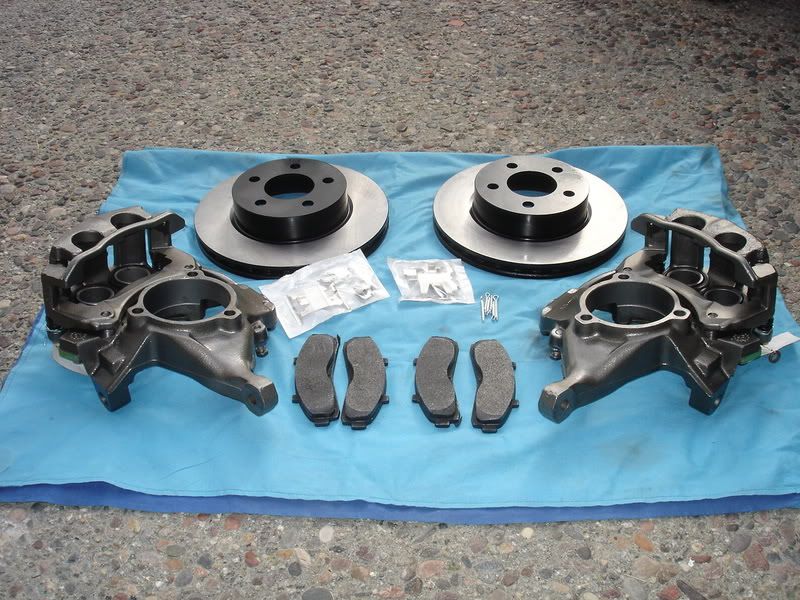
Vanco's Jeep Disk Brake Upgrade:
The old brakes, power slots with stock calipers:
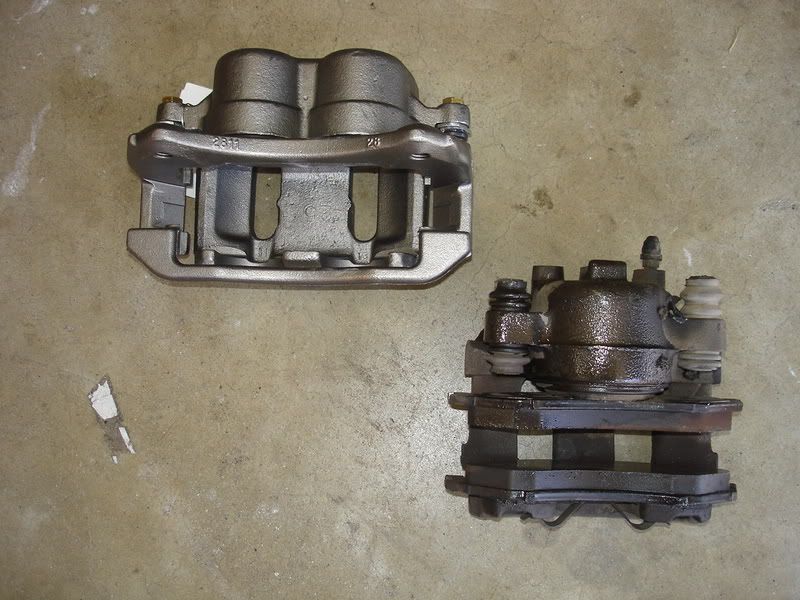
Stock caliper next to the dual piston caliper:
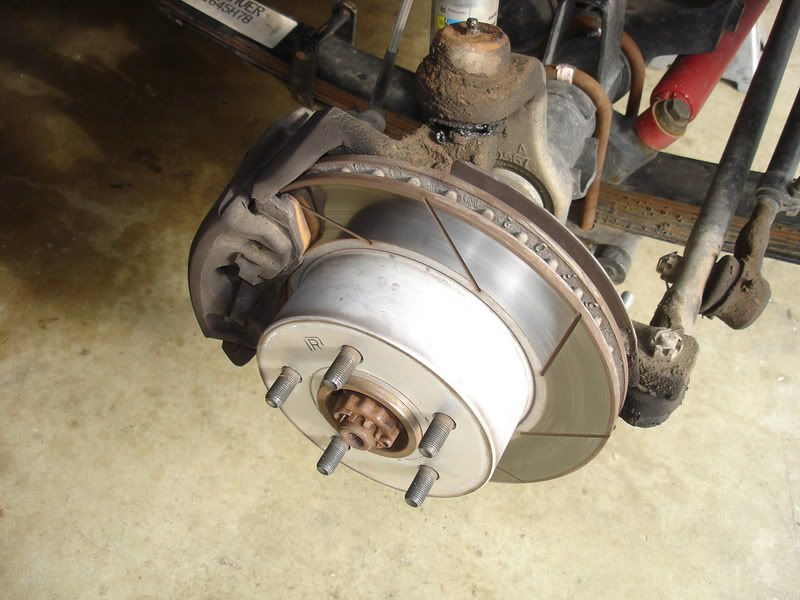
The reinforced knuckle installed:

Finished product:
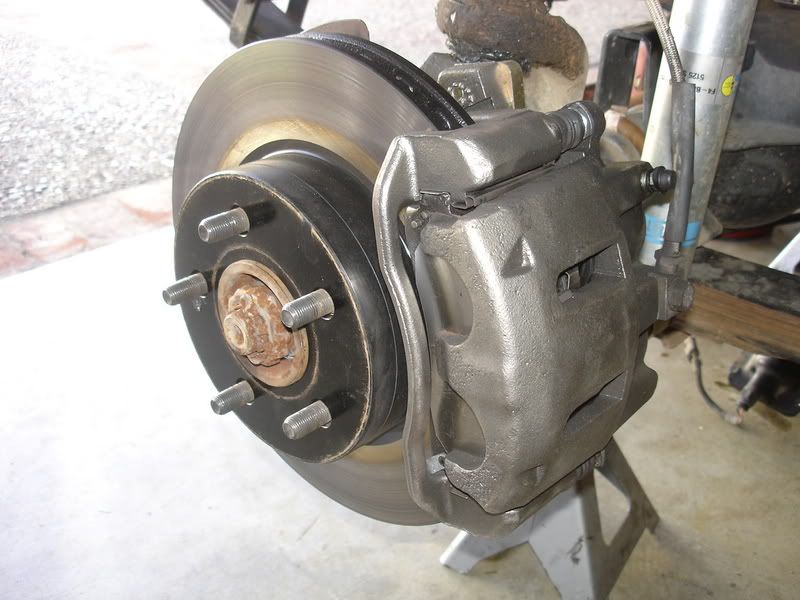
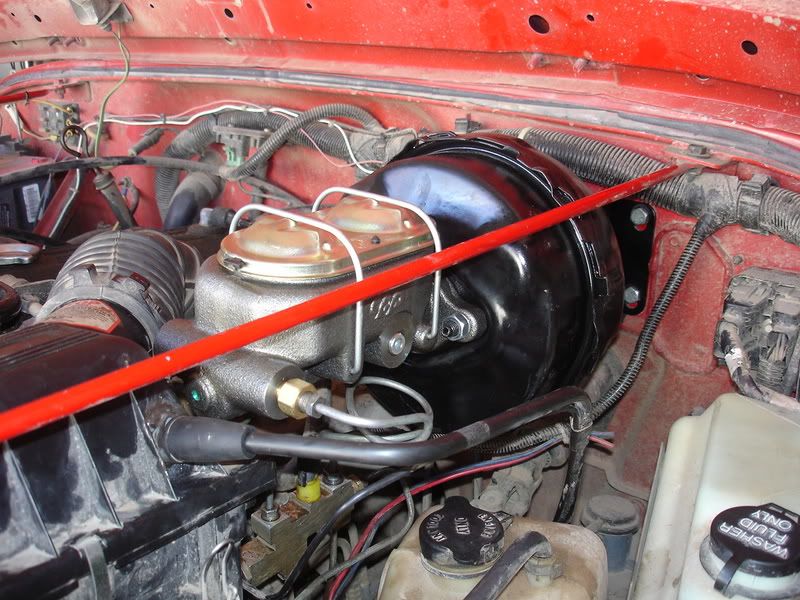
The new brakes up front solved known problems (weak and damaged knuckles) and it did seem like it helped braking performance a little. But now it was time to deliver more power to these bad boys. Since I don't have any plans on going larger than 33's I opted for the Vanco Vaccum Kit. This kit replaces the stock single diaphragm booster with a dual diaphragm booster and the stock 1" bore master cylinder with a quad port 1 1/8" master cylinder. The new mastercylinder/booster assembly is a bit longer than the stock unit. This required a slight mod to the air box (air vent tube in for ground relocated). Due to space limitations the drivers side port was used for the forward brake reservoir. This required some care reshaping of one of the the brake lines.
New master cylinder & booster installed:
With the brake modifications complete it was time to take it for a drive. The improvement was very noticable and the brake peddle had a great feel. The large master cylinder raised the peddle quite a bit. Prior to the mod's, during hard braking the peddle was basically to the floor. Now it's far from it. On the street my braking distance has been reduced greatly. Offroad the difference was very evident. I could hold it on a hill and in low range the auto didn't overcome the brake system as it had in the past. I will definitely feel more comfortable on those steep slick rock domes on my next trip to Moab (still no Lion's Back for me!). Those of you with bigger tires and stock brakes should give the products from Vanco a serious look.
1. Properly support front end.
2. Remove front tires.
3. Remove stock calipers & rotors.
4. Remove axles (3 bolts for each side).
5. Remove knuckles.
6. Install reinforced knuckles.
7. Install axles.
8. Grind 1/32" off of journal bearings (depending on application).
9. Install new rotors.
10. Bleed brakes.
11. Install tires.
12. Remove jack stands.
If you take your time it should take about 4 hours.
Here are some pictures of the install:
Getting ready to get busy:
Vanco's Jeep Disk Brake Upgrade:
The old brakes, power slots with stock calipers:
Stock caliper next to the dual piston caliper:
The reinforced knuckle installed:
Finished product:
The new brakes up front solved known problems (weak and damaged knuckles) and it did seem like it helped braking performance a little. But now it was time to deliver more power to these bad boys. Since I don't have any plans on going larger than 33's I opted for the Vanco Vaccum Kit. This kit replaces the stock single diaphragm booster with a dual diaphragm booster and the stock 1" bore master cylinder with a quad port 1 1/8" master cylinder. The new mastercylinder/booster assembly is a bit longer than the stock unit. This required a slight mod to the air box (air vent tube in for ground relocated). Due to space limitations the drivers side port was used for the forward brake reservoir. This required some care reshaping of one of the the brake lines.
New master cylinder & booster installed:
With the brake modifications complete it was time to take it for a drive. The improvement was very noticable and the brake peddle had a great feel. The large master cylinder raised the peddle quite a bit. Prior to the mod's, during hard braking the peddle was basically to the floor. Now it's far from it. On the street my braking distance has been reduced greatly. Offroad the difference was very evident. I could hold it on a hill and in low range the auto didn't overcome the brake system as it had in the past. I will definitely feel more comfortable on those steep slick rock domes on my next trip to Moab (still no Lion's Back for me!). Those of you with bigger tires and stock brakes should give the products from Vanco a serious look.
Comment