Announcement

Collapse
No announcement yet.

Viair OBA JK setup

Collapse

Forum Thread First Post

Collapse
X
 
  • Filter
  • Time
  • Show
Clear All
new posts

  • JK: Viair OBA JK setup

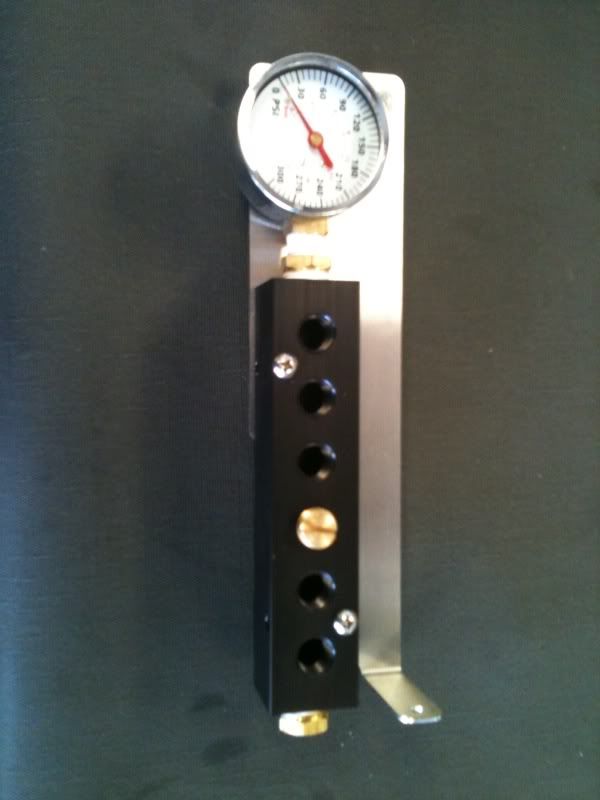
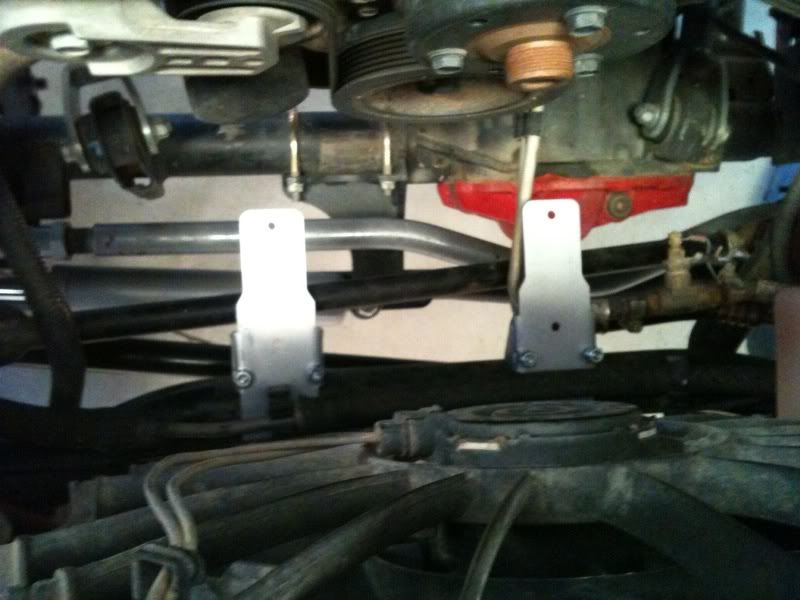
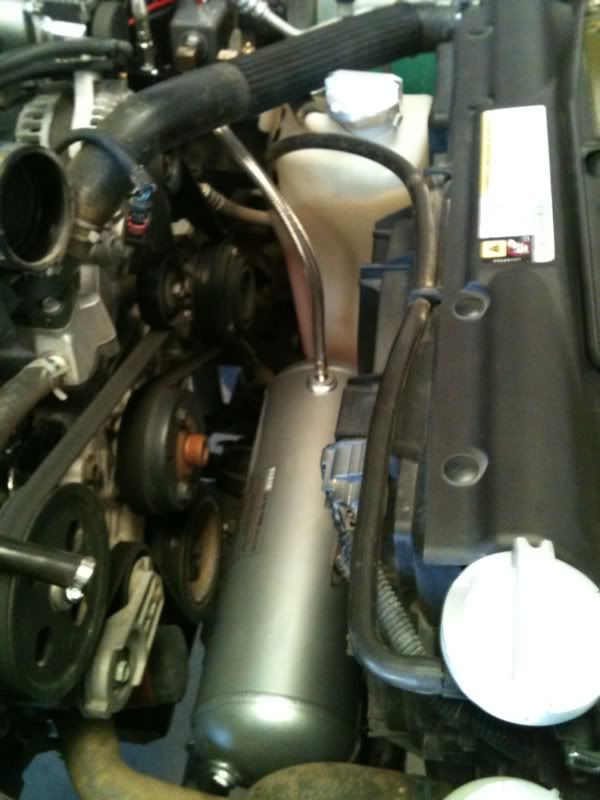
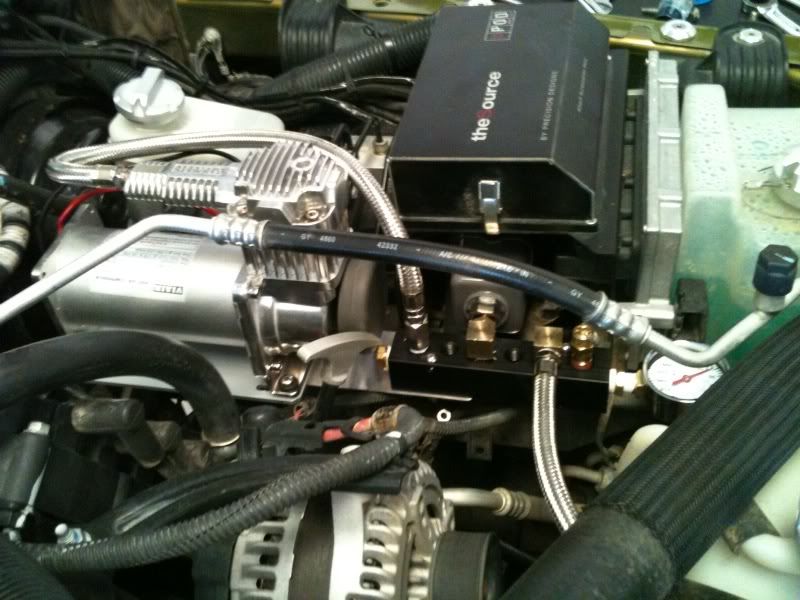
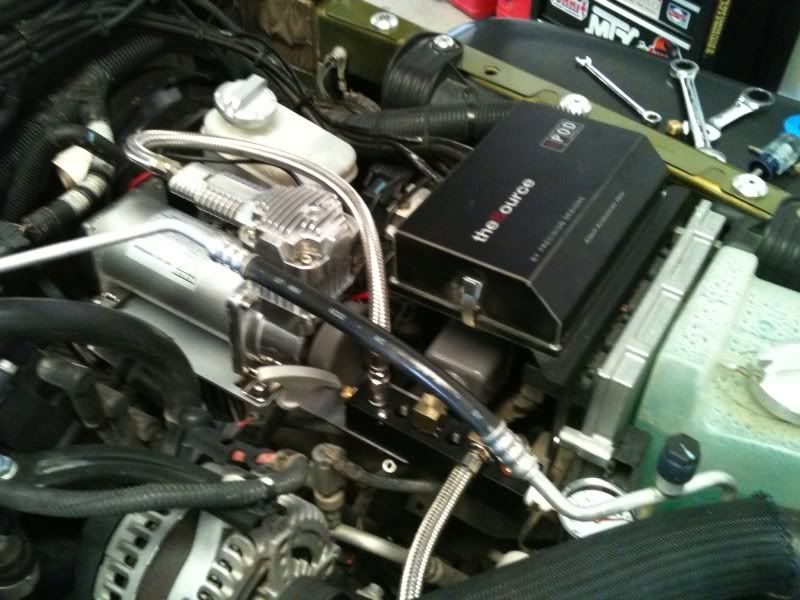
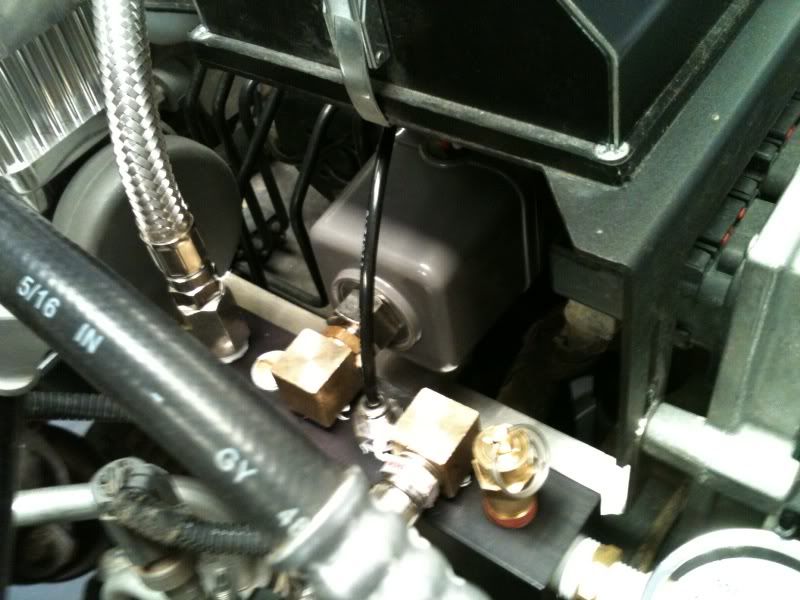
    Fedex just dropped off some goodies for me. ill be doing the install soon just wanted to have a plceholeder for the write up


    [COLOR="YellowGreen"]"You cant fit 2 fingers in my tailpipe"[/COLOR]

  • #2
    Damn Scott! You have some mad layout skills there...
    I know, F off
    [CENTER][COLOR=#ff0000]Resistance Off Road
    [/COLOR]Join the Resistance...
    http://www.resistanceoffroad.us[/CENTER]

    Comment


    • #3
      Originally posted by rat patrol View Post
      Damn Scott! You have some mad layout skills there...
      I know, F off
      Yeah i inventory every thing lol i hate missing parts in the middle of the install i cant wait to get this installed 
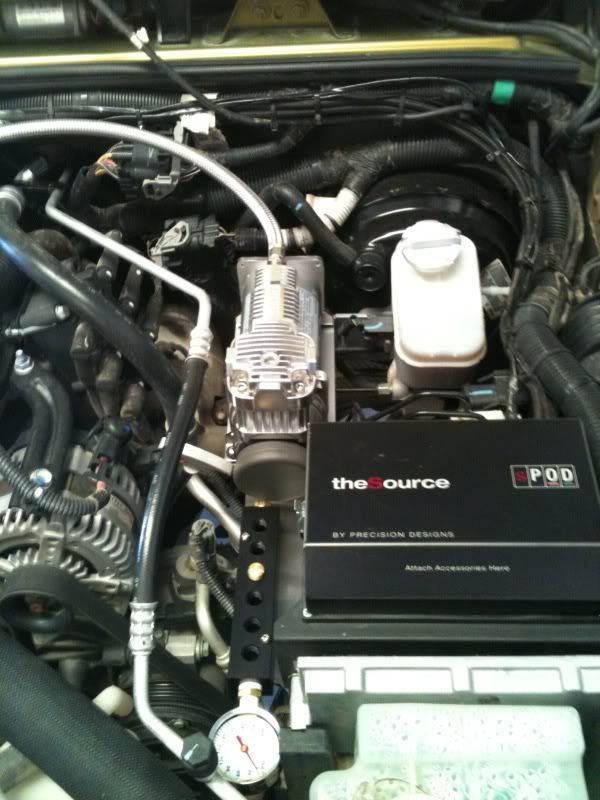
I was going to go with the york i have and maybe some day i will but for now this little setup will do everything i need it to do
      [COLOR="YellowGreen"]"You cant fit 2 fingers in my tailpipe"[/COLOR]

      Comment


      • #4
        Hey guys Woods has been working to get this kit together for guys like me who like one stop shopping. The kit is ready to install with super clear and idiot proof directions ( i need those).

        Here is the kit after i unboxed everything.....


        I started with getting some of the fittings installed on the manifold.


        Once the Maniflod was secured to the compressor mount it was time to slide her in. For removing the 2 nuts on the brake booster, if you have fat fingers like i do it works great to just pull the wheel well liner and VIOLA they are right there


        As you can see this setup works perfect with the sPOD


        Next I moved onto mounting the tank and i hit the first obstacle...... Woods designed his mounts to have the U bolts run over the cross member, well I have the Offroad Evo Sector Shaft brace so that was not going to work. So i installed them on the top of the cross member with the U Bolts running under the brackets. The only concern i have now is that it moved the tank up a bit so I will have to keep and eye on the engine temp and make sure shes getting enough air flow.


        I went back to making a few more of the plumbing connections before i called it a night and I will promise you that this is a super easy install. It took me less than an hour to get to this point before calling it quits to spend some time with the family.


        [COLOR="YellowGreen"]"You cant fit 2 fingers in my tailpipe"[/COLOR]

        Comment


        • #5
          Looks great Scott. Sure is a ton of clearance in front of your engine.
          Check out .

          Comment


          • #6
            Originally posted by dirtman13 View Post
            Looks great Scott. Sure is a ton of clearance in front of your engine.
            Yeah I wish i could be using the room by filling it with a hemi LOL but thats not going to happen anytime soon LOL
            [COLOR="YellowGreen"]"You cant fit 2 fingers in my tailpipe"[/COLOR]

            Comment


            • #7
              May I suggest running an air line from the filter/intake to somewhere a bit farther from your engine block. Hot air causes a loss of efficiency for the compressor.
              Off road adventure photography:

              TreadLightly Trainer
              Wilderness First Aid (WFA)
              HAM - KI6PFO

              2005 Rubicon Unlimited + trailer

              Comment


              • #8
                Looks good, Doc- I have the same Woods set-up sitting here. I am going to change my cracked manifold first, then install it.

                Woods also has a hose set-up to air up/down all 4 tires at once.

                Comment


                • #9
                  The new bezel should be there today or tomorrow...we shipped it yesterday.

                  Yeah!!!! the Final Parts showed up today sPod doesnt play around. Thanks guys!!!!!


                  here are some pictures with it now i have some other fun things to add but they can wait till i decide if im going to move the tank or the sector shaft brace.


                  [COLOR="YellowGreen"]"You cant fit 2 fingers in my tailpipe"[/COLOR]

                  Comment


                  • #10
                    Looks great Scott. Did you get those switches from SPod?
                    Last edited by dirtman13; 06-18-10, 11:46 AM. Reason: spelng
                    Check out .

                    Comment


                    • #11
                      Originally posted by dirtman13 View Post
                      Kooks great Scott. Did you get those switches from SPod?


                      Thanks chuck

                      The switches and the panel are from spod. But the labeled actuators are from otrattw.com
                      [COLOR="YellowGreen"]"You cant fit 2 fingers in my tailpipe"[/COLOR]

                      Comment


                      • #12
                        That's what I was looking for. I need two for my panel. Thanks.
                        Check out .

                        Comment

                        Working...
                        X