Announcement

Collapse
No announcement yet.

BenchMark Dual battery Kit install

Collapse

Forum Thread First Post

Collapse
X
 
  • Filter
  • Time
  • Show
Clear All
new posts

  • JK: BenchMark Dual battery Kit install

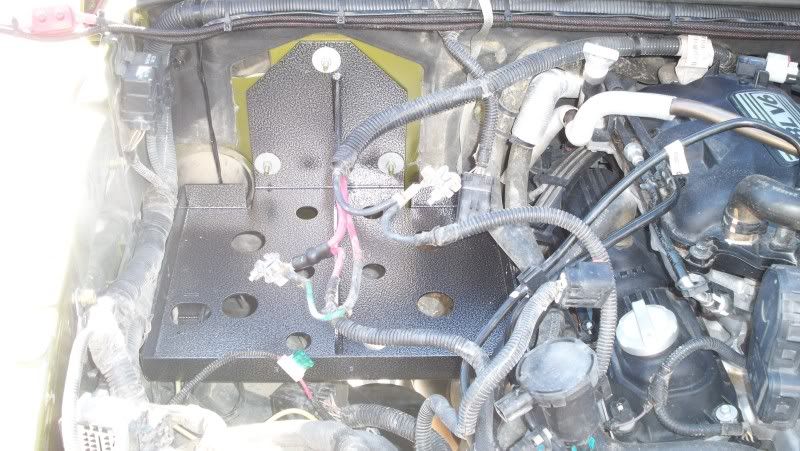
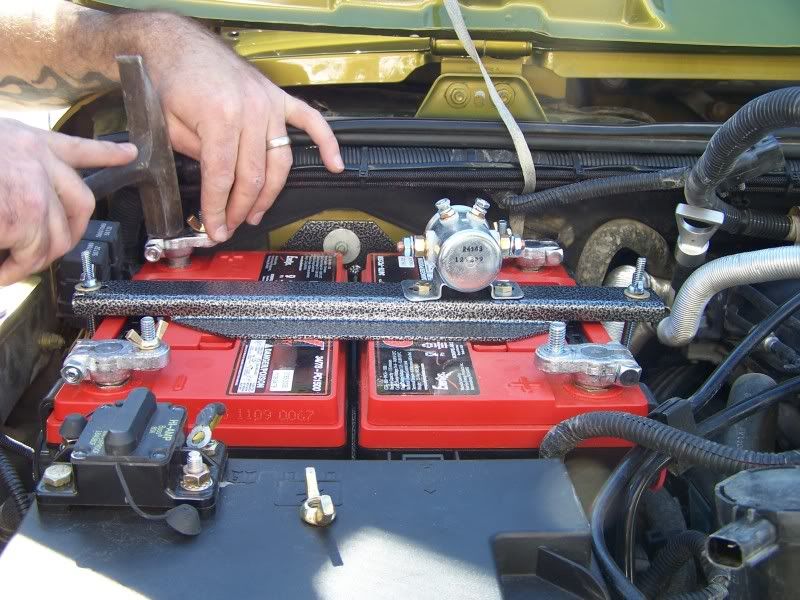
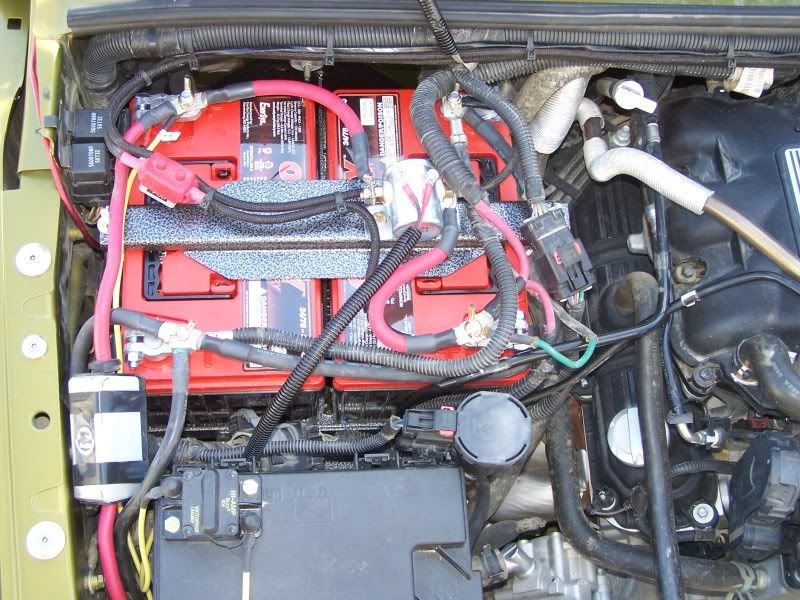
    Im super excited about having the kit installed and ready to go. Installation was easy and we hit a few snags but over all Id say that someone with very little mechanical knowledge should feel confident in their ability to install this kit.


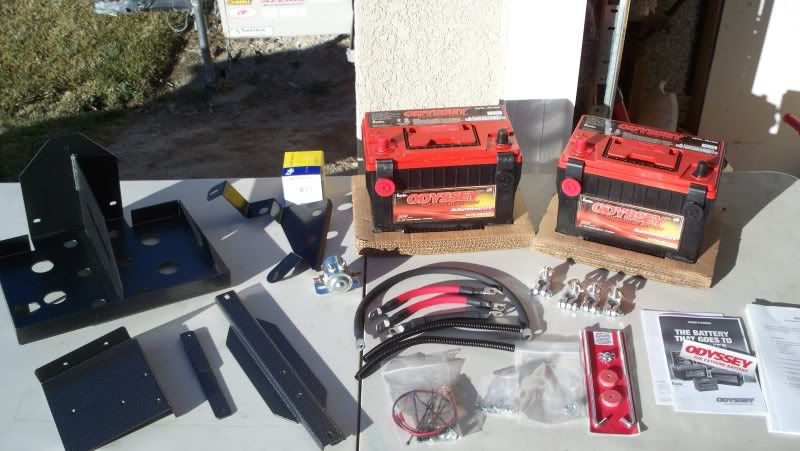
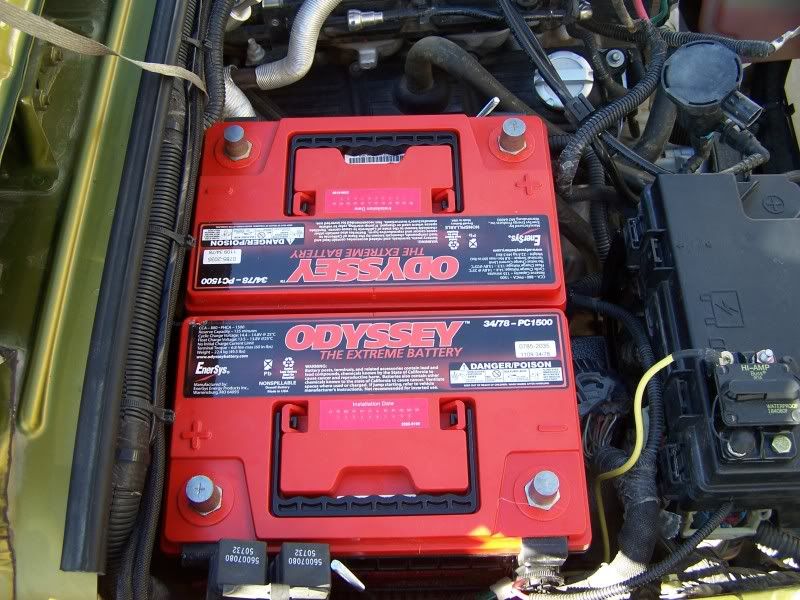
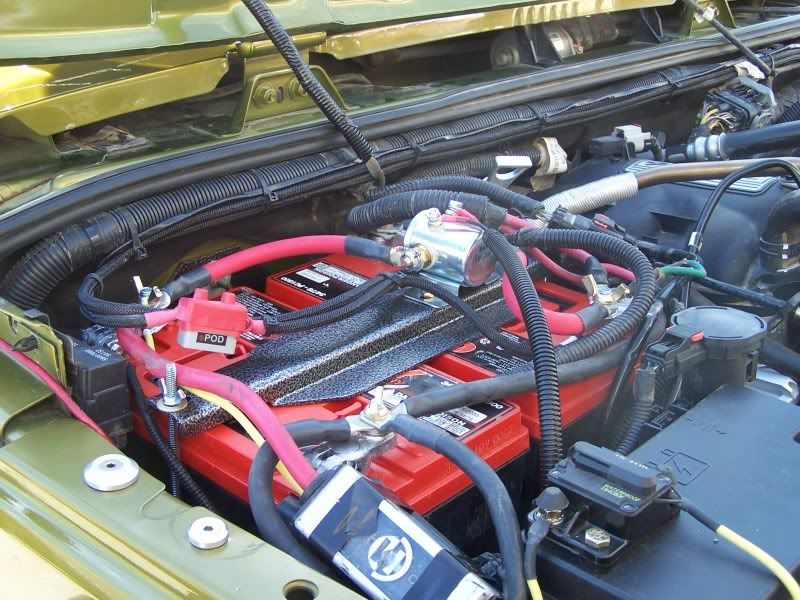
    I am running Odyssey Batteries PC1500DT I think these will be up to all the challanges im going to put them thru (Dual winch setup is in the near future) :thefinger:

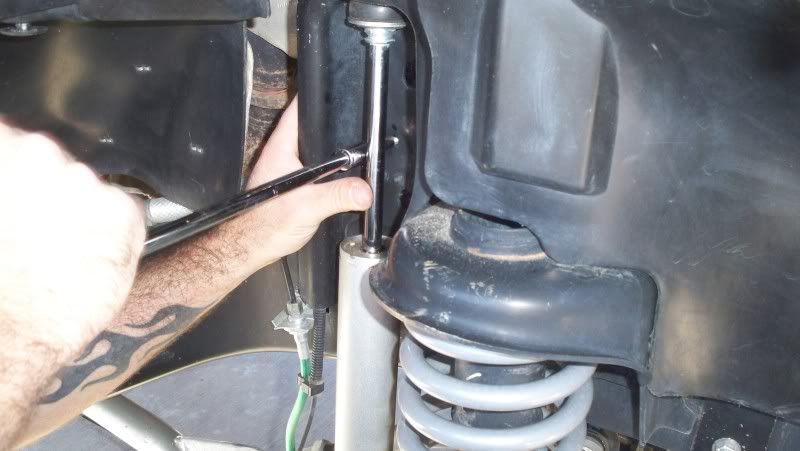
    We had to use a few more tools than required but nothing major that most people dont already have in the tool box already.:smokin:

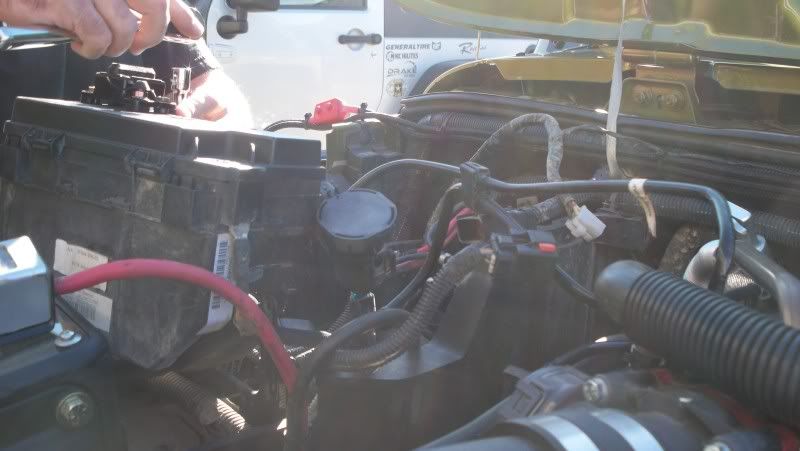
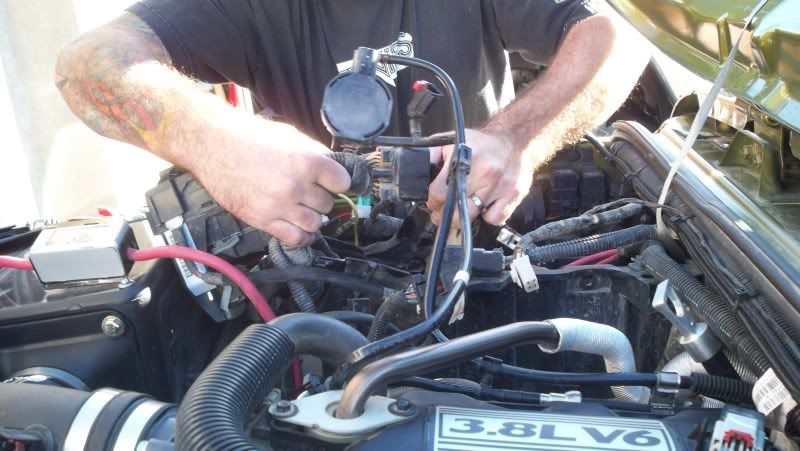
    Really the only thing that was a huge pain in the butt was the evap purge valve.


    Benchmarks instructions are very well written and easy to folow thanks John.:beer::beer::beer:

    here is a lay out of the parts.


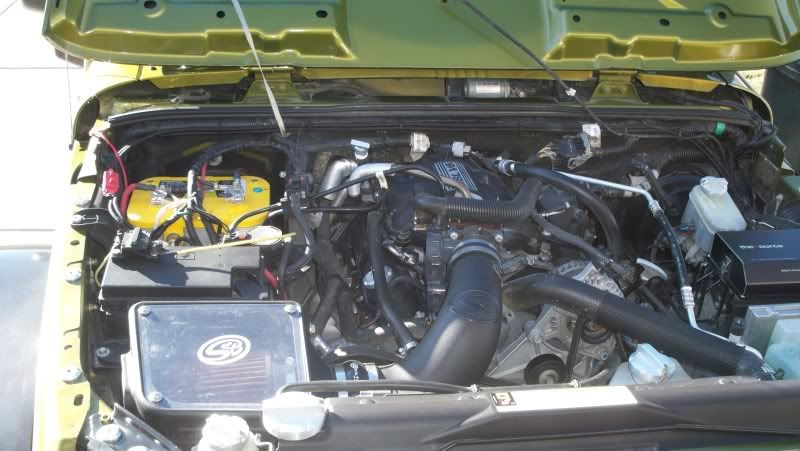
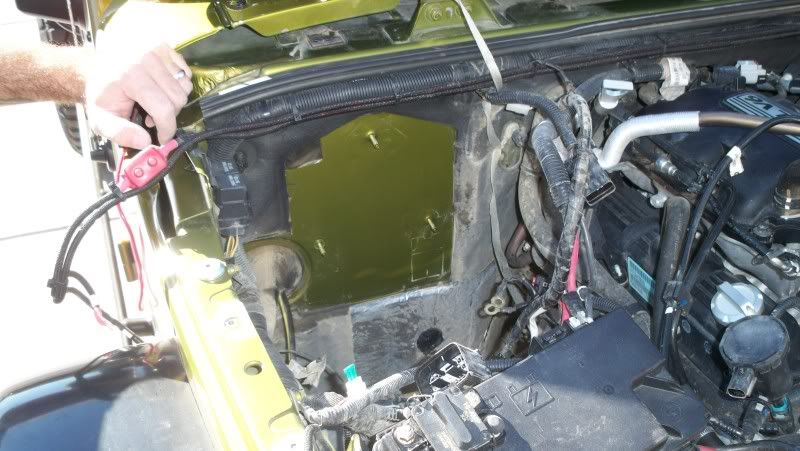
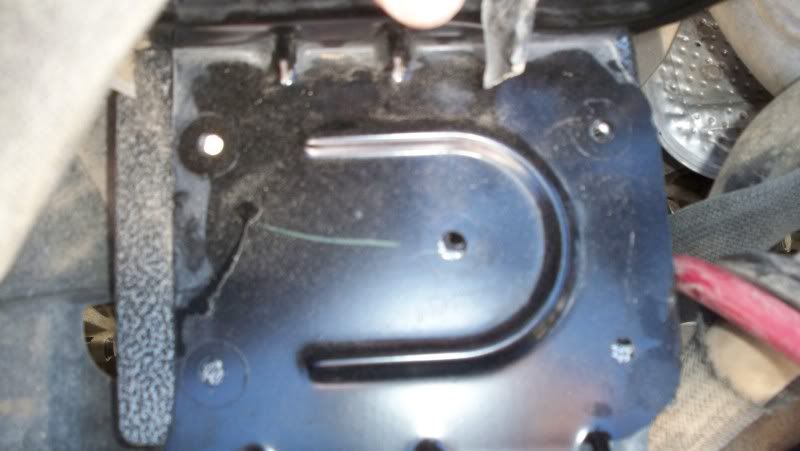
    Here is what we started with


    This is the tool list required


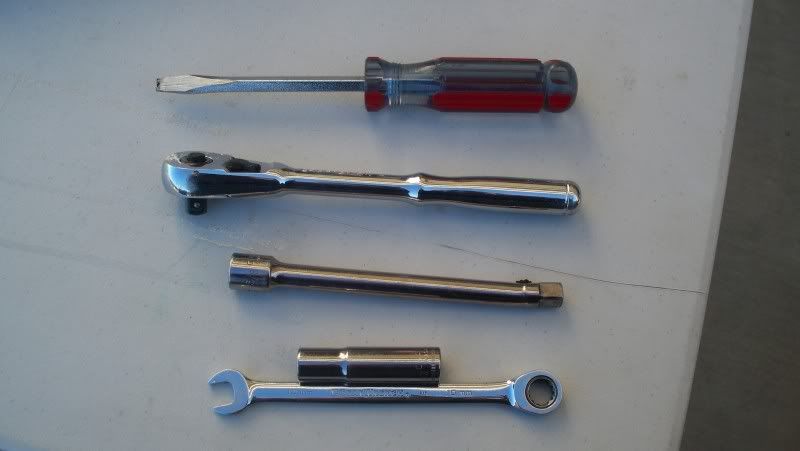
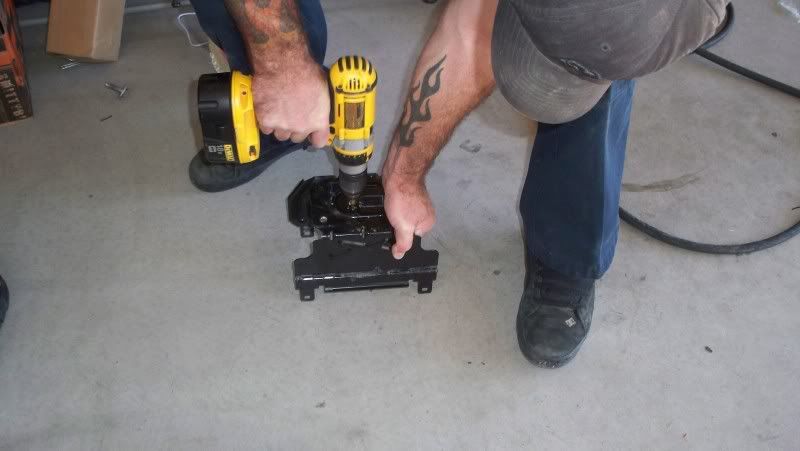
    Here is a picture f the tools actually used

    [COLOR="YellowGreen"]"You cant fit 2 fingers in my tailpipe"[/COLOR]

  • #2
    Battery removed and taking the fuse box out


    Making room to get the factory battery tray out


    Trimming the insulation so the new battery tray can sit flush against the fire wall


    Here is a shot of the new tray in place and it slides right in

    [COLOR="YellowGreen"]"You cant fit 2 fingers in my tailpipe"[/COLOR]

    Comment


    • #3
      Installing the support bracket was were i hit my first snag but it wasnt a show stopper. the threaded insert was stripped out because i was trying to put a standard bolt in a netric thread. So i took a hammer and punch and knocked the insert out and used a nut and bolt combo


      My fuse box bracket did not line up with the holes so i had to enlarge them so the bolys would go in


      Next it was time to put the batteries they were a tight fit but they look great


      Now is the fun part hooking everything back up


      here is a shot of the wire harness you need to tap into using the included TEE Tap

      [COLOR="YellowGreen"]"You cant fit 2 fingers in my tailpipe"[/COLOR]

      Comment


      • #4
        The factory terminals need to be drilled out to accomodate the new terminals.


        Finding a place to put the evap purge was a pain in the butt so i ziptied it to the fusebox for now ill build a braket for it at a later date


        Here it is all installed and wired up


        [COLOR="YellowGreen"]"You cant fit 2 fingers in my tailpipe"[/COLOR]

        Comment


        • #5
          Looks great, pics look awsome!

          Comment


          • #6
            Hell, I should have just bought a JK. Nice work. My welder will hook up just fine now.
            Check out .

            Comment


            • #7
              Originally posted by dirtman13 View Post
              Hell, I should have just bought a JK. Nice work. My welder will hook up just fine now.
              I did it just for you chuck

              hopefully someday ill have a ready welder
              [COLOR="YellowGreen"]"You cant fit 2 fingers in my tailpipe"[/COLOR]

              Comment


              • #8
                Originally posted by mywifesjeep View Post
                Looks great, pics look awsome!
                Thanks mike now we need to make a kit for you TJ
                [COLOR="YellowGreen"]"You cant fit 2 fingers in my tailpipe"[/COLOR]

                Comment


                • #9
                  That kit is on my list of things to do some day. Nice installation documentation.
                  Rich

                  Comment

                  Working...
                  X